
The telnet program, which is not the Telnet protocol, can be useful to test port states which is the functionality this tutorial explains. The reason why this protocol is useful to connect to different protocols such as POP is both protocols support plain text (which is their main problem and why such services should not be used).
Checking ports before starting:
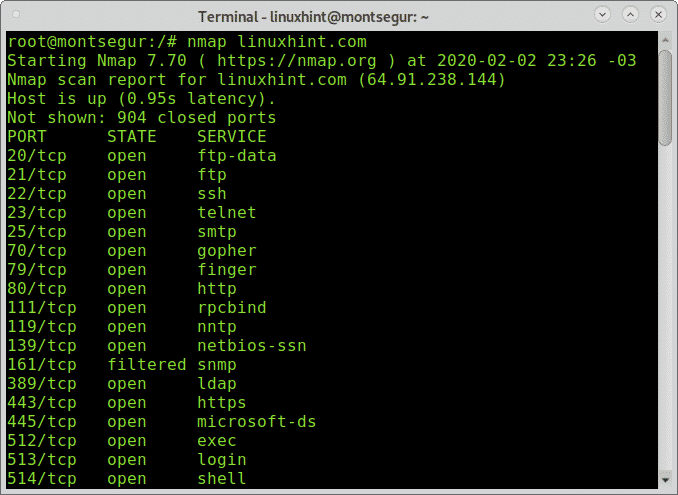
Before starting with telnet, let’s check with Nmap some ports on the sample target (linuxhint.com).
Getting started with Telnet to specific ports for testing purposes:
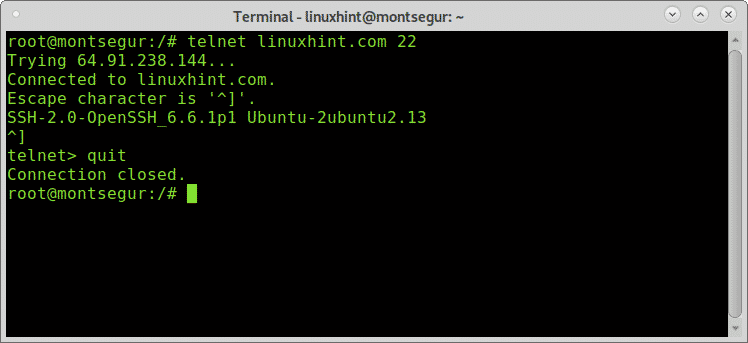
Once we learned about open ports, we can start launching tests, let’s try the port 22 (ssh), on the console write “telnet <target> <port>” as shown below:
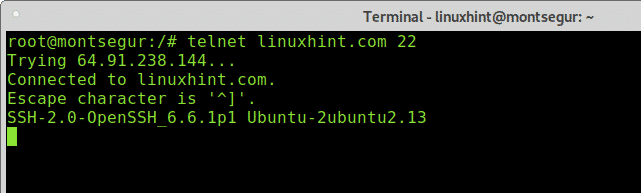
As you can see in the example below the output says I’m connected to linuxhint.com, therefore the port is open.
Let’s try the same on the port 80 (http):
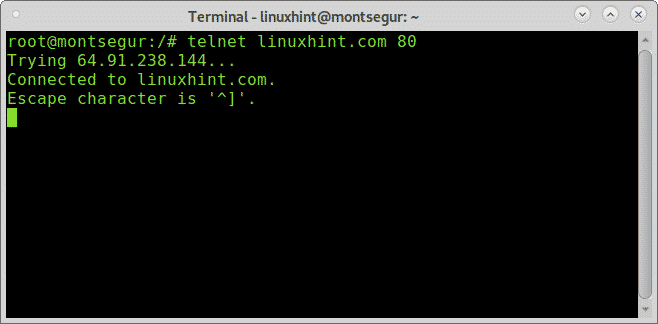
The output is similar with port 80, now let’s try the port 161 which according to Nmap is filtered:
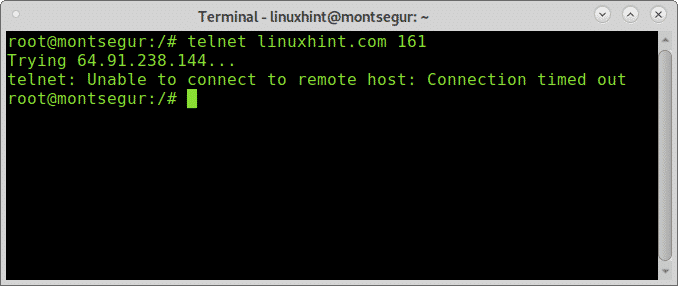
As you see the filtered port didn’t allow the connection to be established returning a time out error.
Now let’s try Telnet against a closed (not filtered) port, for this example I will use the port 81. Since Nmap didn’t report on closed ports before proceeding I will confirm it is closed, by scanning the specific port using the -p flag:
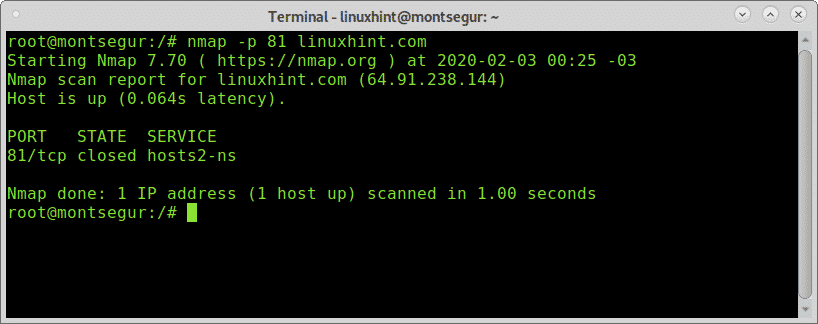
Once confirmed the port is closed, let’s test it with Telnet:
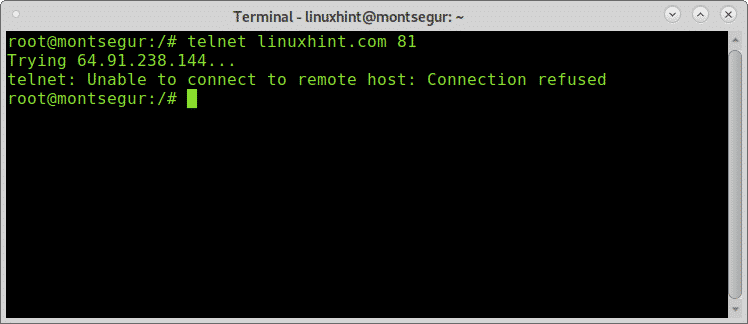
As you can see the connection wasn’t established and the error is different than with the filtered port showing “Connection refused”.
To close an established connection, you can press CTRL+] and you will see the prompt:
Then type “quit” and press ENTER.
Under Linux you can easily write a little shell script to connect through telnet with different targets and ports.
Open nano and create a file called multipletelnet.sh with the following content inside:
#! /bin/bash
#The first uncommented line will connect to linuxhint.com through port $
telnet linuxhint.com 80
#The second uncommented line will connect to linux.lat through ssh.
telnet linux.lat 22
#The third uncommented line will connect to linuxhint.com through ssh
telnet linuxhint.com 22
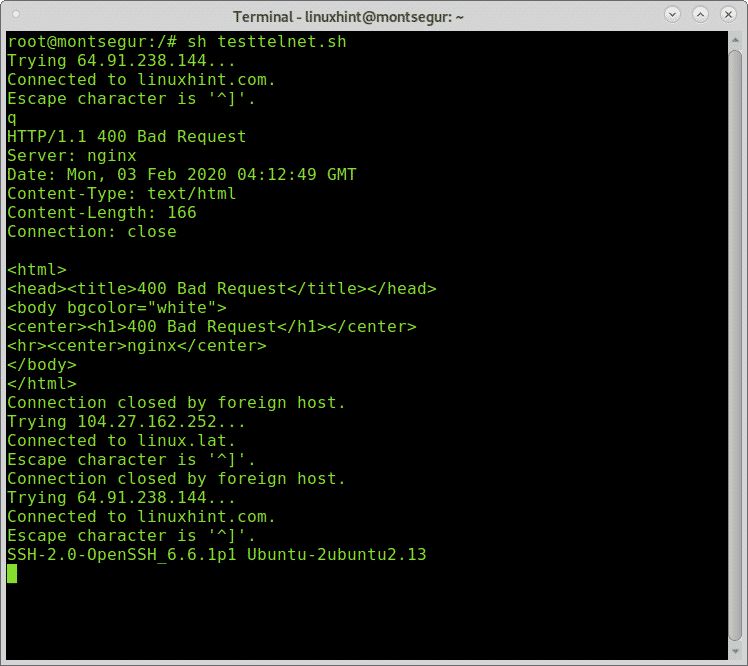
Connections only start after the previous was closed, you can close the connection by passing any character, In the example above I passed “q”.
Yet, if you want to test many ports and targets simultaneously Telnet isn’t the best option, for which you have Nmap and similar tools
About Telnet:
As said before, Telnet is an unencrypted protocol vulnerable to sniffers, any attacker can intercept the communication between the client and the server in plain text accessing sensible information such as passwords.
The lack of authentication methods also allow possible attackers to modify the packages sent between two nodes.
Because of this Telnet was rapidly replaced by SSH (Secure Shell) which provides a variety of authentication methods and also encrypts the whole communication between nodes.
Bonus: testing specific ports for possible vulnerabilities with Nmap:
With Nmap we can go far more than with Telnet, we can learn the version of the program running behind the port and we can even test it for vulnerabilities.
Scanning a specific port to find vulnerabilities on the service:
The following example shows a scan against the port 80 of linuxhint.com calling Nmap NSE script vuln to test offensive scripts looking for vulnerabilities:

As you can see, since it is LinuxHint.com server no vulnerabilities were found.
It is possible to scan a specific port for a specific vulnerability; the following example shows how to scan a port using Nmap to find DOS vulnerabilities:
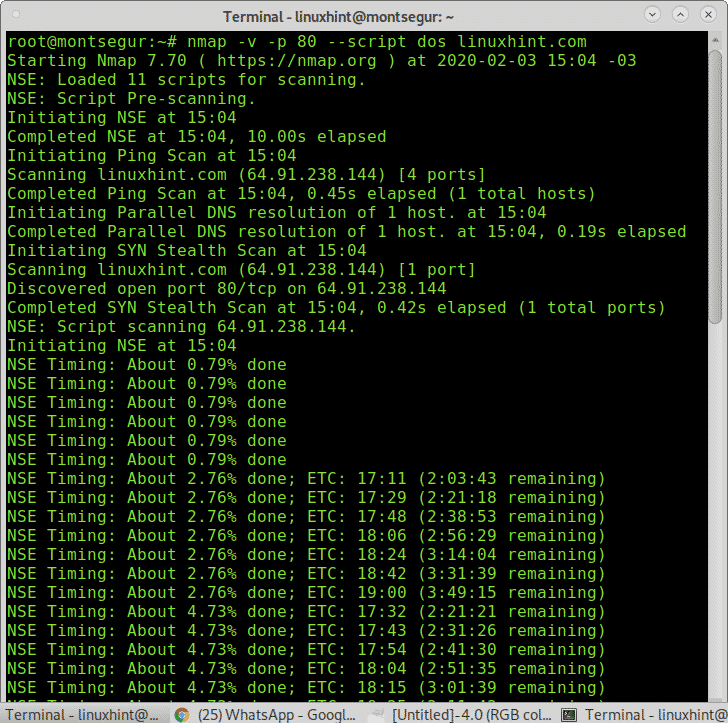
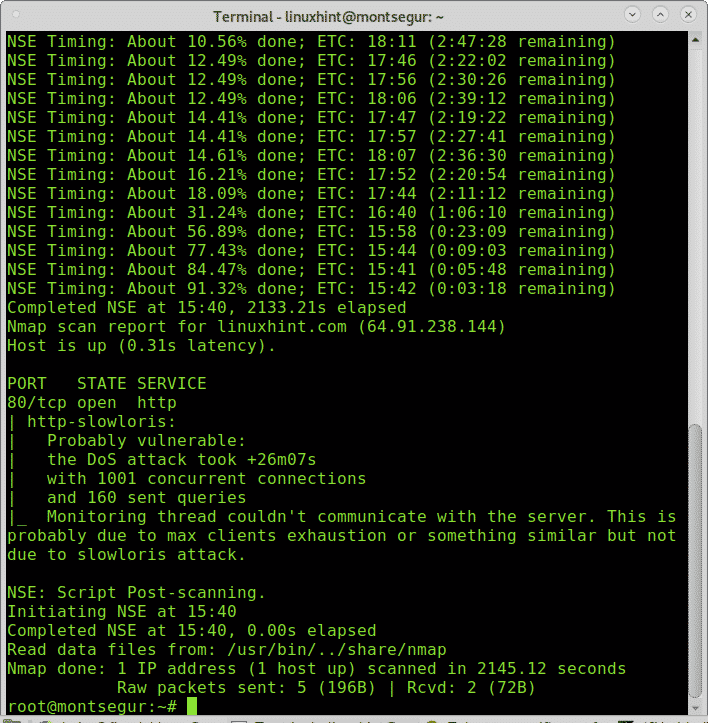
As you can see Nmap found a possible vulnerability (it was a false positive in this case).
You can find a lot of high quality tutorials with different port scanning techniques at https://linuxhint.com/?s=scan+ports.
I hope you found this tutorial on Telnet to a specific port for testing purposes useful. Keep following LinuxHint for more tips and updates on Linux and networking