TCPDUMP Usage Examples:
For learning the usage of the TCPDUMP tool on a Linux Mint 20.3 system, you can consider the following examples:
Example # 1: How to Confirm the Existence of the TCPDUMP Tool on Linux Mint 20.3?
Before starting to use the TCPDUMP tool, you need to make sure that this tool already exists on your system. This can be confirmed by running the command stated below.
![]()
The following output confirms that the TCPDUMP tool is already installed on our Linux Mint 20.3 system:
Example # 2: How to Access the Help Manual of the TCPDUMP Tool on Linux Mint 20.3?
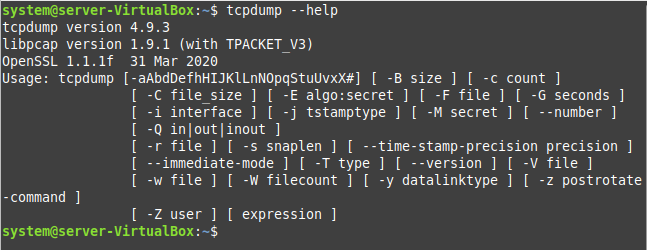
Also, it is recommended to go through the help manual of this tool before using it. You can do this by executing the command shown below.
The help manual of the TCPDUMP tool is shown in the following image:
Example # 3: List down all the Available Interfaces using TCPDUMP:
You need to run the command shown below to list down all the available interfaces on your system.
All the available interfaces of our system are shown in the following image:
Example # 4: Capture Packets from a Single Interface using TCPDUMP:
To capture the packets from one of the available interfaces using TCPDUMP, you can run the command shown below:
Here, you can replace “enp0s3” with the name of the particular interface whose packets you wish to capture.
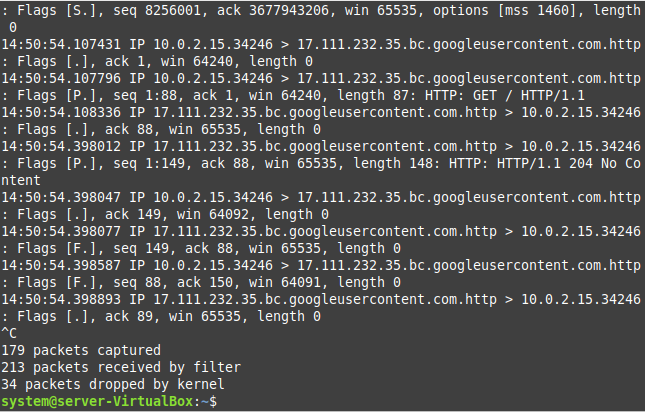
Also, this command will keep capturing the packets as shown in the following image until you stop it forcefully by pressing Ctrl+ C. However, in the end, it will display a summary of the total packets captured, received, and dropped.
Example # 5: Limit the Number of Captured Packets using TCPDUMP:
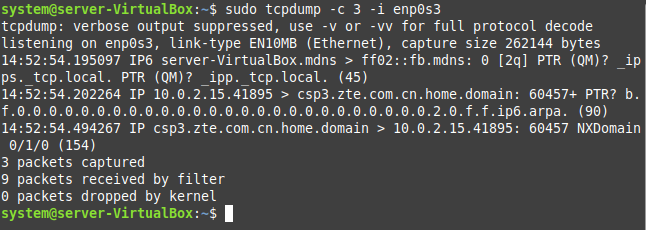
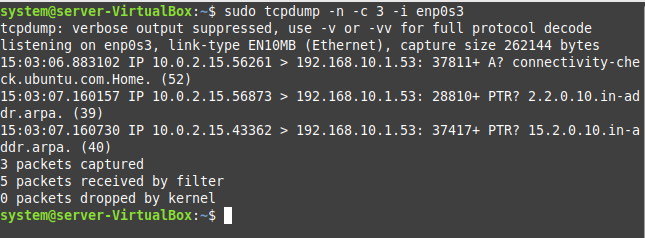
You have seen in the example shown above that the TCPDUMP command keeps capturing the packets until we forcefully stop it. Nevertheless, there is a way through which you can limit the number of captured packets by specifying that number in the manner shown below:
You can replace “3” with any number according to the total packets that you want to capture.
After capturing the specified number of packets, this command will automatically terminate as shown in the following image:
Example # 6: Display the Captured Packets in ASCII Format using TCPDUMP:
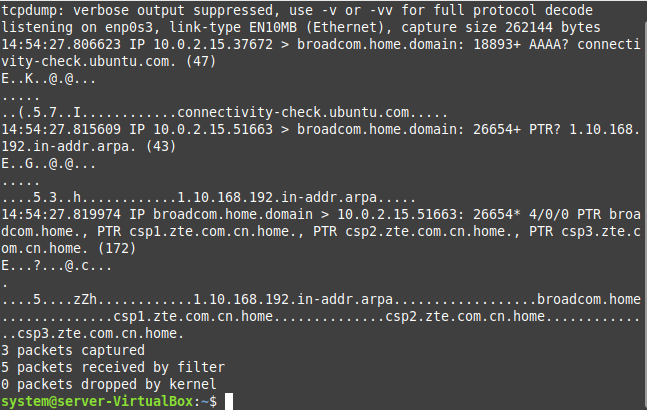
You might also want to display the captured packets in ASCII format. This can be done by running the command stated below:
The captured packets in the ASCII format are shown in the following image:
Example # 7: Display the Captured Packets in ASCII and HEX Formats using TCPDUMP:
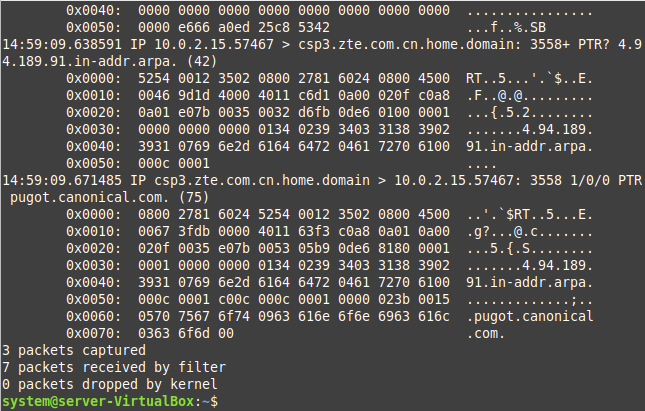
The command shown below can be used to print the captured packets in the ASCII and HEX formats at the same time:
The following image shows the output of this command:
Example # 8: Save the Captured Packets in a File using TCPDUMP:
If you want to save the captured packets in a file, then you need to run the command shown below:
Here, “0001.pcap” is the name of the file to which the captured packets will be stored.
After successfully saving the captured packets to the specified file, the following output will be displayed on the terminal:
Example # 9: Read the Captured Packets from a File using TCPDUMP:
Now, if you want to read and analyze the captured packets that you have previously saved to a file, then, you will have to run the command shown below:
The contents of our specified file, i.e., all the captured and saved packets, are shown in the following image:
Example # 10: Capture Only the IP Packets using TCPDUMP:
You might also choose to capture only the IP packets by running the command shown below:
The captured IP packets are shown in the following image:
Example # 11: Capture Packets Only of a Specific Protocol using TCPDUMP:
The command stated below can be used to capture only the packets that use a specified protocol:
This command will capture three UDP packets from the specified interface, as shown in the following image. You can use the same command while replacing “udp” with “tcp” to capture the TCP packets.
Example # 12: Capture Packets Only from a Specific Port using TCPDUMP:
If you want to capture the packets only from a specific port, then you will have to run the command shown below.
Here, you can replace “29915” with the port number of the port whose packets you wish to capture.
This command will take some time to execute, after which you will be able to see the packets captured from the specified port.
Example # 13: Capture Packets from the Source IP Address using TCPDUMP:
To capture the packets from the source IP address, you will have to run the following command:
You can replace “10.0.2.15” with your particular source IP address.
Again, this command will take some time to finish its execution, after which you will be able to see the captured packets from the source IP address.
Example # 14: Capture Packets from the Destination IP Address using TCPDUMP:
Finally, you can also capture packets from the destination IP address by running the command shown below:
Here, you can replace “192.168.10.1” with the particular destination IP address whose packets you want to capture.
After some time, this command will display the captured packets from the destination IP address.
Conclusion
This tutorial guided you on the usage of the TCPDUMP tool on a Linux Mint 20.3 system. By going through the examples shared in this tutorial, you will at least learn the basic usage of this extremely helpful utility.


