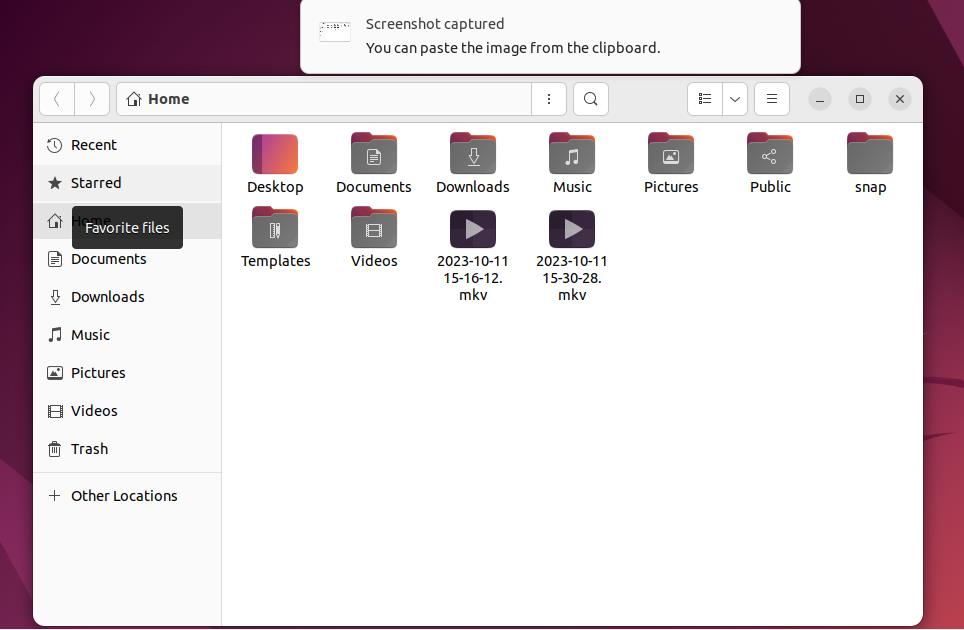
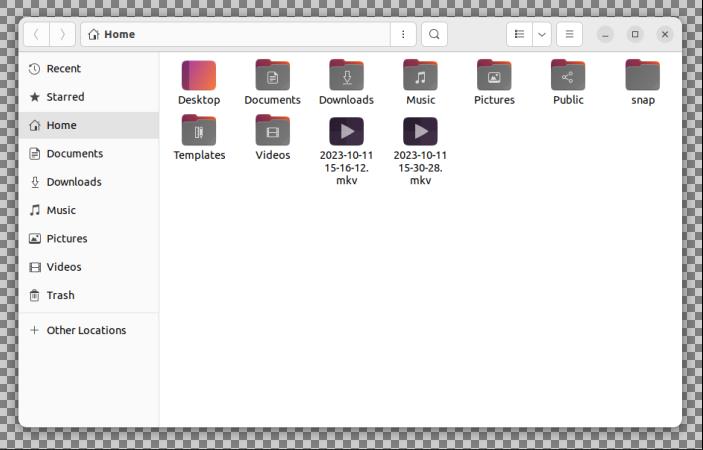
Screenshots are used to capture essential data or information that appears on our mobile or computer screens. A screenshot is a snapshot of your screen that captures everything you see in a precise instant. It is a convenient way to document, share, or preserve the visual information on your computer. Ubuntu allows you to screenshot the entire desktop, a particular window, or a specific part you choose. The Ubuntu operating system has a variety of methods to take screenshots.
In this post, we will examine how to take a screenshot using both desktop applications and keyboard shortcuts.
Method 1: Taking Screenshots Using Shortcut Keys
Taking manual snapshots is the default and frequently used method due to their relative ease. This is probably the best option for users who don’t require advanced features like photo or video editing.
Ubuntu offers multiple options to manually capture a screen. Let’s look at each of them individually:
1. Snapshot of the Entire Screen
To take a screenshot of your full screen by simply pressing the Print Screen (PrtScn) key on your keyboard. The snapped image will be saved to the “Pictures” folder automatically.
2. Snapshot of a Selected Area
There are instances when you only need to capture a portion of the screen such as a dialog box, some portion of your browser, or any active window. Press the “Shift” and “Print Screen” keys for a specific area to capture a screenshot.
3. Snapshot of an Active Window
You can screenshot Ubuntu’s currently opened window by pressing the “ALT” and “PrtSc” keyboard shortcuts. The operating system will snap a screenshot of the currently active/opened window when you use this keyboard shortcut.
Note: Any of the given three methods will store the screenshots directly in the “Screenshots” directory.
Method 2: Taking Screenshots Using the Built-In Tool
By default, the screenshot tool, included with Ubuntu 22.04, provides functionality to record and capture the screen.
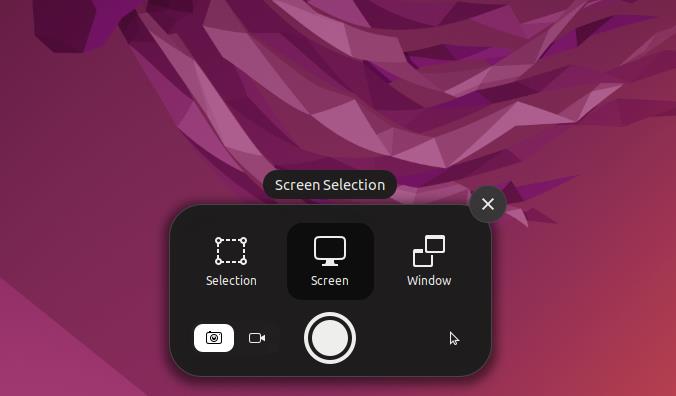
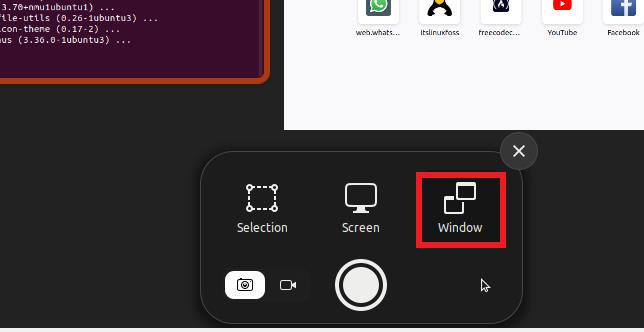
On Ubuntu 22.04, pressing the “PRTSC” button triggers the built-in screenshot tool. Simply press the “PRTSC” key and the tool will appear which allows you to use it.
You can see that three choices for taking screenshots appear:
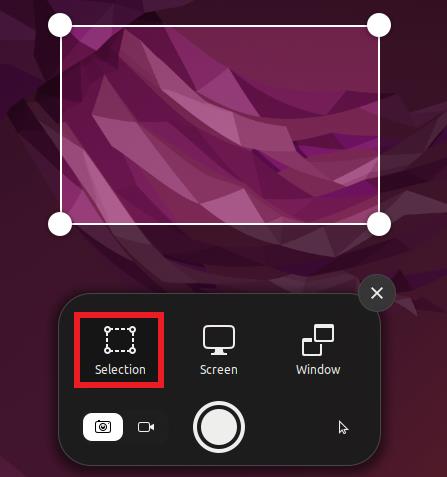
1. Selection Tool
This option selects and takes a snapshot of a particular area of the screen. To do so, click on the pick icon, change the rectangle form selection to suit your requirements, and then press the white circle button to capture the desired region.
2. Screening Tool
When you click the screen button, it automatically selects the entire screen. Simply press the capture button below it to take a snap of the whole screen displaying.
3. Window Tool
To screenshot a specific window, click the window icon to show all the open windows. Then, choose one of the active windows to be captured and press the circled capture button.
Method 3: Take Screenshots Using the Terminal
You can use the commands to snap a screenshot of a window, a section, or the entire display while still in your terminal.
Launch the Ubuntu terminal, then use this command:
The terminal takes a screenshot of the full screen when you press “Enter”. However, remember that using this command, the OS captures both the terminal window and the screen. The screenshot process can be postponed by a few seconds by specifying a delay time to avoid it. You’ll have time to minimize the terminal window.
You can delay the screenshot capture time using the “-d” argument. The “-d” symbol represents a delay, and the value of 4 represents the number of seconds that you want the screenshot to wait before capturing the snap.
To obtain a snapshot of the active/current window, use the following command:
For some minor alterations, enter the following command to add a border to your screenshot:
Method 4: Take Screenshots Using the Gnome Tool
The Gnome Screenshot tool is a simple and intuitive app to take screenshots in Ubuntu.
Step 1: The Gnome Screenshot tool is usually pre-installed in Ubuntu. However, if it hasn’t been installed yet, run the following command:
Output:
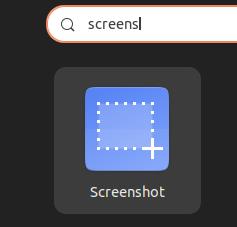
Step 2: Look for the “Screenshot” app in the app launcher by typing “screenshot” and open it.
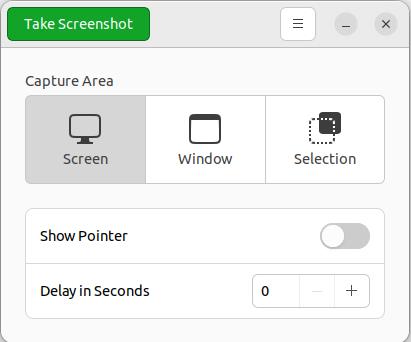
Step 3: As you can see, you may choose “Screen” to take a screenshot of your whole screen, “Window” to capture a single window, and “Selection” to take a screenshot of just a portion of the screen. To take a screenshot, click on “Take Screenshot”.
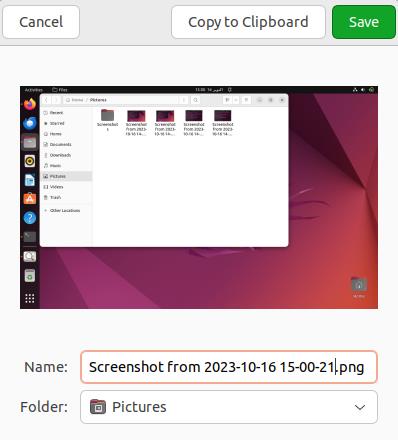
Step 4: Save the screenshot photo in the “Pictures” folder.
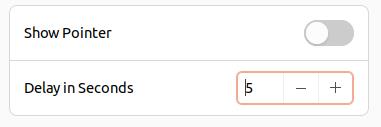
Step 5: The Gnome Screenshot tool’s option to take delayed screenshots is one of its strongest features.
Method 5: Take Screenshots Using a Third Party App
Shutter is another fantastic tool to capture screenshots in Ubuntu. It’s relatively easy to use, even though it initially appears slightly complicated. By default, the tool comes with a basic editor. Additionally, experienced users can easily share screenshots to Dropbox and Imgur. It includes the option of taking delayed screenshots.
Step 1: To install Shutter, execute these commands:
sudo apt install shutter
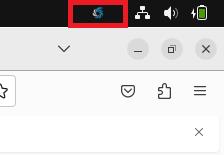
Step 2: Search for the app in the app launcher after installation to start using it. After that, it will appear in the system tray area in the top-right corner where you can click on it to access it.
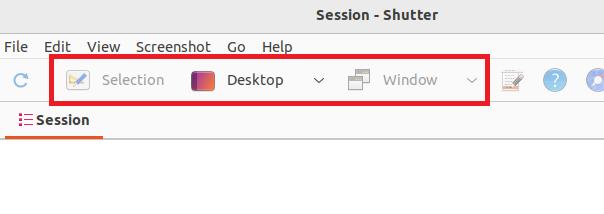
Step 3: Select “Selection” to capture a specific portion of the screen, “Desktop” to capture the full display, or “Window” to capture a particular current window to take a screenshot in the application.
The snapshot is stored by default in the “Pictures” folder. There is no need to manually save it.
Step 4: If you’ve taken multiple screenshots, they will also appear in a tabbed interface under the “Shutter” window.
Conclusion
We covered several methods for taking screenshots in Ubuntu in this article. You can use the keyboard shortcuts, the built-in screenshot tool, the terminal, the Gnome Screenshot tool, or the third-party tools like Shutter. Your particular preferences and requirements will determine the best choice for you. Keyboard shortcuts are the best choice if you want to snap quickly and easily. A dedicated snapshot tool is preferable if you require more control over the screenshot process such as delayed screenshots or modifying your screenshots.


