Apart from data storage functionality, the AWS S3 bucket provides a remarkable feature of static website hosting over it.
A website that doesn’t involve server-side communication is called a static website. In this guide, we will discuss a step-by-step procedure for hosting a static website on the AWS S3 bucket.
Create an S3 bucket on AWS
The first step to hosting a static website on AWS S3 is to create an S3 bucket in your account. After creating the bucket, we will upload the website contents and files in our bucket. The website content will then be assigned specific permissions to be accessible to the public.
Login to your AWS management console and go to the search bar and search for S3 there. This will lead you to your S3 dashboard:
Click on Create Bucket at the right corner of the S3 console:
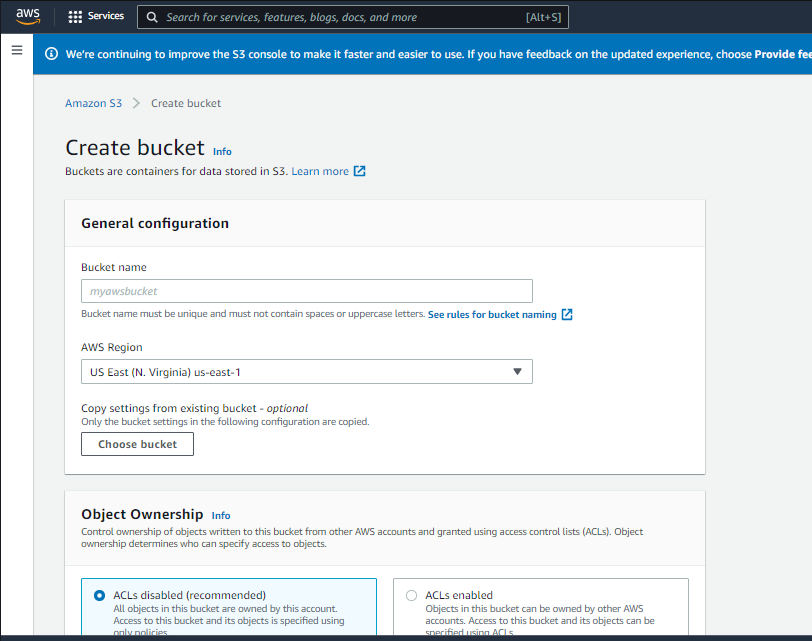
Next, you need to provide your S3 bucket name, the region where you want your bucket to be created, and then configure your bucket’s security and privacy setting:
Enter Bucket Name, try to make it look like your domain. The bucket name should be unique for all AWS accounts around the world:
Select the region in which the S3 bucket will be created. Try to select a region near the public that will access the website:
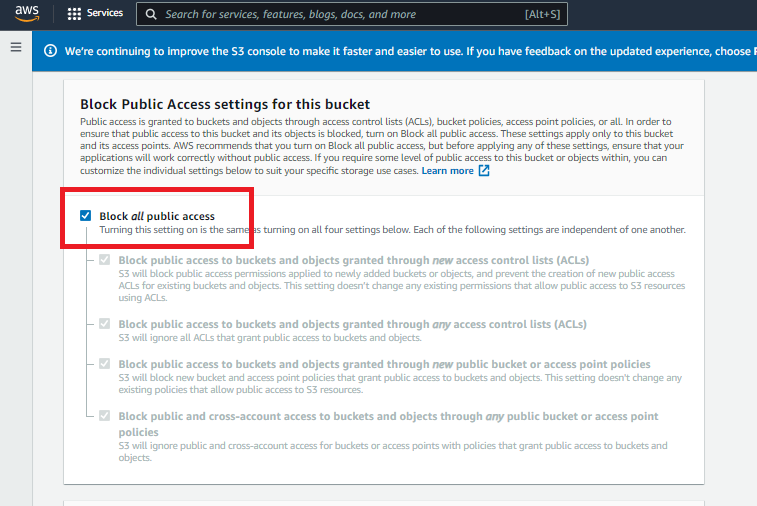
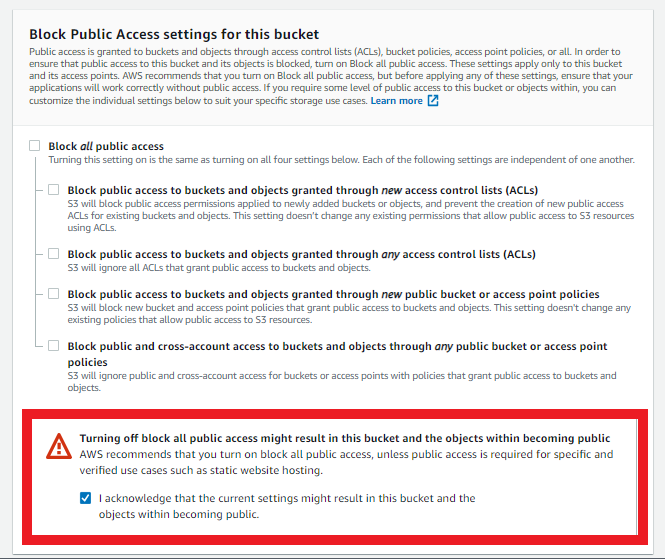
Since we wanted the website to be accessible to the audience, we had to grant the public access to the objects of this S3 bucket. For that, uncheck the Block all public access checkbox in the “Block Public Access setting for this bucket” section:
After configuring the public access settings, a section will appear to acknowledge the S3 bucket and its content being made public. Check the box to acknowledge it:
Now, you have finished setting up your bucket, leave other options and settings as it is, and just click on the Create Bucket button at the bottom right corner:
If the bucket name you specified is unique, the S3 bucket will be created. Otherwise, you will get an error, and you have to change the bucket name.
Upload Your Website to the S3 Bucket
After creating the S3 bucket, it is time to upload website content to the S3 bucket. From the S3 console, select the S3 bucket you just created:
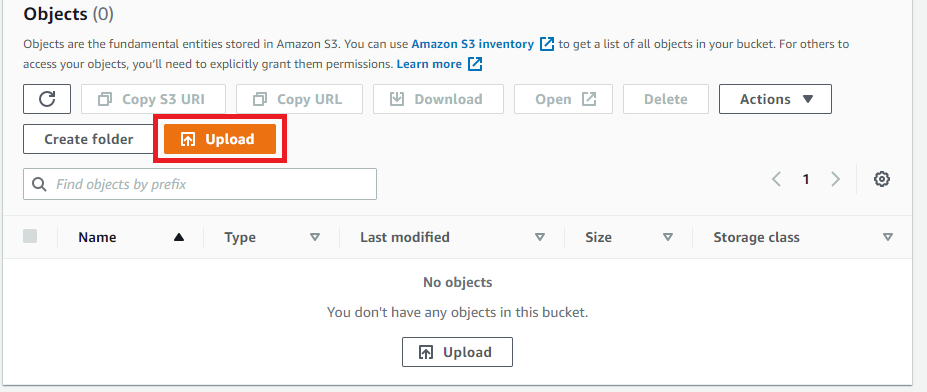
Go to the Objects section, and then Click on the upload button. Now, browse your system for the directory you want to upload into the S3 bucket. Select the static website directory and upload it to the S3 bucket:
Uploading the static site content may take some time depending upon the size of the folder:
After a successful upload, click close at the right corner. You will be directed back to the object section.
Setting up Static Web Hosting in S3 Bucket
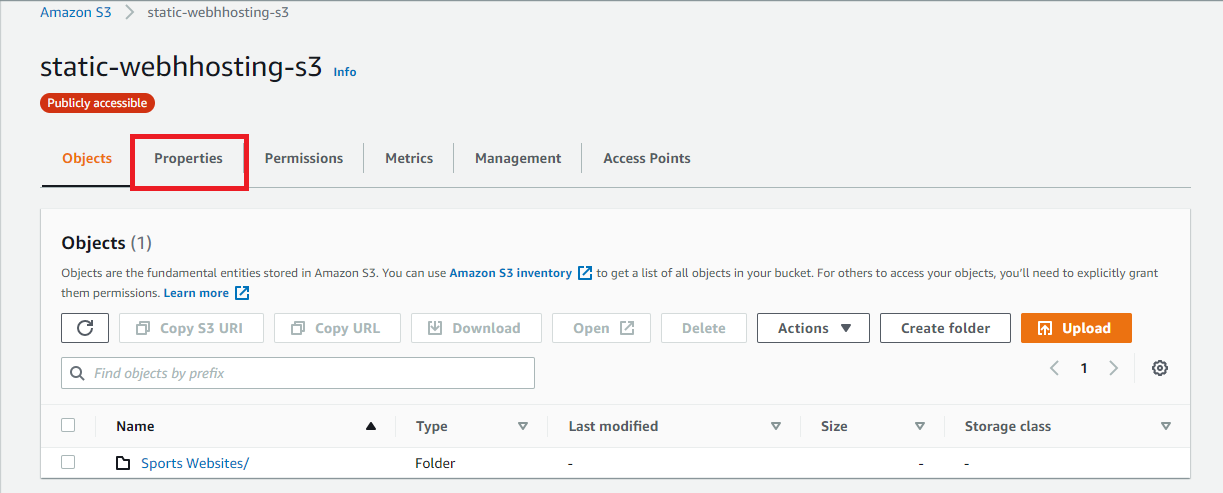
After uploading the static site content, enable hosting on your S3 bucket. In order to allow static website hosting on your S3 bucket, go to the properties tab from the top menu in the S3 bucket:
Scroll down in properties tab and look for the Static Website Hosting section:
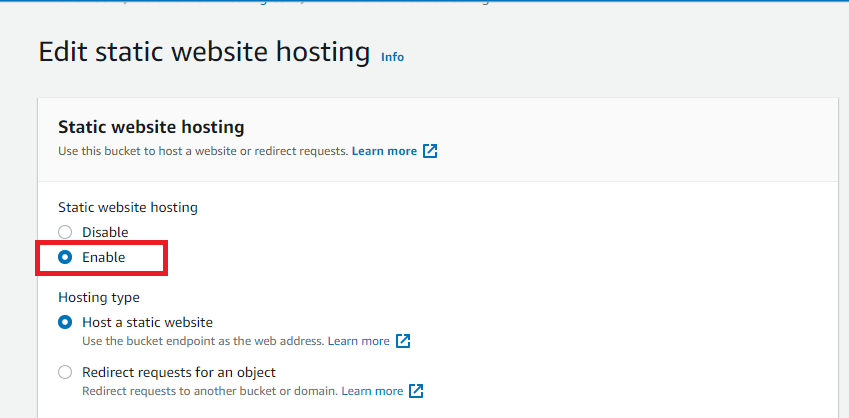
Click on the Edit button in the Static website hosting section and enable the hosting:
After enabling static website hosting, specify the index file of your project (the opening page of your website or web application). In this case, it is index.html:
Also, if there is an error file in your project, you must specify it in the error document field. This will appear in case your actual web page is not reachable. Now. click on the Save changes button to apply the changes to your S3 bucket:
Now, our S3 bucket is hosting the website content uploaded to it and is publicly accessible. In order to access the website, we need a public URL that AWS itself provides. This URL can be seen in the static website hosting section of the S3 bucket:
Go to the URL provided by S3, and the website will not be accessible because we have made the S3 bucket public, but the objects inside the S3 bucket are not public yet:
This problem can be solved by using the S3 bucket policies.
Setting up Permissions in S3 Bucket
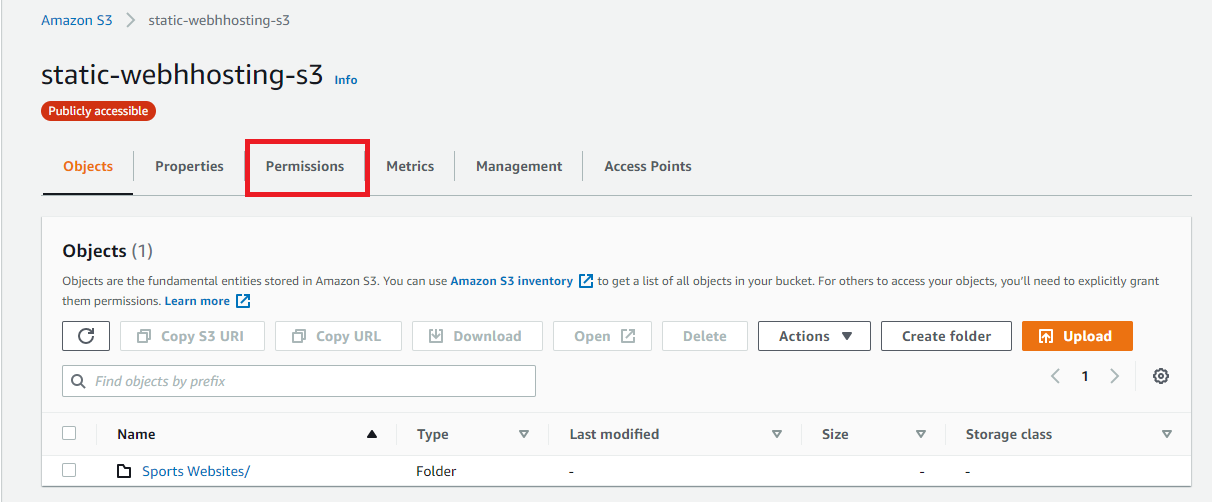
To make our content accessible publicly, we need to add a bucket policy for which we have to go to the permissions tab of our S3 bucket to make some changes to the permissions of our S3 bucket:
Now, move to the bucket policy section and click on the Edit button:
Paste the following JSON in the editor to allow the public to read files from the bucket:
"Version": "2012-10-17",
"Statement": [
{
"Sid": "PublicRead",
"Effect": "Allow",
"Principal": "*",
"Action": [
"s3:GetObject",
"s3:GetObjectVersion"
],
"Resource": "arn:aws:s3:::YOUR-S3-BUCKETNAME/*"
}
]
}
Make sure to replace “YOUR-S3-BUCKETNAME” with your S3 bucket name in the JSON policy.
Accessing the Website Through URL
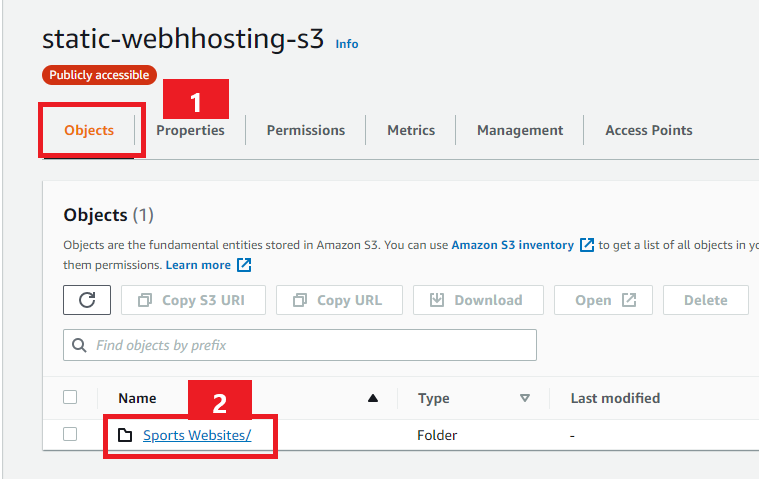
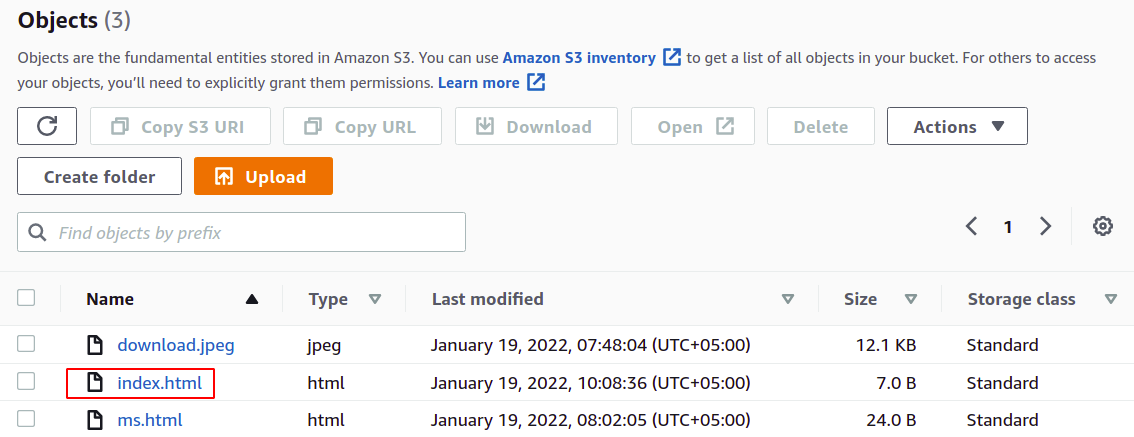
After setting the permissions for the bucket, it’s time to access the webpage through the URL. For this, go to the Objects tab of the S3 bucket and go to the static site directory:
Look for the index.html file in the folder, which you defined as the index document for this project. Click on the index.html file:
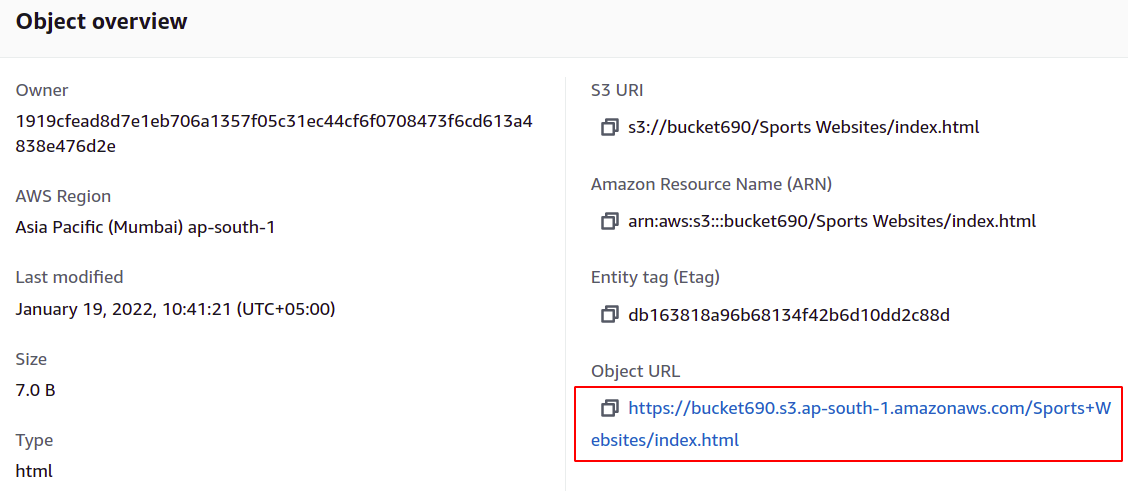
Now, in the object overview section under the properties tab, you can find the URL of the static website:
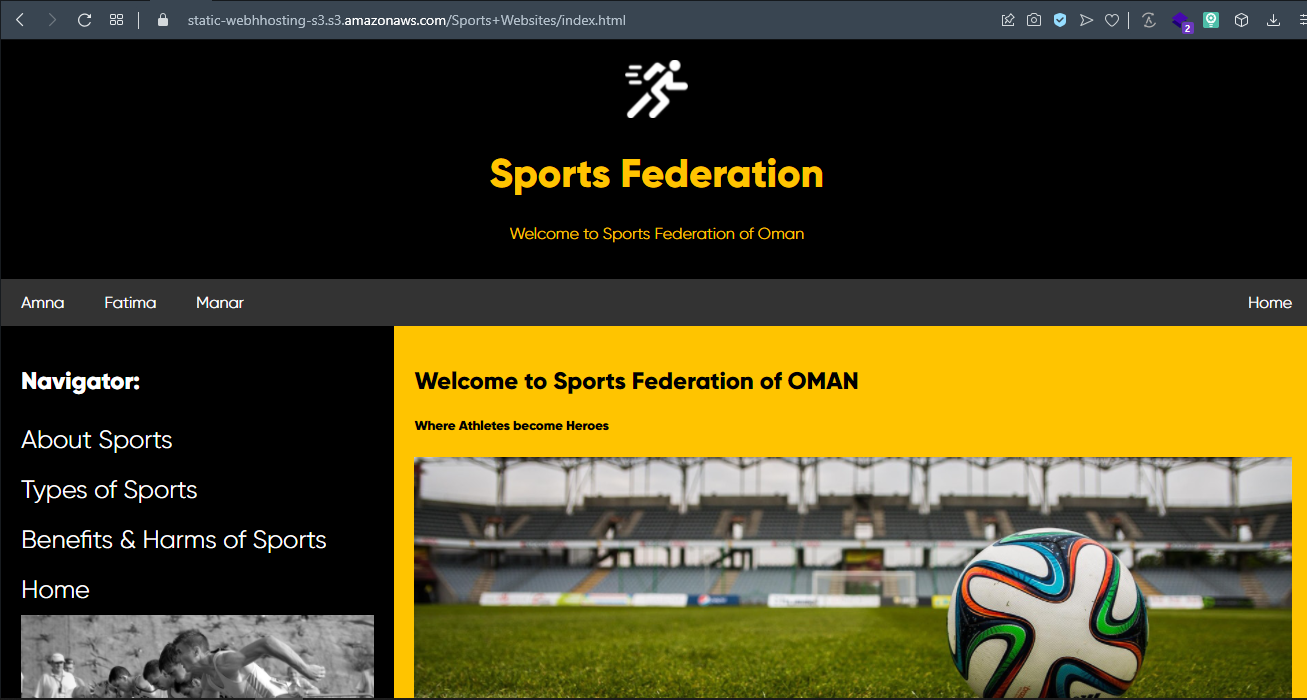
Go to this URL, and the static website hosted on the AWS S3 bucket will be accessible via browser:
Conclusion
Creating, managing, and hosting websites and webpages and sharing data publicly is very important and crucial as this provides the public face of most brands and organizations. Looking at this perspective, AWS has developed a great idea to publicly provide an easy and simple solution for their users to host content using the S3 bucket. This guide describes simple steps to host your static website using the AWS S3 bucket. We hope you found this article helpful. Check out other Linux Hint articles for more tips and tutorials.


