
SSHFS is a command-line tool that must be installed on the local machine, and it utilizes the SSH file transfer protocol to allow the safe mounting of a remote folder on the local system where you can edit it. This guide discusses the steps of installing the SSHFS on a local client and how to configure it to mount a remote directory.
Installing SSHFS on the Client Machine
SSHFS stands for Secure Shell File System. It is a command-line tool installed on a client machine to facilitate the mounting of directories of a remote server to the local system. Its implementation utilizes the FUSE (Filesystem Userspace) kernel module.
The SSHFS package is available on Linux, and you can quickly install it on Ubuntu, as follows.
First, update the repository packages.
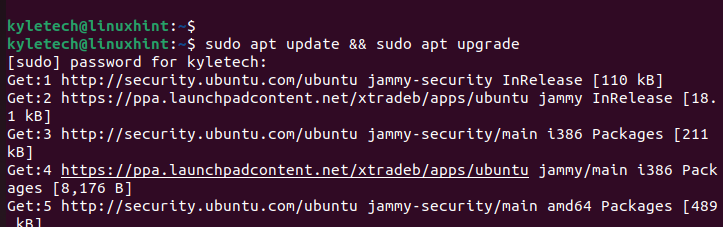
Next, run the following command:

If using CentOS, use the following command to install SSHFS:
For Arch, use the following command:
Once the installation is done, let’s check how to mount it.
Configuring SSHFS
The configuration of SSHFS involves mounting a remote file system into your local system. So, you first need to create a mount point, mount the file system, confirm it’s mounted, then unmount it.
Creating a Mount Point
Linux systems have the /mnt where you can create a sub-directory and use it as your mount point.
Use the following syntax to create your mount point.
For our case, let’s name it linuxhint using the following command:

Mount the File System
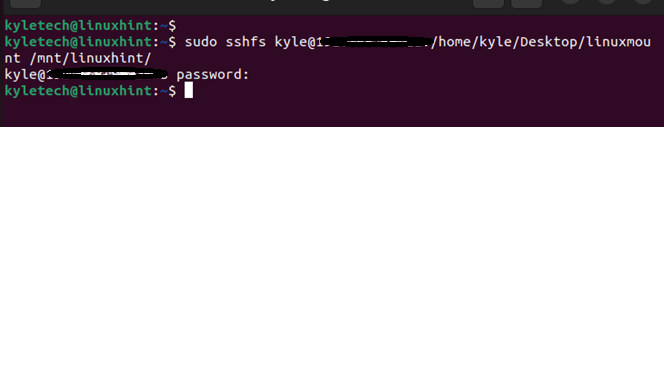
With the mount point created, we can use SSHFS to mount our remote file system using the following syntax:
Various options can be used with SSHFS, and you can check its man page for more details. For our case, we will run the following command to mount our remote file system:

You will be prompted to confirm the authentication key if it’s your first time connecting. If connecting via another port, specify it using the -p option. In the previous case, we are using the default port for SSH connection with no options.
We are adding the mount point we created at the local system to host the remote file system.
Enter the password for the remote server to authenticate the connection.
Verify the Mounted File System
To verify the mounted file system, you can list the contents of the earlier created mount point. It should contain files from the remote server.
List the contents as follows:

We can note that our mounted file system contains one file. You can work with the mounted file system via the command line or GUI.
Unmount
Once you are done working with the mounted file system, you should unmount it.
Here’s the following command:

Lastly, delete the mount point that you created.

You can install and configure SSHFS on Linux to mount a remote file system to your local system.
Conclusion
SSHFS is an excellent way to mount a remote file system to your local machine. Once you install the SSHFS tool on your local client, you can quickly connect securely to the remote server and mount files to your local system. This guide has covered the necessary steps to follow. Hopefully, you managed to mount your remote file system.