After reading this tutorial, you will know how to configure Squid port and hostname, block access to specific websites, and allow internet access to specific devices.
What is Squid proxy:
A proxy is a server located between two networks; in this case, the most common implementation of a Squid proxy is the division between user computers and devices and the internet, divided or separated by a proxy server in the middle. In other words, a proxy server function is to concentrate the network traffic through a single server. In this tutorial, we will redirect local network traffic to the internet through the Squid proxy. Only the device working as a proxy needs internet access; the rest of the devices will connect through it.
Since all connections pass through the proxy, its implementation allows us to filter accesses. Using a proxy, network administrators can blacklist forbidden websites or applications; although this is not Squid’s main purpose, it is useful to increase network activity control.
Usually, in this scenario, the proxy device has two network interfaces. A network card is used for the local network, while the second is used to access the internet. All connection petitions requested by local network devices are passed through the internal network card and forwarded to the external network card if traffic is allowed.
Additionally, Squid proxy works as a cache server by saving data obtained from different petitions, increasing the traffic speed when similar petitions are done. In this case, only new or modified data will load; the rest will remain stored in the server. Usually, several cache servers are implemented, and they are structured as trees.
Getting started with Squid proxy in Linux:
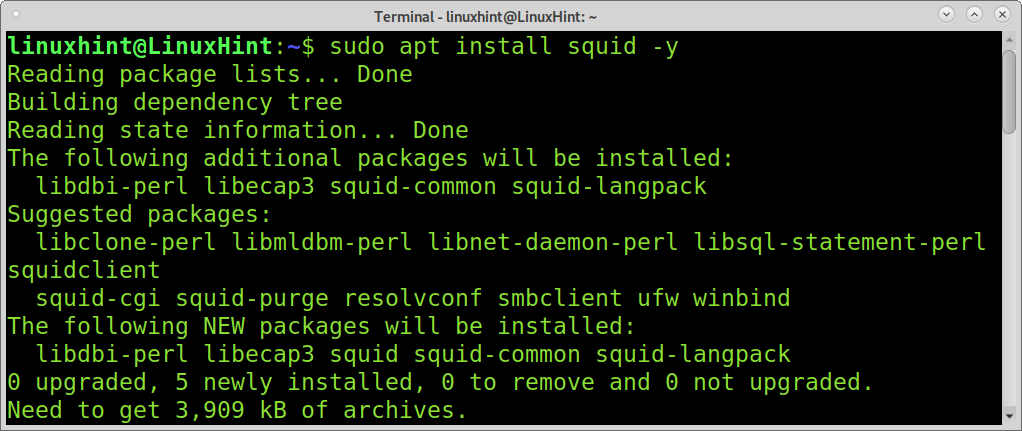
To begin, to install Squid on Debian-based Linux distributions, run the command below.
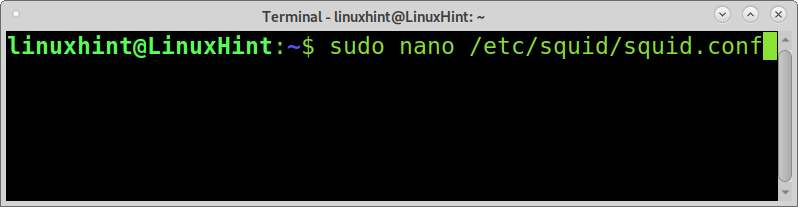
Squid’s configuration file is located in /etc/squid/squid.conf.
Do a backup of your configuration file; you can do it by running the command below.

Make the backup non-writable by running the following command.

Now you can edit Squid. To edit Squid’s configuration file in production, run the command below.
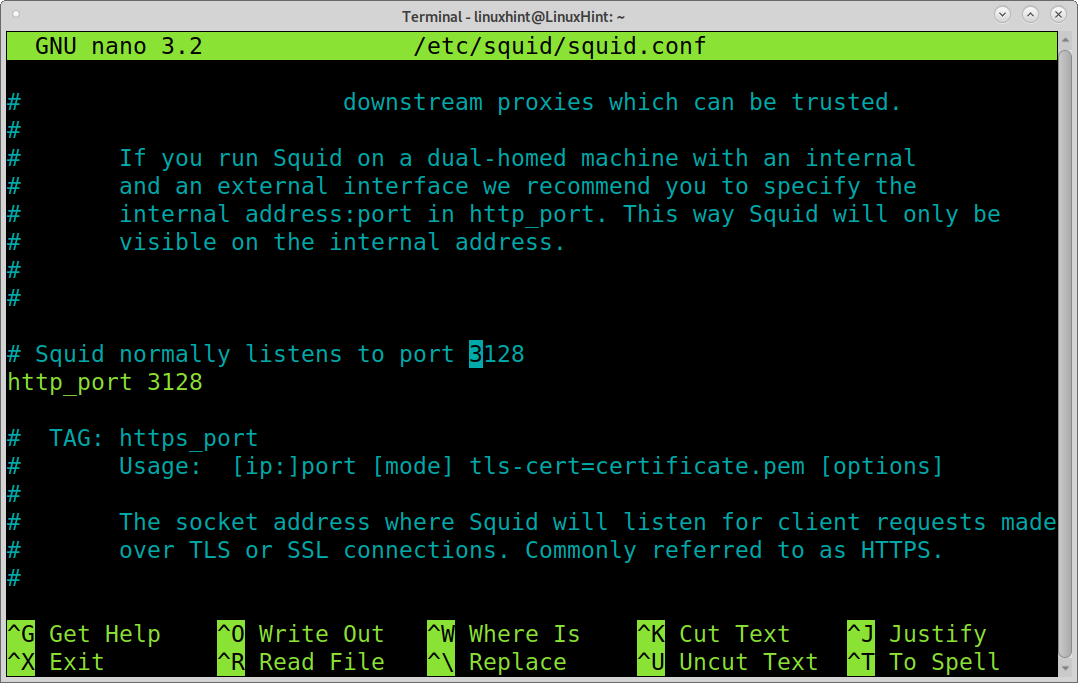
The line containing http_port 3128, as shown in the image below, you can edit Squid proxy port; by default, Squid proxy port is 3128, but you can change it by modifying the following line.
Note: Using a nano text editor, you can find each line by pressing Ctrl+W (Where).
Find the line containing http_access allow localhost to reach the section with allowed and denied hosts.
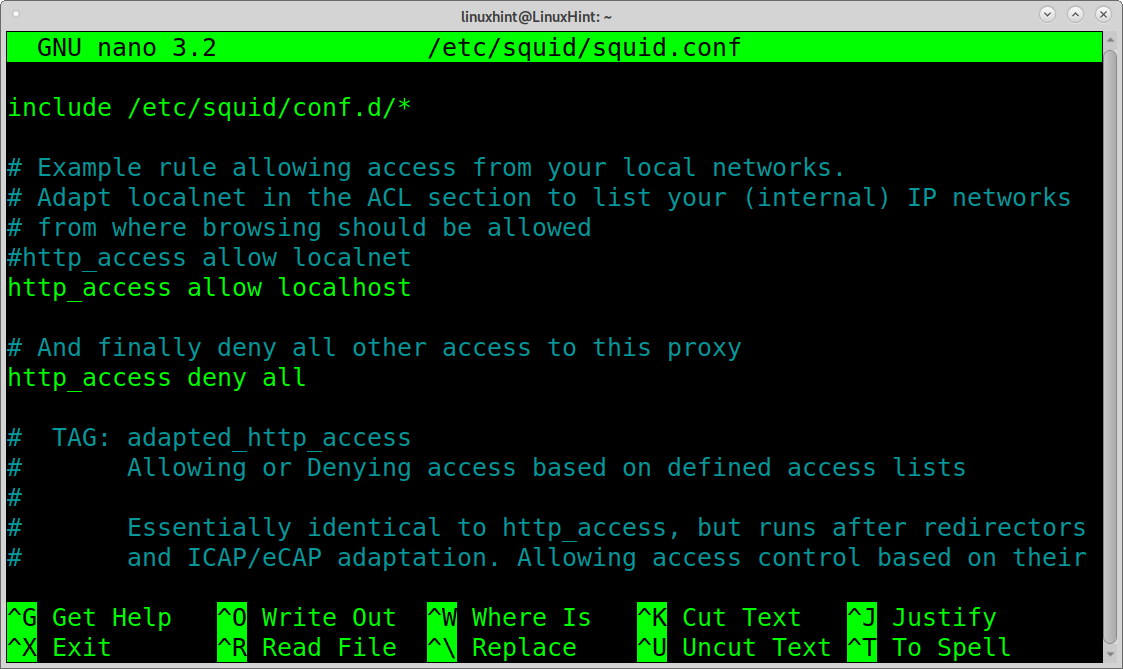
To allow internet access to all your clients, add the following line as shown in the screenshot below.

If you save and reload Squid, you will notice your clients now have internet access (you need to configure your clients to use the proxy).
You also can edit the proxy visible hostname (which may be different from the device hostname). To add a line similar to the following, replace LinuxHint with the visible hostname you want for your server.
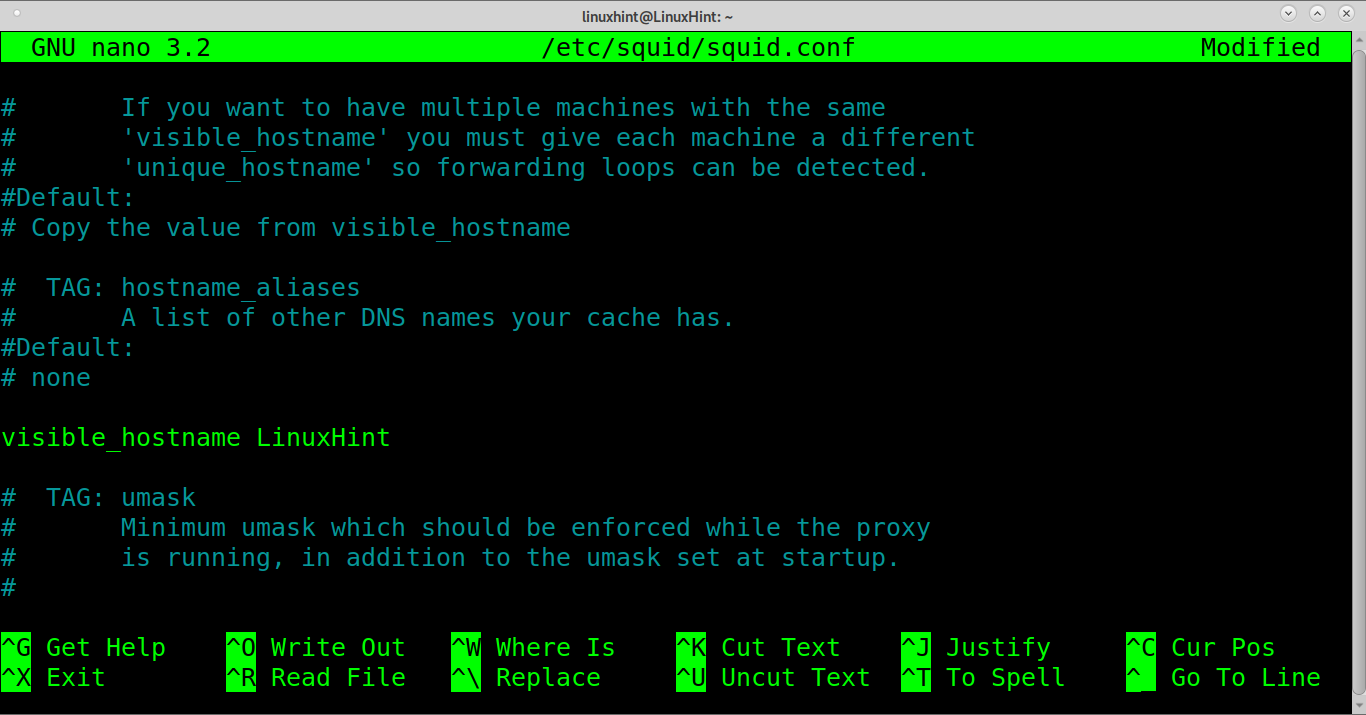
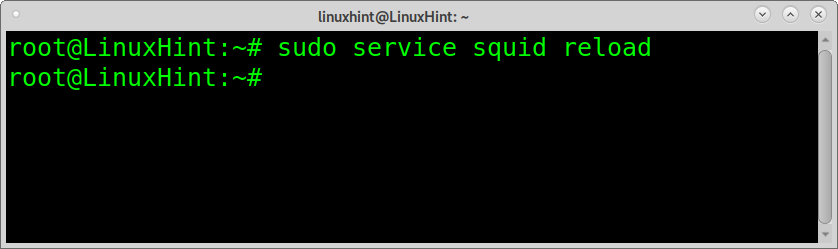
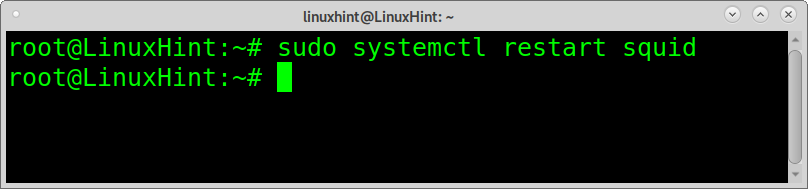
To load changes, restart squid by running the command below.
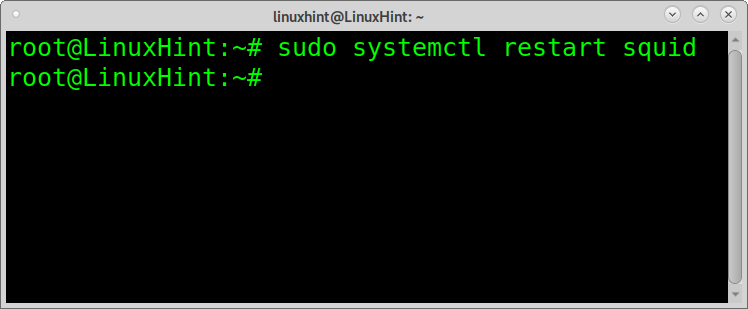
You also can restart squid using systemctl as shown below.
Blocking access to specific websites using Squid in Linux:
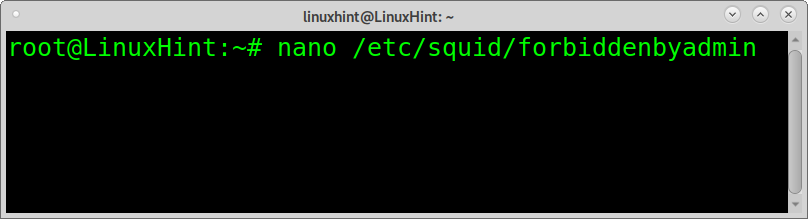
As said previously, we can use Squid proxy to define allowed and forbidden websites. Now we will implement a rule denying access to Facebook. To create a name under the /etc/squid/ directory, the file name is arbitrary; I called the file forbiddenbyadmin.
You can use the command below to create a file with the same name using nano.
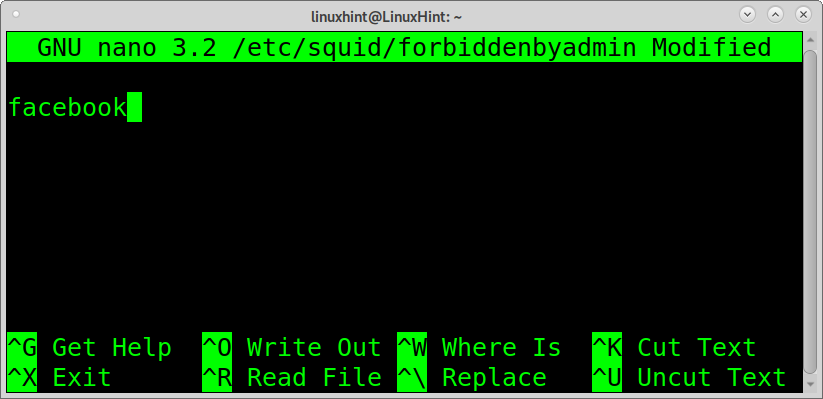
In the file, type the site you want to block; you can add a site per line, as many as you want. It is not necessary to type the whole domain name. Then, save and exit nano.
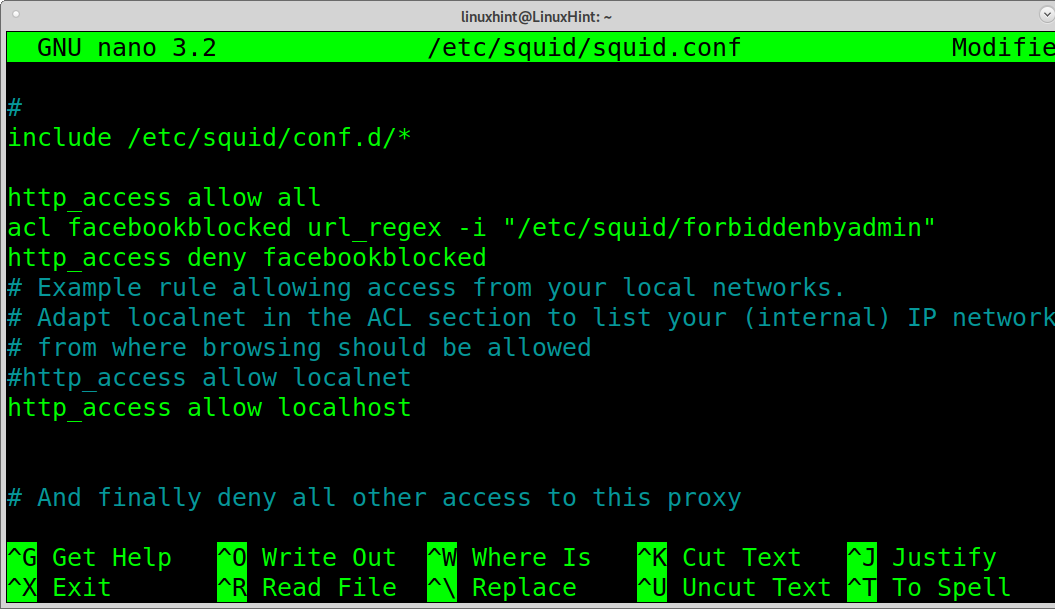
After saving the file, open the Squid configuration file again.
Below the line we added previously, add the following lines to block Facebook. The first line must contain between quotation marks the correct path to the file containing blocked sites.
http_access deny facebookblocked
Close and save the configuration and reload Squid; if you try to access Facebook from your clients, you won’t be able to access it.
Allow only specific devices traffic using Squid:
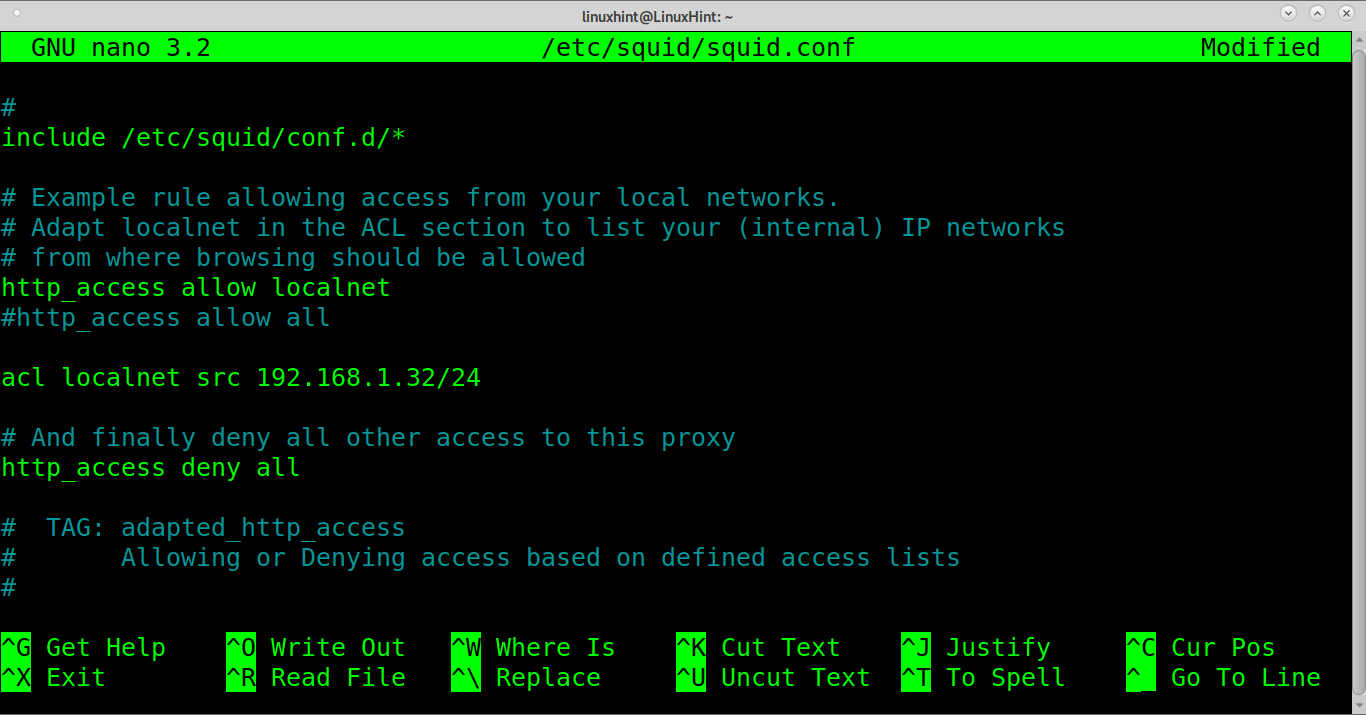
You also can define what devices will be allowed to connect through Squid proxy by implementing acl directives. The following line allows traffic only from IP address 192.168.1.32.
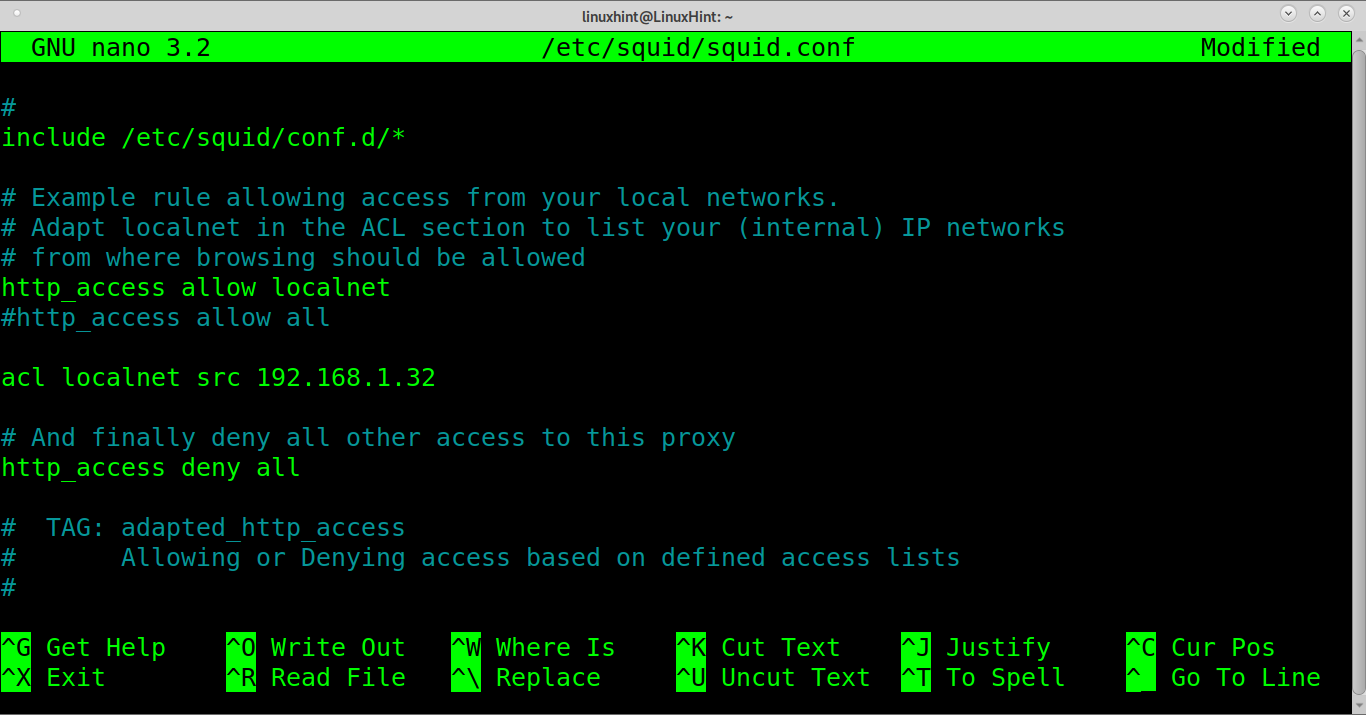
You also can specify an allowed local network, as shown in the screenshot below.
Note: remember to configure your clients to access the internet through Squid.
Adding Squid proxy authentication:
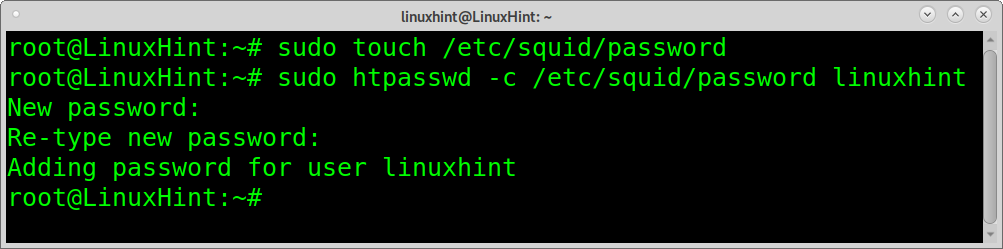
You also can implement basic login with user and password. Create a password file by running the command below.
After creating the password file, create the username and password running the following command, and fill the password fields when required, as shown in the screenshot.
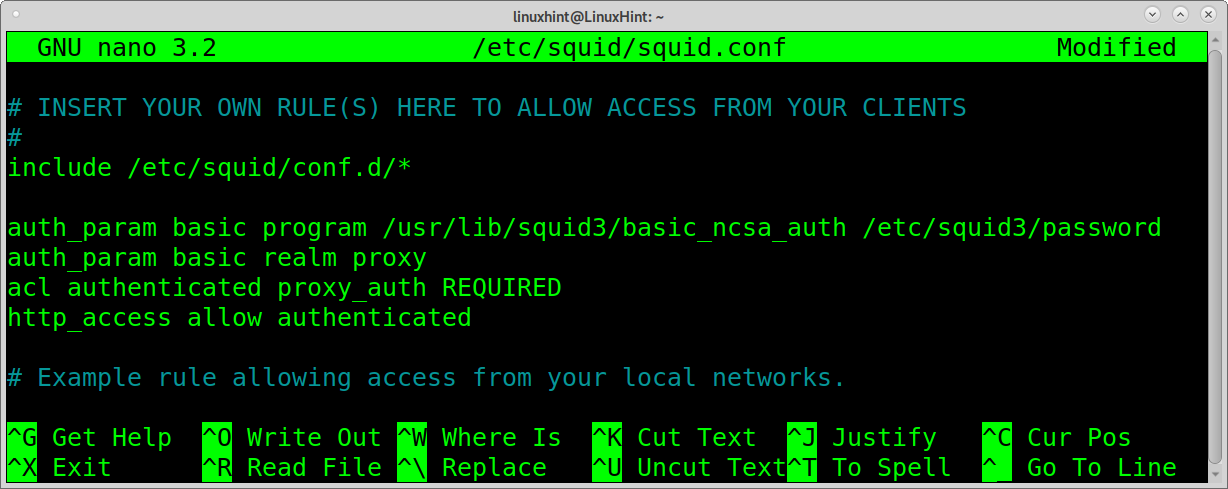
Then open the /etc/squid/password configuration file.

Insert the following lines in the configuration file.
auth_param basic realm proxy
acl authenticated proxy_auth REQUIRED
http_access allow authenticated
Restart squid.
Conclusion:
As you can see, implementing Squid proxy is very advantageous for networking and sysadmins. By implementing Squid proxy system administrators, or even teachers can easily control the network traffic and implement policies and rules. Configuring Squid proxy is also easy and very well documented.
I hope this tutorial explaining the Squid proxy configuration on Linux was useful. Keep following Linux Hint for more Linux tips and tutorials.