Smart Git is available for Windows, Linux, and Mac. This guide covers the two ways of installing and configuring the SmartGit client on Linux.
Installing and Configuring SmartGit
SmartGit offers a graphical interface for interacting with Git and supports GitLab, GitHub, etc. The tool is free for non-commercial usage. This guide guides you on installing it on Ubuntu.
SmartGit offers the following features:
- Allows quick cloning of repository.
- You control the file size to fetch when cloning a repository.
- It has a built-in SSH client, merge tool, and file compare.
- It allows modifying the commits before a push request.
There are two ways to install SmartGit. You can add its PPA then install it or download its DEB package and install it. Let’s dig in!
Method 1: Using the SmartGit DEB Package
The “.deb” packages for SmartGit are available on its website. Visit the SmartGit website and locate the package on the downloads package.
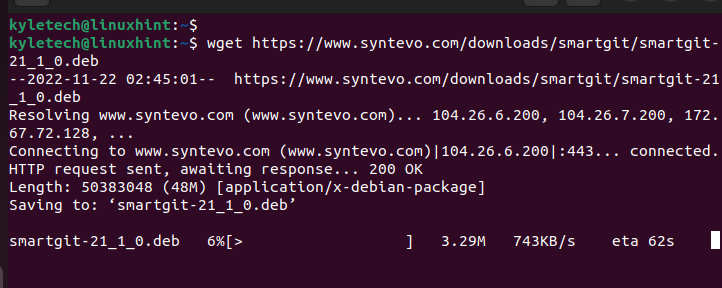
Alternatively, you can download the “.deb” package from the command line using curl or wget. For this case, we download the version 21.1.0. You can download any version.
The “.deb” package is downloaded and saved into the current directory. You can list the directory contents to verify that the package is downloaded.
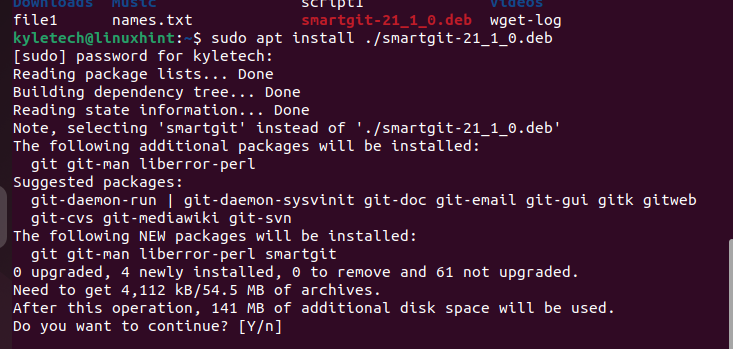
Next, install the “.deb” package using this command:
You will be prompted to confirm the installation. Press y to proceed with installing SmartGit on your system.
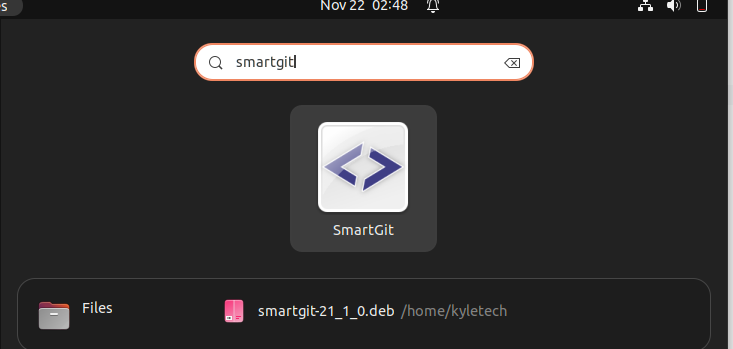
Once installed, search for it from your applications and click on it to open.
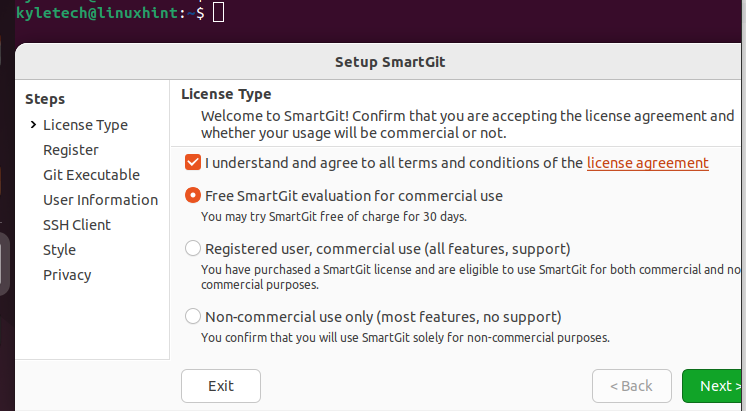
The welcome page will load as shown in the following:
Read the license, tick the check box to accept the terms and conditions, and click the Next button at the bottom.
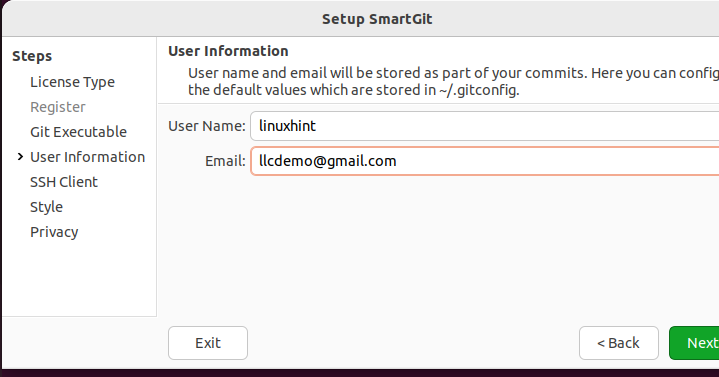
On the next window, set up your SmartGit by adding your username and email. Then, proceed with the setup by clicking Next.
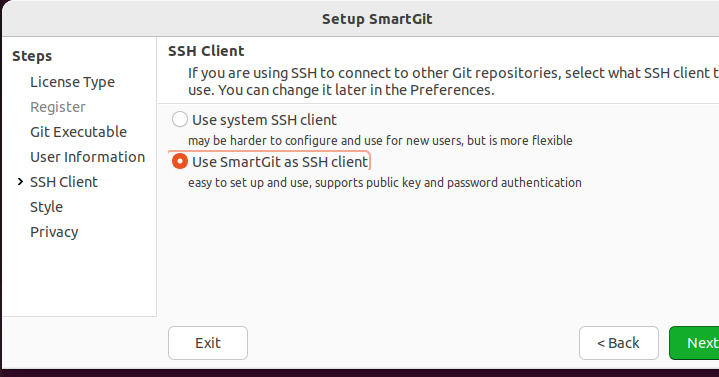
Configure your preferred SSH client. You can choose the SSH system or set the SmartGit as the SSH client. Then, proceed with the setup process.
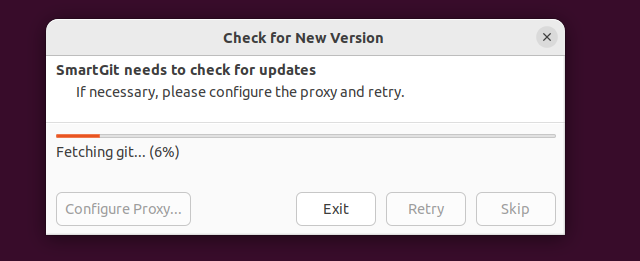
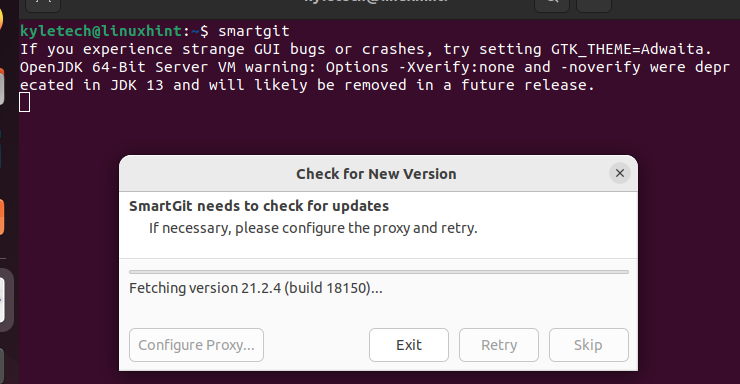
SmartGit then checks for updates and install them.
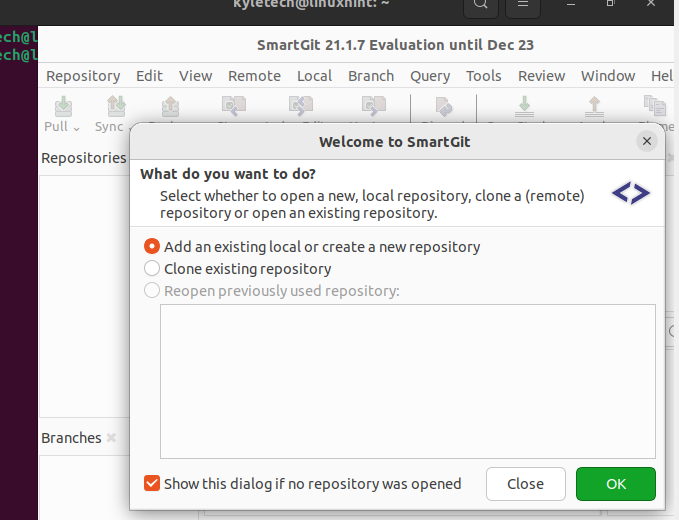
Your installation is complete. Go ahead and clone a repository or create a new one.
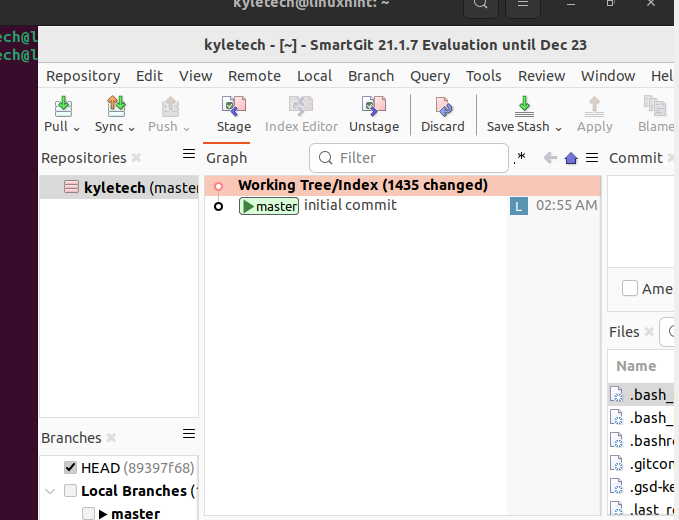
The dashboard for the SmartGit client looks as shown in the following. You can interact with the various options to work with your repository:
That’s how to configure the SmartGit client on Linux. When you don’t need SmartGit in the future, uninstall it using the following command:
Method 2: Install via PPA
SmartGit package is not available on Linux. However, you can add its PPA to install it via apt.
Use the following command to add the SmartGit PPA:
To proceed with adding the PPA, press the Enter key.
Once the PPA is added, update the apt repository.
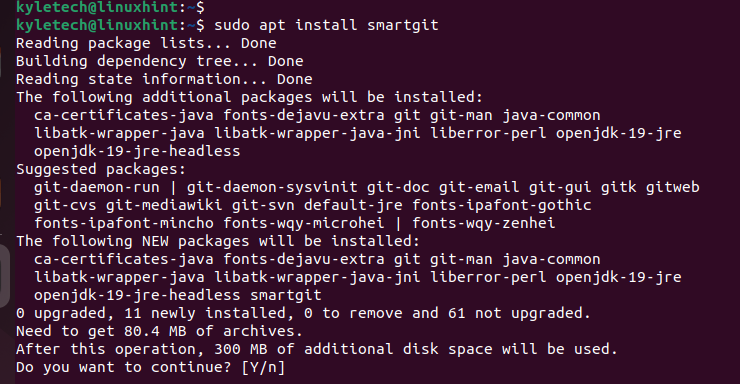
Next, use apt to install the SmartGit package.
Press y to confirm installing the package.
Once the installation completes, you can open the SmartGit from the applications or directly from the terminal.
The configuration process is the same as the one that we followed earlier. Follow the installation prompts to configure SmartGit on your system to your preference.
To uninstall SmartGit, you must first remove the added PPA if you installed it using the PPA method.
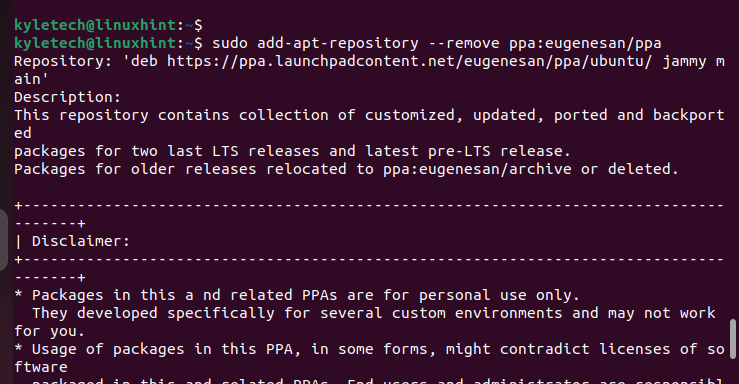
Use the following command:
Press the enter key to confirm removing the SmartGit PPA.
Lastly, remove the installed package.
That’s it! Using the previously mentioned steps, you can now comfortably install, configure, and uninstall the SmartGit client on Linux.
Conclusion
SmartGit is a reliable Git interface client with support for GitHub, GitLab, and BitBucket. You can install it on Linux using its “.deb” package or by adding its PPA. This guide detailed the steps for installing and configuring the SmartGit client on Linux. Go ahead and install it on your system.

