Getting started
We will show you several different methods you can use to display images in the Terminal. Mostly our focus will be on installing and using third-party utilities, except for one method where you can use a built-in command to achieve the same task. Let’s break down our discussion in the form of a list for the sake of accessibility.
- Using Feh
- Using Viu
- Using FIM
- Using a built-in command
That roughly covers all the main points of this guide, so without any further ado, let’s get into it!
Using Feh
Feh is a nifty little tool that you can install on your system to show images in the Terminal. It can be installed through the official Ubuntu repositories as we’ll show you shortly. But before that, let’s talk about some of the features this image viewer has to offer.
Feh supports various image-viewing modes, file lists, configurable keyboard and mouse shortcuts, signals, image captions, terminal input, and much more. Some of the viewing modes are slideshow, montage, multiview, and index.
Before we get to how you can use these awesome features, let’s install the package. Open up a new Terminal session through the Activities menu or by pressing Ctrl + Alt + T on your keyboard. The first step is to enter the command given below.

You will need to have the multiverse repository added, so if you do not already, make sure to run the command below before you install Feh.
Having installed the image viewer, we will now show you how you can use it. First, change your current directory to the folder where you have the picture you want to display. The next step is to run the following command.
For example, we have:

You can press the “q” key to exit out of the picture.
This program can be used to perform many tasks since it has multiple viewing modes. Click here to see the full documentation if you are interested. You can also run the command below to see help regarding the usage.
Using Viu
Next on our list of image viewers is Viu. You can use this open-source command-line utility to display images in the Terminal. Some of the many accessible image formats are .jpg, .png, .igif, and more.
Essentially, Viu is the front-end of the app known as Viuer. It chooses between two graphics protocols to use – iTerm and Kitty. Viu is able to display animated GIFs, use custom dimensions, and gives the user transparency control. You can also input media into Viu through stdin.
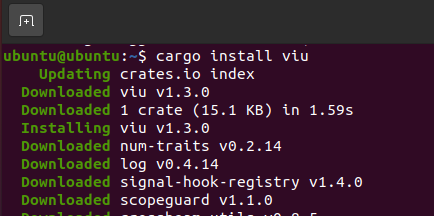
Now, let’s move on to the installation part. Viu is written in the programming language known as Rust, therefore it can be downloaded using the Cargo package manager. If you do not have it already, run the command below to install it.
It should take a few moments to install. Once it is done, run the command below to install Viu.
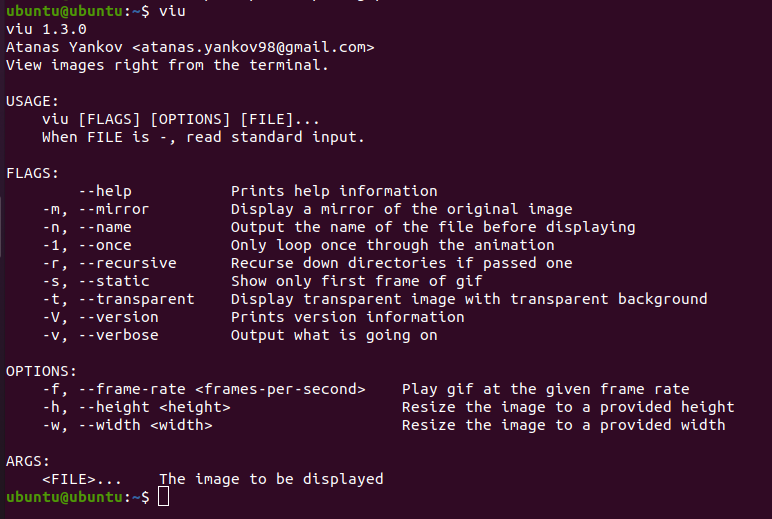
Now that we have successfully installed Viu, the next step is to start using it. Run the command below to see a breakdown of instructions on its usage.
As we did for Feh, we can run the command below to display an image through Viu.
With that being said, we have covered almost everything there is to know about Viu. If you wish, feel free to visit the documentation page and learn more about this utility.
Using FIM
FIM, short for FrameBuffer Improved, is a highly configurable command-line utility that allows users to display images in the Terminal. It can display almost any type of graphical content on the command line and comes in very handy to all Terminal lovers.
FIM has many cool features, some of which are user-customizable key bindings, command aliases, EXIF tag display, internal variables, EXIF orientation, and many more.
Furthermore, this utility is very keyboard-oriented. There are no buttons or menus to use, and it is the user’s responsibility to set customized key bindings for different purposes.
Now, let’s install FIM by running the command below.
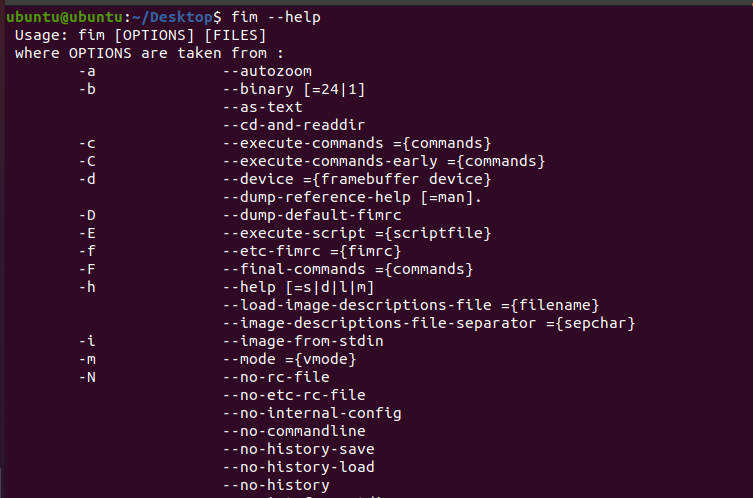
It should take a few moments to install. Once it’s done, run the command below to see how you can use FIM.
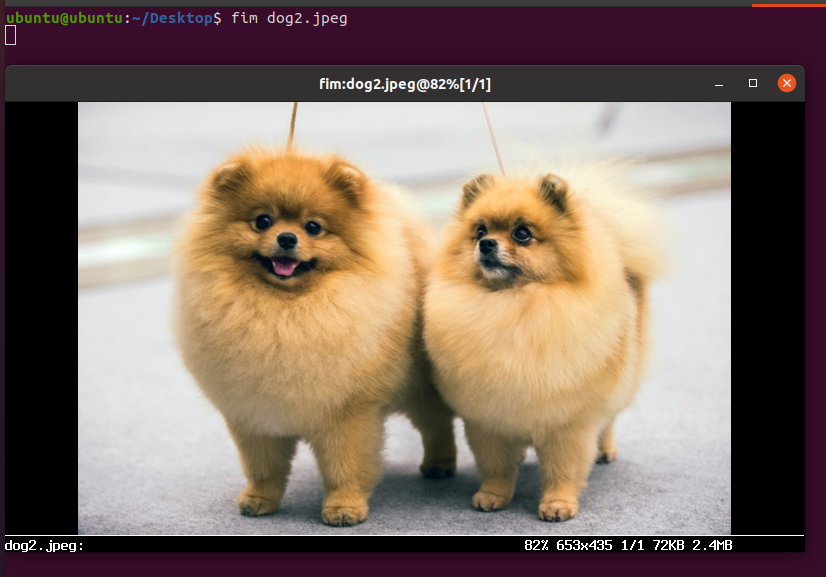
We can display an image by running the following command.
Remember to set your current directory to where the images are placed, otherwise, the utility will fail to find the files.
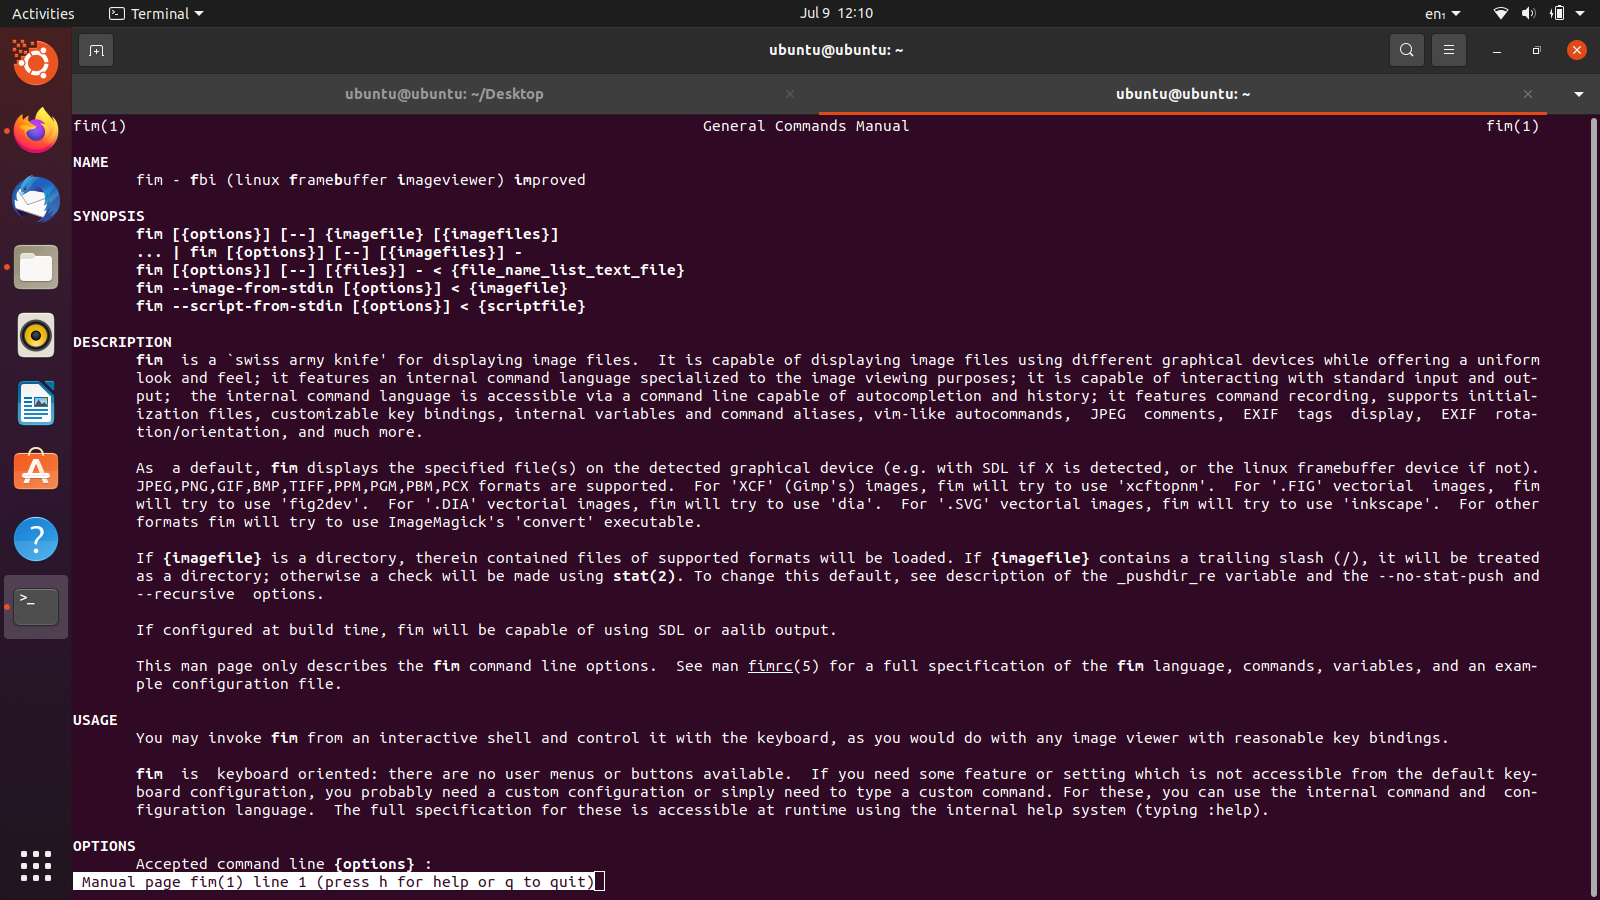
If you’d like to further investigate the features of this awesome utility, run the command below to see its documentation.
With that being said, we come to the end of our discussion about FIM.
Using a Built-in Command
Now that we have covered several third-party utilities, let’s talk about a built-in command that does the same thing.
What if we told you there’s a way to sort of double click an image file in the Terminal? Well, there certainly is a method. You can use xdg-open to do this. First, set the current directory to where you have placed your desired file. Then, run the command below.
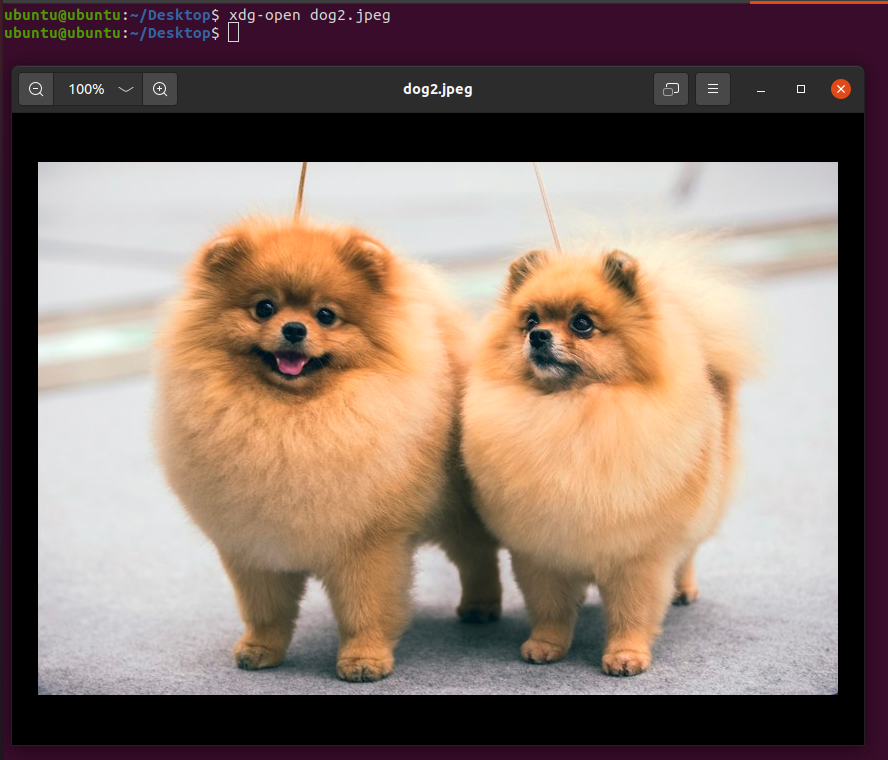
As you can see, we have achieved the same results through an in-built command. We did not have to install any software at all. Simply run a single command and you can display any image of your choice on the Terminal.
So, whether you want to use this command or a third-party utility, we have equipped you with both!
Conclusion
In this article, we looked at several methods to show images in the Terminal on Ubuntu. We looked at three different command-line utilities, and then a built-in command that also gets the job done.