This tutorial focuses on installing a SSL Certificate on an Apache web server under Linux Debian 10 Buster fast and simple using Certbot. For users who need an encrypted web server but haven’t installed or configured Apache yet, the first section shows how to install and configure Apache on Debian 10 Buster to host a website.
All steps described in this tutorial are useful for recent previous versions of Debian and based Linux distributions. If you have Apache already you can jump to How to Setup Free SSL Certificate for Apache on Debian 10 Buster.
Installing Apache on Debian 10 Buster
This step is only for users who didn’t install Apache yet, if you already have Apache installed jump to the chapter “How to Setup Free SSL Certificate for Apache on Debian 10”.
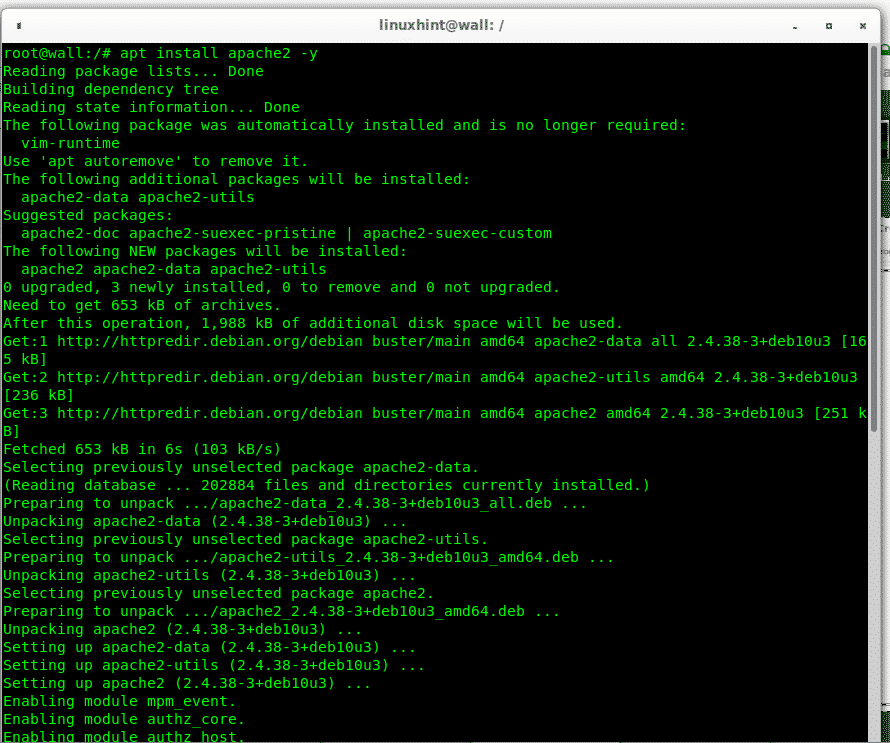
If you have not Apache installed, install it by executing:
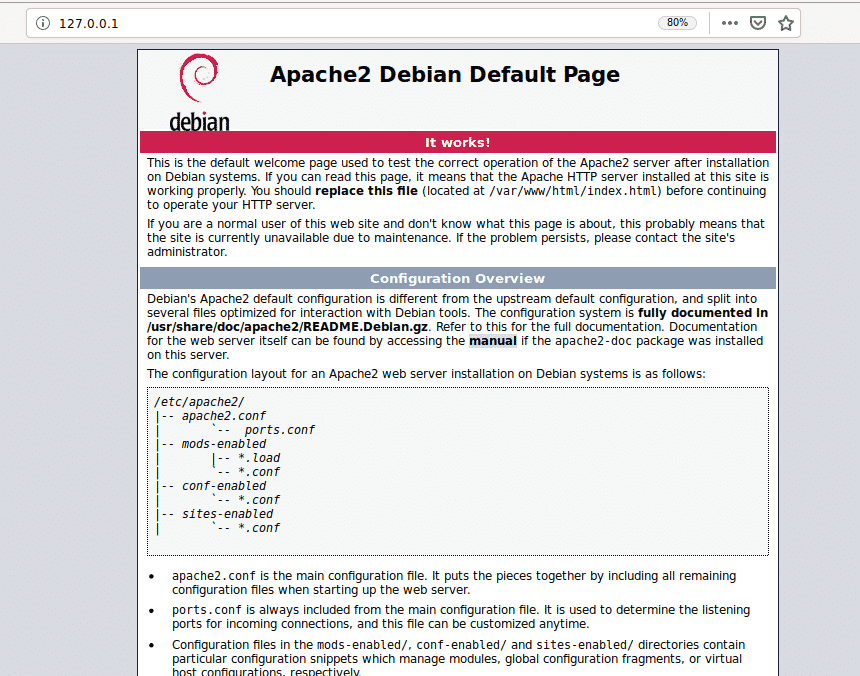
Once installed the service will automatically start and you’ll be able to access your web server from your browser through the address http://127.0.0.1 (localhost).
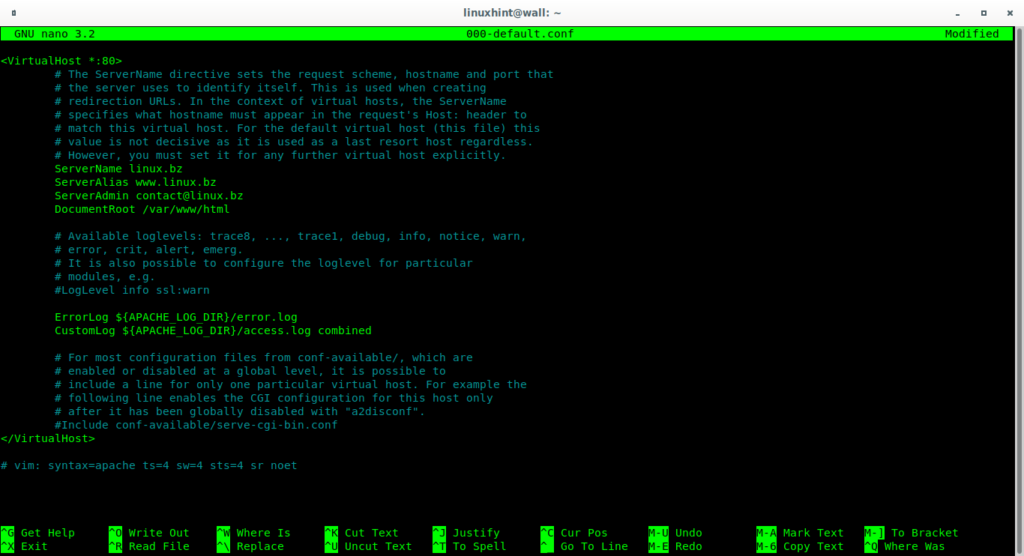
Apache supports multiple domains too, but for this setup we will only configure the domain https://linux.bz using the default configuration file for apache /etc/apache2/sites-enabled/000-default.conf. Run:
The uncommented lines below show a proper configuration adapted for linux.bz,
The file contains the following content opening the file (<VirtualHost *:80>), the server name, alias, contact information, root directory, logging files information and closing file (</VirtualHost>).
ServerName linux.bz
ServerAlias www.linux.bz
ServerAdmin contact@linux.bz
DocumentRoot /var/www/html
ErrorLog ${APACHE_LOG_DIR}/error.log
CustomLog ${APACHE_LOG_DIR}/access.log combined
</VirtualHost>
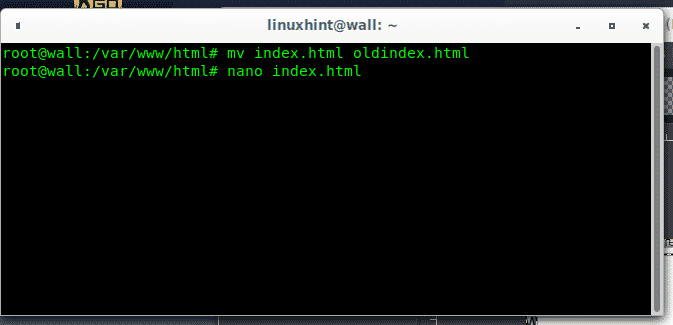
You can rename Apache’s default index page by running:
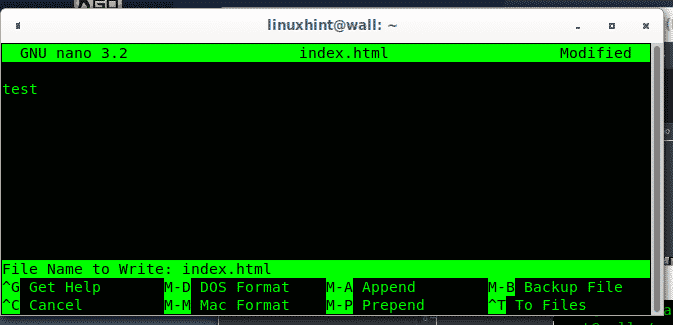
Then create a new page for testing purposes:
Put inside any content you want:
Press CTRL+X to save and exit.
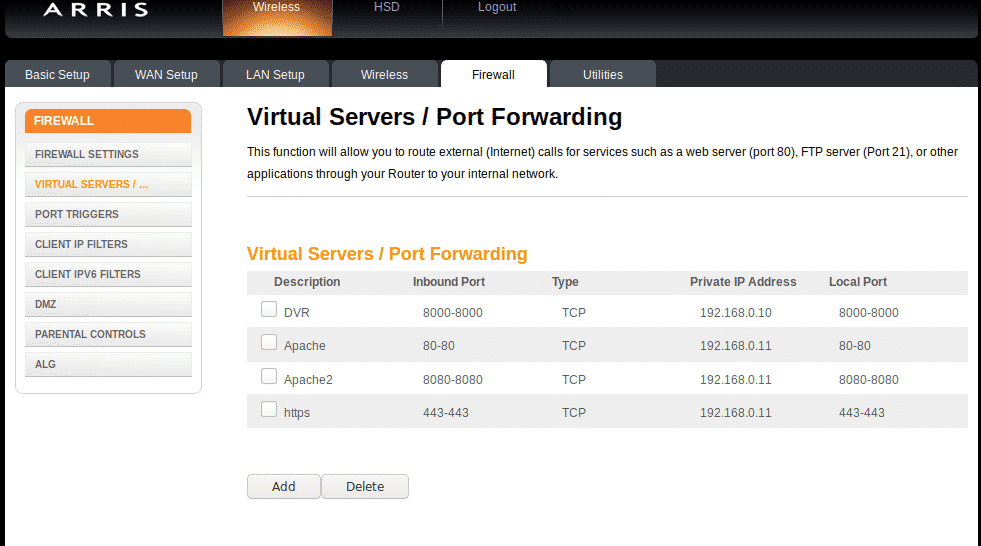
In order to allow access from outside the network, some home users will need to configure their routers to forward necessary ports to their web servers. The following image only shows an example of router configuration page for port forwarding, in your router you’ll need to forward ports 80 and 443 to your Apache computer local IP address.
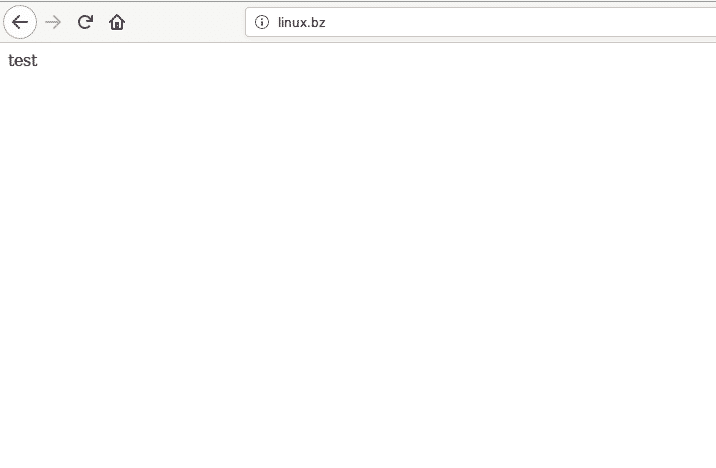
Finally you will be able to access your website from outside your network.
How to Setup Free SSL Certificate for Apache on Debian 10 Buster
If you already have Apache its time to add SSL, for this purpose this tutorial shows how to install a SSL certificate in a fast and simple way using certbot, an automatic installer and configurer for Let’s Encrypt ssl certificates.
To begin install Certbot packages by running:
Once installed the previous packages create and instruct a redirection to https by running:
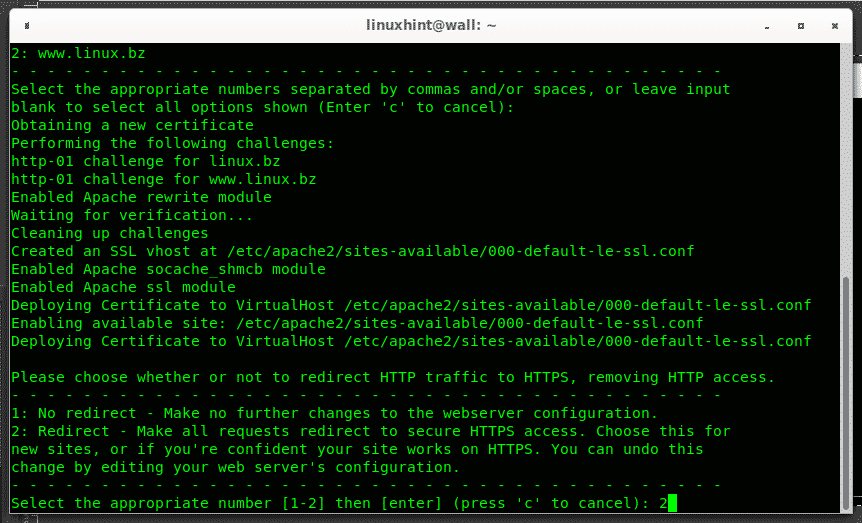
Fill the requested information:
At some point it will offer you to redirect traffic to https, press 2 to accept, then press ENTER to finish.
If the process success you’ll see the following screen:
Finally you can test your website, press CTRL+F5 and it will redirect through SSL now.
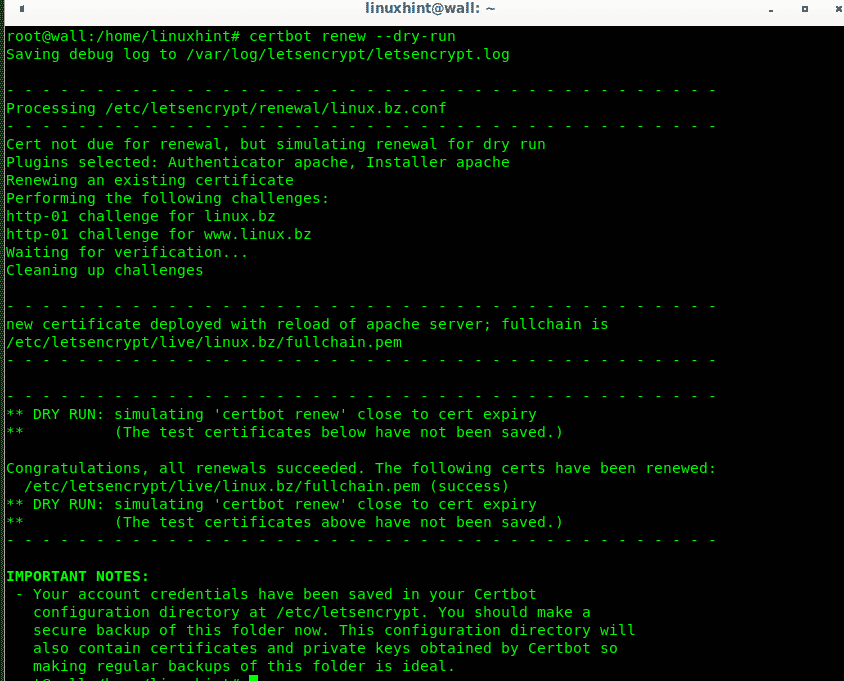
To renew the certificate run:
Conclusion on Certbot method to install a SSL certificate for Apache on Debian 10 Buster
Certbot makes installing SSL certificates extremely easy and fast allowing any inexperienced user without Plesk or Cpanel to share web content in a secure way for free. The whole process took minutes including the Apache installation.
Other free options to get free SSL certificates may include SSL for Free (https://sslforfree.com, the short Comodo free SSL licences or Zerossl which I didn’t try yet, but none of them means a fast and easy method like this one.
I hope you found this brief article on How to Setup Free Certificate for Apache on Debian 10 useful, thank you for reading it.

