NTP stands for Network Time Protocol which is utilized for synchronizing all system clocks in a network at the same time. NTP works as a protocol and handles the programs related to client and server synchronization on networked systems. It is a part of the standard TCP/IP protocol suite and is considered one of its oldest components.
Fraction of inaccurate time can cause a lot of issues for your system. For instance, distributed processes rely on synchronized time to ensure that proper sequences should be followed. Consistent timekeeping across the network is required for security features to work. File-system upgrades involving many machines are dependent on synchronized clock times as well. Troubleshoot problems, monitor performance, network acceleration, and network management systems; all of these tasks rely on the precision of timestamps.
Now, we will show you how to set up NTP Server and Client on an Ubuntu system. So let’s start!
How to install NTP server on Ubuntu
We will install NTP on our Ubuntu system using the terminal. For this, open up your terminal by pressing “CTRL+ALT+T”. Or you can also search it out manually in the Application’s search bar:

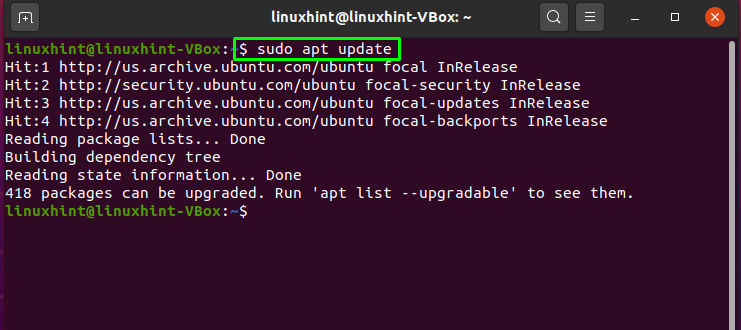
The next step is to update the system repositories by utilizing the below-given command:
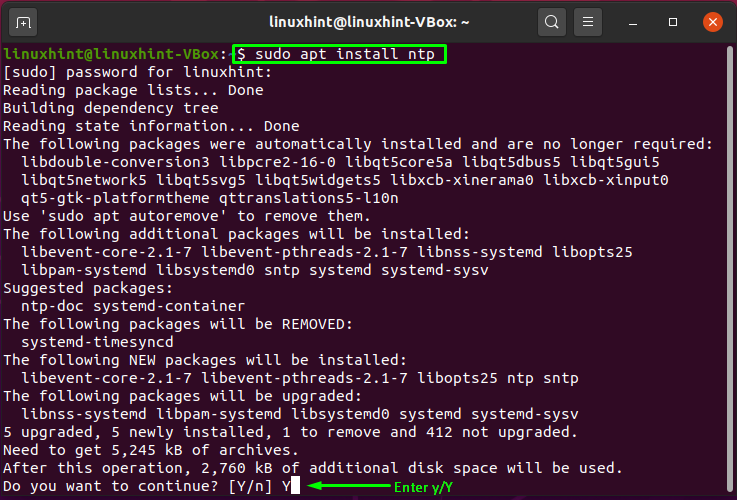
Now it’s time to install NTP on your Ubuntu system:

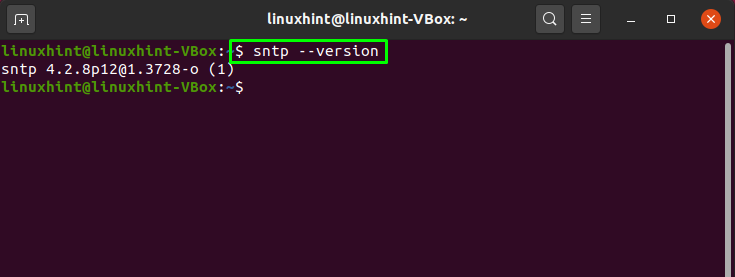
Enter “y/Y” for permitting the process to install ntp. To confirm that NTP is successfully installed, check its version:
How to setup NTP server on Ubuntu
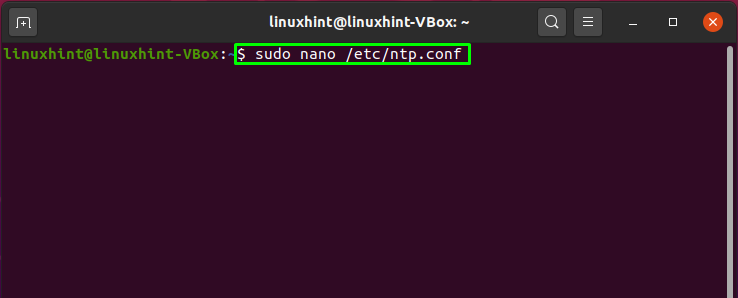
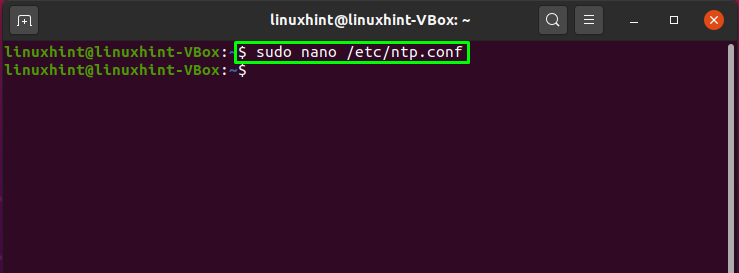
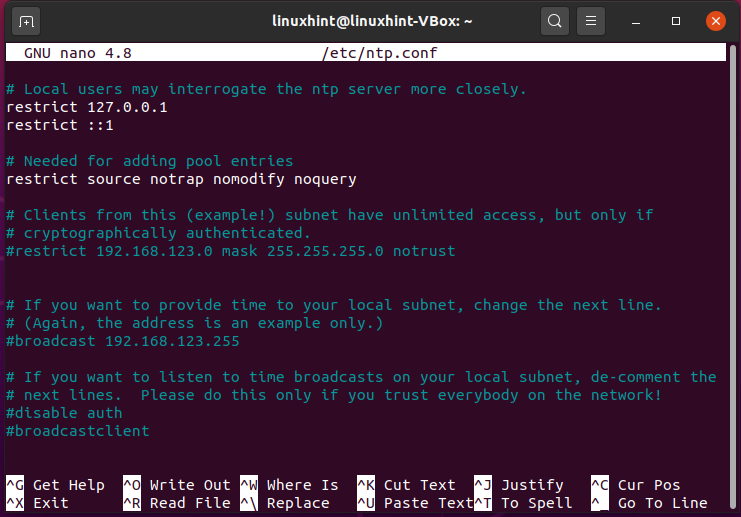
The NTP pool servers are by default defined in the NTP protocol configuration file “/etc/ntp.conf”:
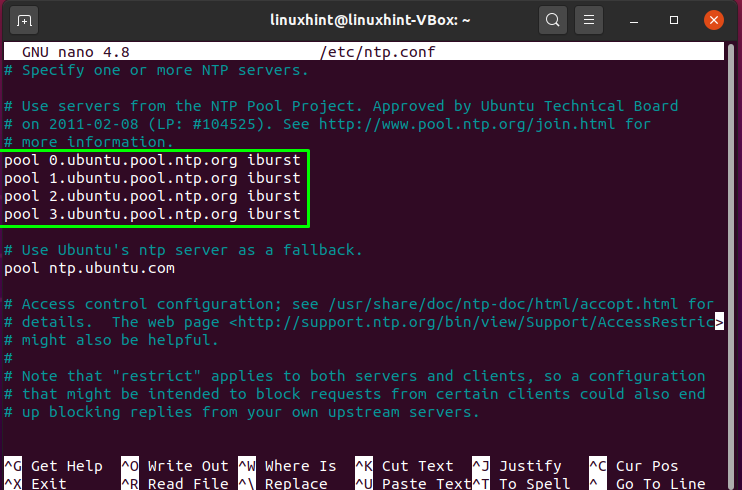
The highlighted code in the below-given image represent the pool server which is configured by default:
However, you can switch to the NTP server pools that are closest to your location. Visit link, it will take you to a website where you can choose your NTP pool list. For instance, we have selected Europe pool list:
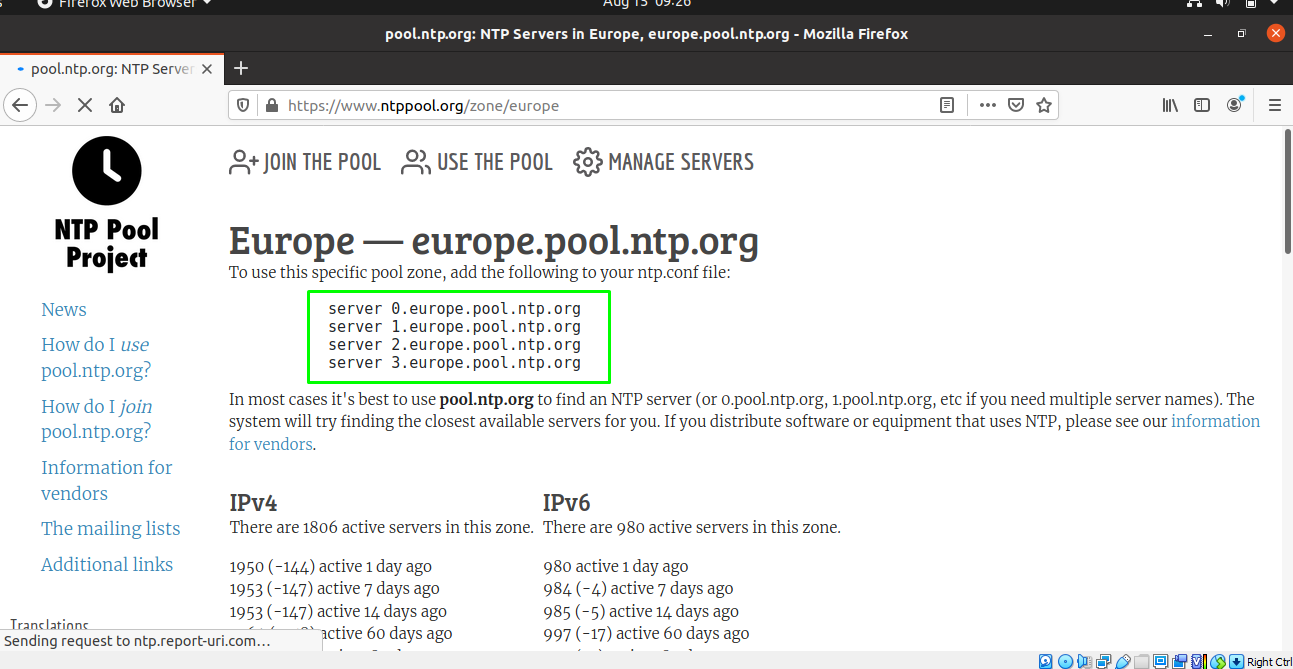
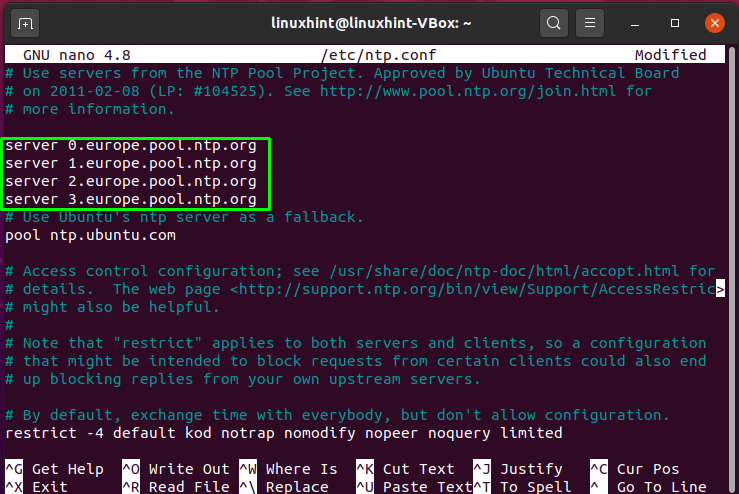
Add the pool list to your “/etc/ntp.conf” file for using that specific pool zone:
server 1.europe.pool.ntp.org
server 2.europe.pool.ntp.org
server 3.europe.pool.ntp.org
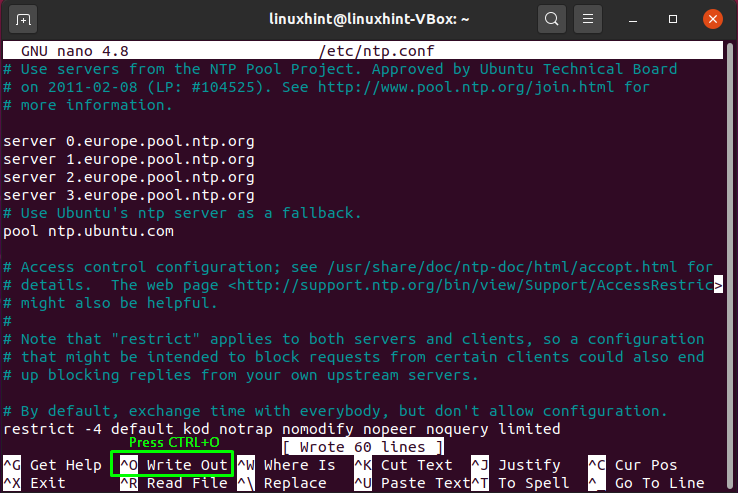
Press “CTRL+O” to write out the lines into your NTP protocol configuration file:
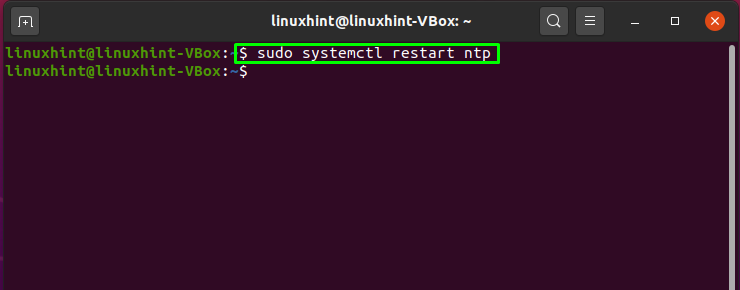
Now restart the NTP service so that it can take effect from the changes we have made:
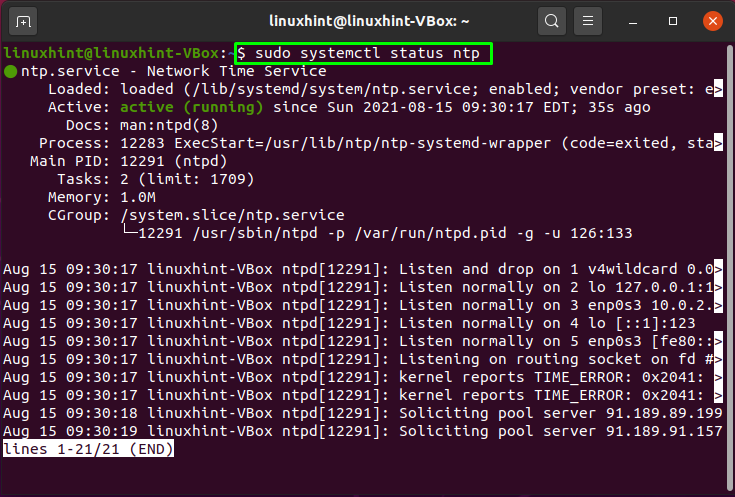
View the status of NTP and check whether it is active or not:
Check out the status of the firewall on your system:
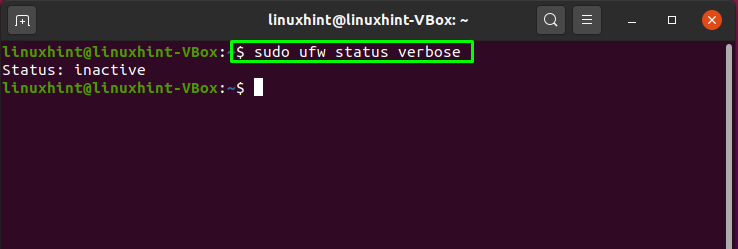
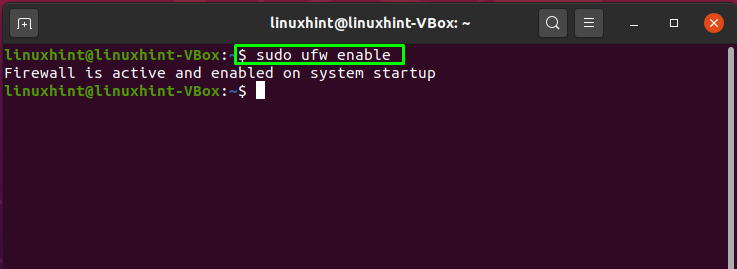
If your system’s firewall is already active, then ignore the below-given command; otherwise, you have to enable the firewall to move forward:
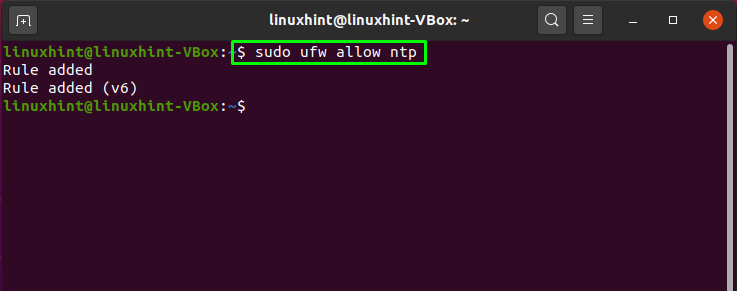
Utilize the below-given command to enable the NTP service across the firewall so that the other client machines can have access to the NTP server:
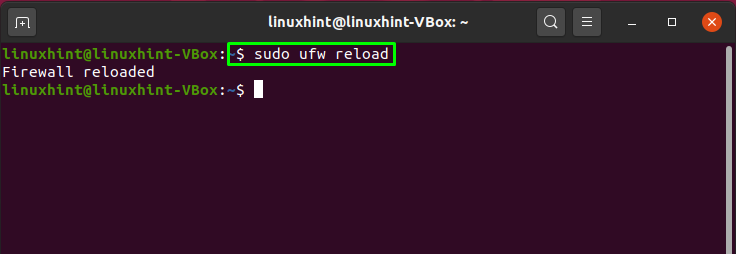
Now, write out this command to reload the firewall:
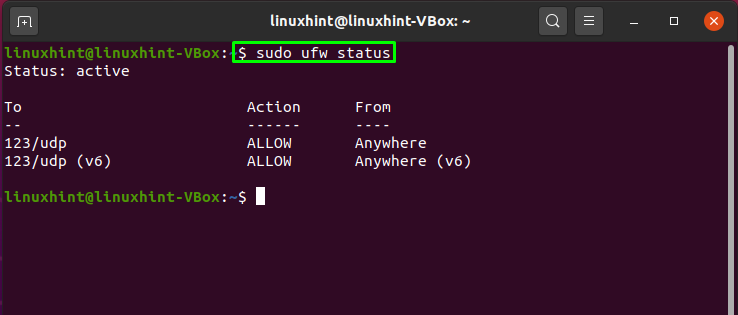
Verify your system’s firewall status:
How to install NTP client on Ubuntu
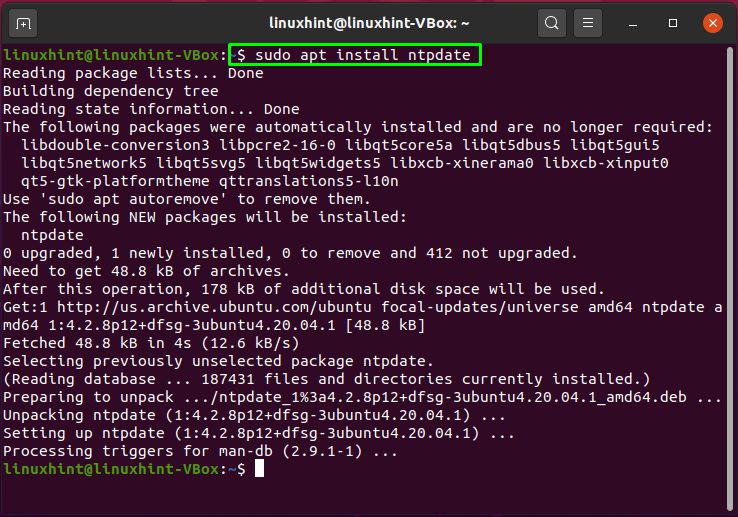
This section will demonstrate how you can install an NTP client on your system that will be synchronized with the NTP server. For this purpose, firstly, we will install “ntpdate” on the machine where we want to set up the NTP client. The “ntpdate” is a command-line tool that uses an NTP server to synchronize date and time on Ubuntu quickly. To install “ntpdate” on your system, write out this command in your terminal:
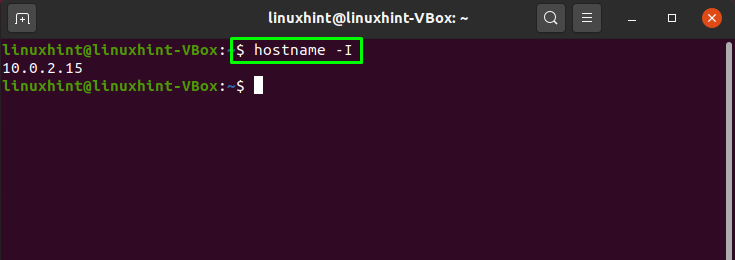
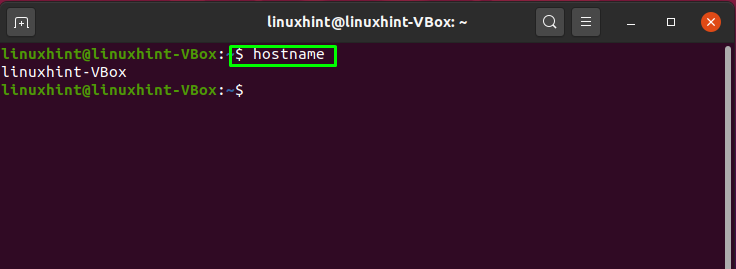
To get in sync with the NTP server, open up the “/etc/hosts” file and write out hostname and IP address in the opened file. Execute the below-given command to know about your system IP address and hostname:
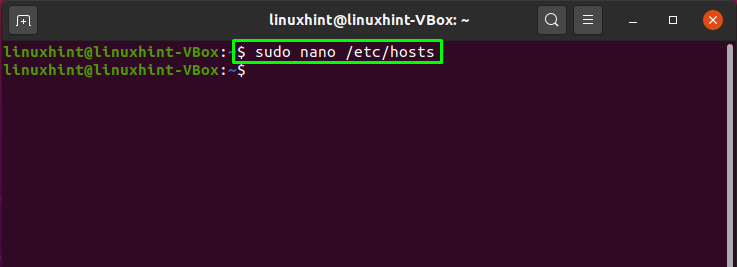
Now, open up the “/etc/hosts” file on your system:
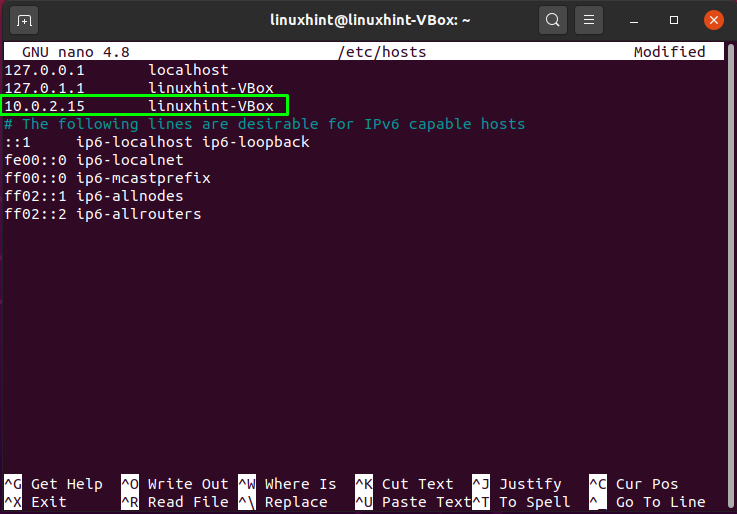
We will add our hostname and IP address as follows:
After adding it, we will save the changes by pressing “CTRL+O”:
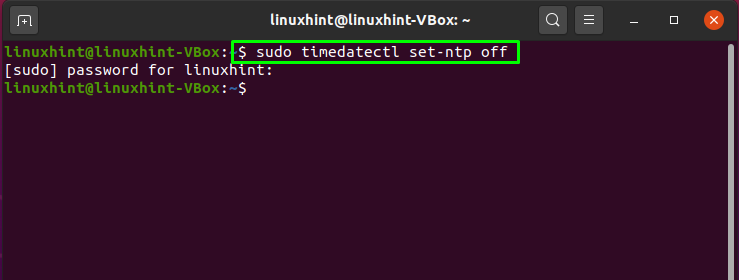
Before moving forward, we will turn off the “timesyncd” service on our client machine by utilizing this command:
Now, we will install NTP on our client machine:
Enter “y/Y” to permit the installation process to continue:
How to setup NTP client on Ubuntu
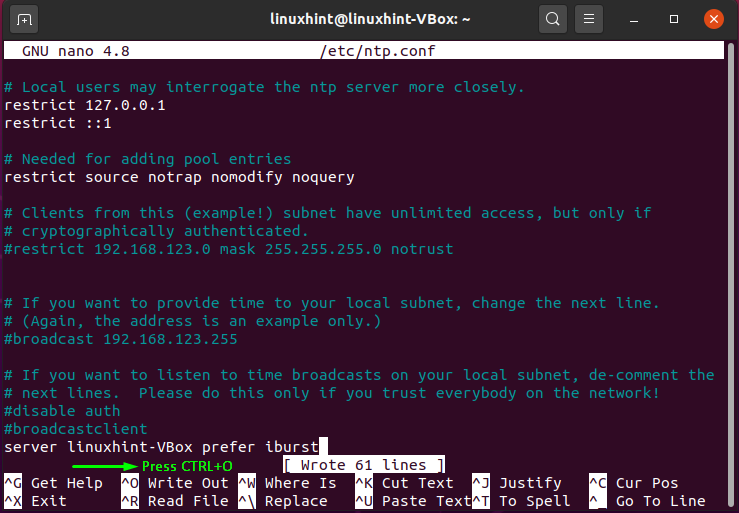
To set up an NTP client on our system, we will make some changes in the configuration file of the NTP client. Open the “/etc/ntp.conf” for configuring the client with the NTP server:
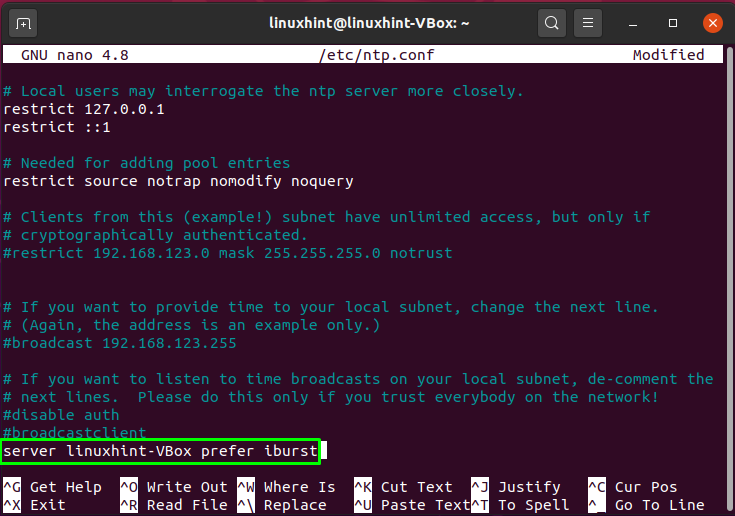
Add the following line with your hostname in the NTP client configuration file:
Here:
- “server” indicates the NTP client association with the NTP server, which is specified with the hostname.
- “prefer” indicates that the specified server is preferred.
- “iburst” option makes it possible to send six packets if the NTP server is unavailable.
Press “CTRL+O” to save the changes in the “/etc/ntp.conf” file:
Now, restart the NTP service on your system by executing the below-given command:
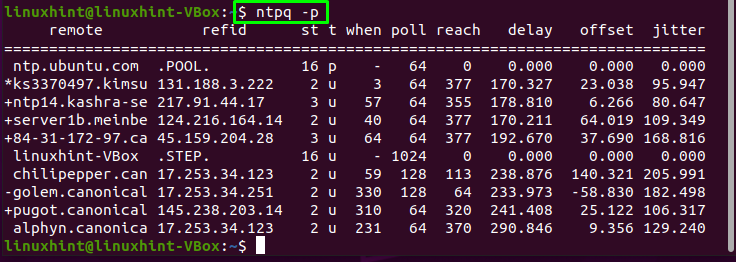
View the synchronization details between NTP server and client using this command:
Conclusion
NTP is a TCP/IP protocol utilized for network time synchronization. NTP is associated with the protocol and the client and server programs that execute on networked computers. When we set up NTP in a network, a client machine asks a server for the current time and utilizes it to set its clock. This article shows how to set up NTP Server and Client on your Ubuntu system. The process of NTP installation and configuration on both server and client machines is also shown.