There are several different ways SELinux can operate. This is defined by the SELinux policy. In this guide, you will learn more about SELinux policies and how to set a policy in SELinux.
SELinux Policy Overview
Let us have a quick rundown of SELinux and its policies. SELinux is an acronym for “Security-Enhanced Linux.” It comprises a series of security patches to the Linux kernel. SELinux was originally developed by the National Security Agency (NSA) and released to the open-source development community in 2000 under the GPL license. It was merged with the mainline Linux kernel in 2003.
SELinux provides MAC (Mandatory Access Control) rather than the default DAC (Discretionary Access Control). This allows for the implementation of some security policies that would not be possible to implement otherwise.
SELinux policies are sets of rules that guide the SELinux security engine. A policy defines types for file objects and domains for processes. Roles are used for limiting access to domains. User identities determine what roles can be attained.
There are two SELinux policies available:
- Targeted: The default policy. Implements access control to targeted processes. The processes run in a confined domain where the process has limited access to files. If a confined process is compromised, the damage is mitigated. In the case of services, only specific services are placed into these domains.
- MLS: Stands for Multi-Level Security. Check out the Red Hat documentation on the SELinux MLS policy.
Processes that are not targeted will run in an unconfined domain. Processes running in unconfined domains enjoy almost complete access. If such a process is compromised, SELinux offers no mitigation. The attacker may gain access to the whole system and resources. However, DAC rules still apply for the unconfined domains.
The following is a short list of examples of unconfined domains:
- initrc_t domain: init programs
- kernel_t domain: kernel processes
- unconfined_t domain: users logged into the Linux system
Changing SELinux Policy
The following examples are performed in CentOS 8. All the commands in this article are run as the root user. For other distros, please check out the appropriate tutorial on how to enable SELinux.
To change a policy in SELinux, start by checking the SELinux status. The default status should be SELinux enabled in the “Enforcing” mode with the “targeted” policy.
To change the SELinux policy, open the SELinux configuration file in your favorite text editor.
Here, our target is the “SELINUXTYPE” variable that defines the SELinux policy. As you can see, the default value is “targeted.”
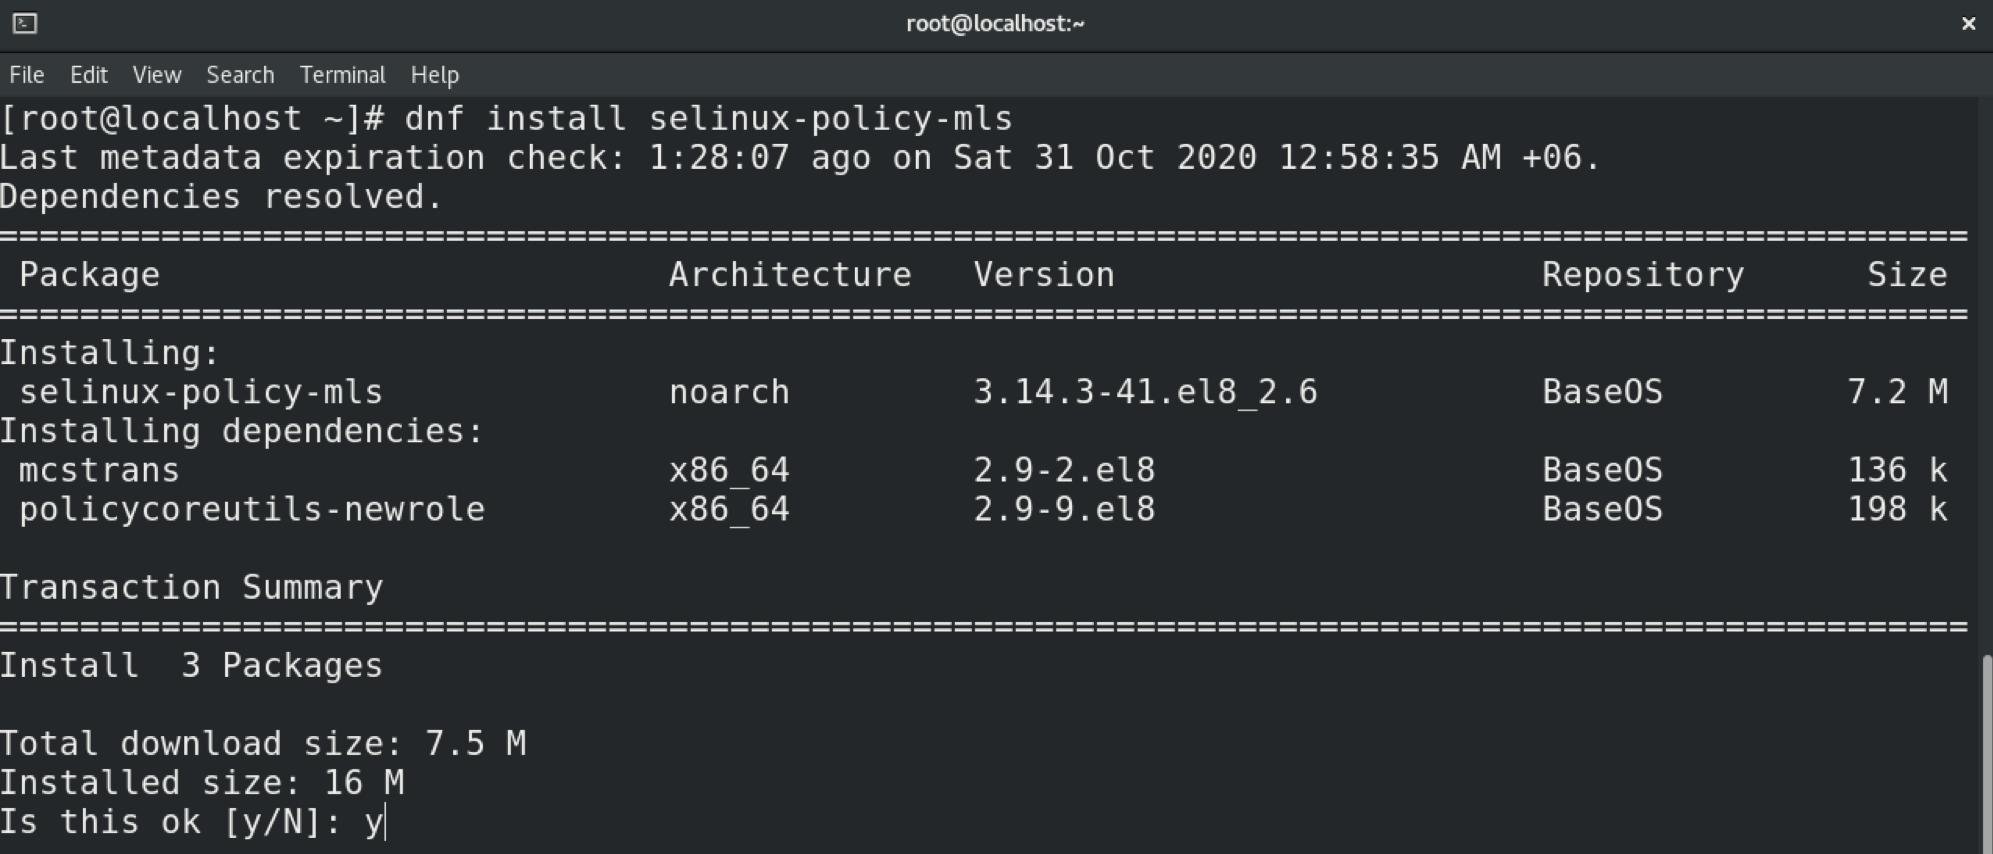
All steps demonstrated in this example are performed in CentOS 8. In the case of CentOS, the MLS policy does not come installed by default. This is also likely to be the case in other distros. Learn how to configure SELinux on Ubuntu here. Be sure to install the program first. In the case of Ubuntu, CentOS, openSUSE, Fedora, Debian, and others, the package name is “selinux-policy-mls.”
In this case, we will switch the policy to MLS. Change the value of the variable accordingly.
Save the file and exit the editor. To put these changes into effect, you must reboot the system.
Verify the change by issuing the following.
Changing SELinux Modes
SELinux can operate in three different modes. These modes determine how the policy is enforced.
- Enforced: any action against the policy is blocked and reported in the audit log.
- Permissive: any action against the policy is only reported in the audit log.
- Disabled: SELinux is disabled.
To temporarily change the mode in SELinux, use the setenforce command. If the system is rebooted, the system will revert to the default setting.
To permanently change the mode in SELinux, you must tweak the SELinux configuration file.
Save and close the editor. Reboot the system to put the changes into effect.
You can verify the change using the sestatus command.
Conclusion
SELinux is a powerful mechanism for enforcing security. Hopefully, this guide helped you learn how to configure and manage the behavior of SELinux.
Happy computing!


