Setting up an SQL Server can really be a tricky task, even on the AWS Platform. AWS Platform provides multiple services like S3 or RDS that can be used to set up an SQL Server. However, EC2 instances can also be converted to SQL Server by a few simple installations and configurations. One of the main benefits of having the EC2 Instance as your SQL server is that the user doesn’t have to worry about different types of services running together to form the server.
This guide will demonstrate the process of setting up a Microsoft SQL Server on an AWS EC2 instance.
Pre-requisites:
- To have a Windows EC2 instance running in AWS, read this step-by-step guide if you do not know how to do that.
- SSMS installed on your local PC to connect to the SQL Server
Configuring SQL Server on EC2
Open up the EC2 Management Console and select the windows EC2 instance and click on the connect button to head over to the connection page:

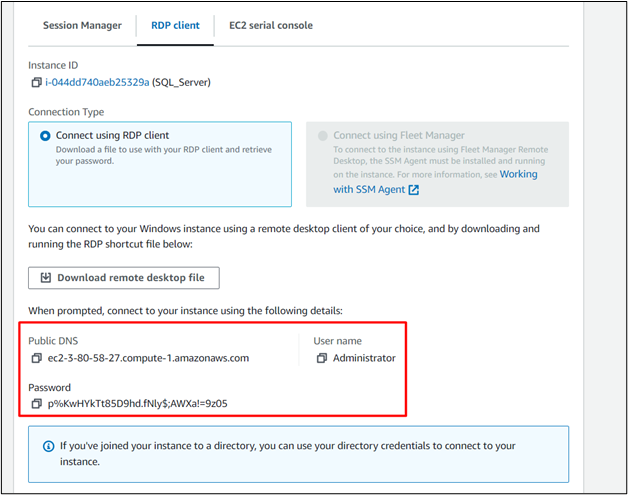
From the connect page, upload your key pair by clicking on the “Get password” to get all the credentials that are required to create an RDP connection with the EC2 instance:
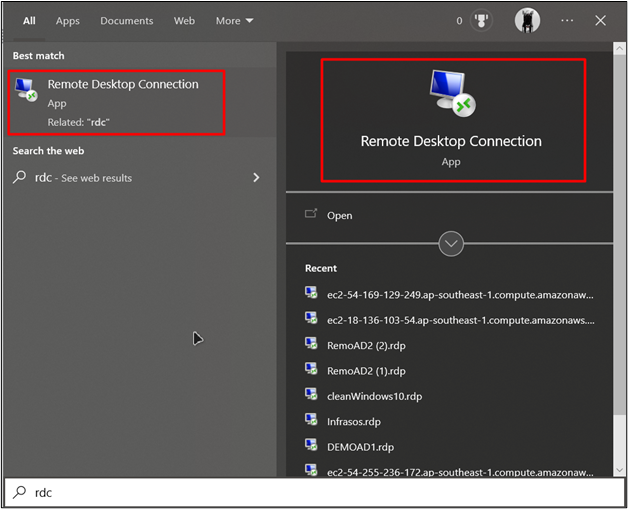
After that, open up an RDC application on your local machine:
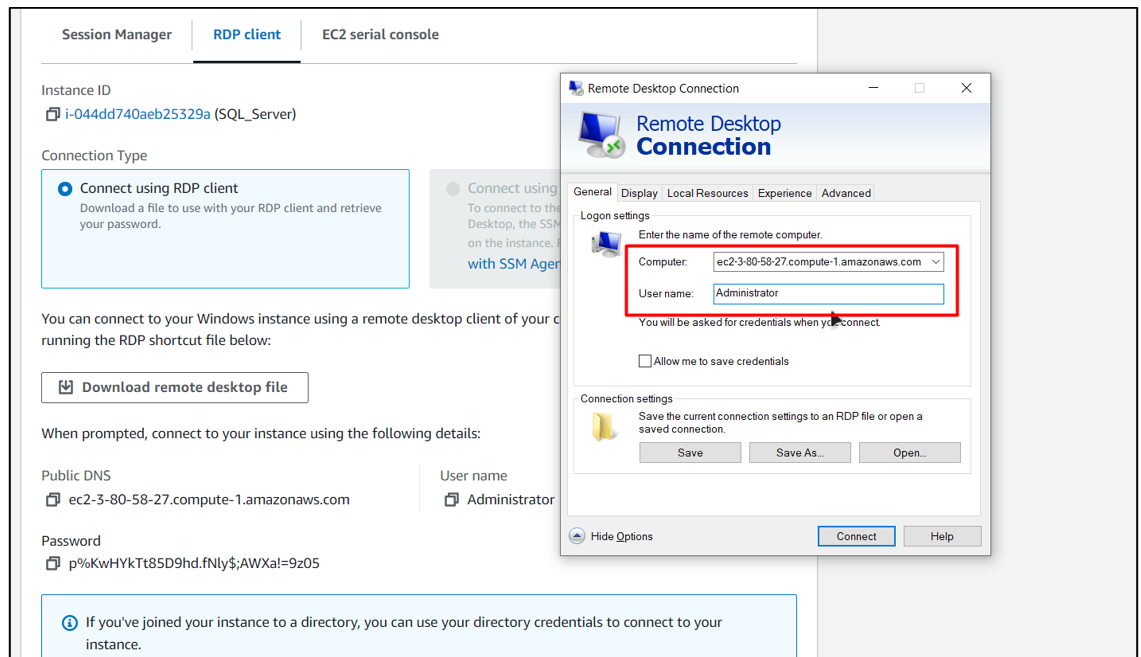
Paste the public DNS in the “Computer” field of the RDC Application and the Username in the “Username” field:
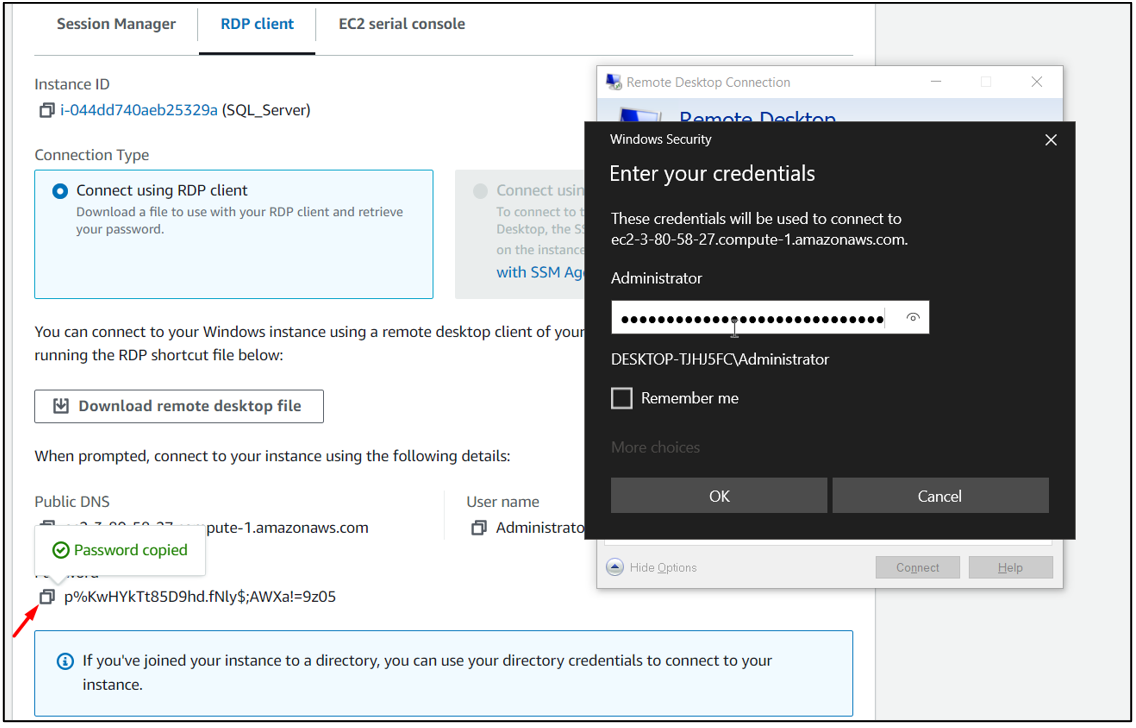
After that, press the “Connect” button, and then you will be asked to provide the password, then provide the password that you have on your EC2 Connect page:
After pressing “OK”, you will be inside the EC2 instance through a remote desktop connection:

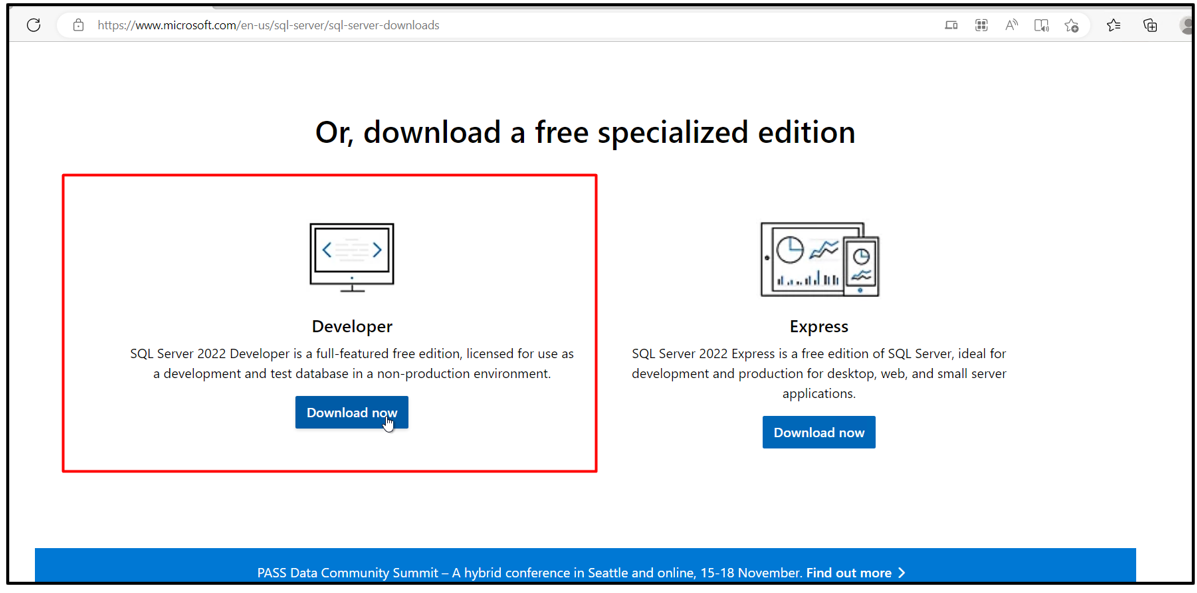
After that, you need to download the SQL Server, open the browser and visit the following link:
https://www.microsoft.com/en-us/sql-server/sql-server-downloads
On this page, click on the “Download Now” button under the “Developer” version to download the Microsoft SQL Server:
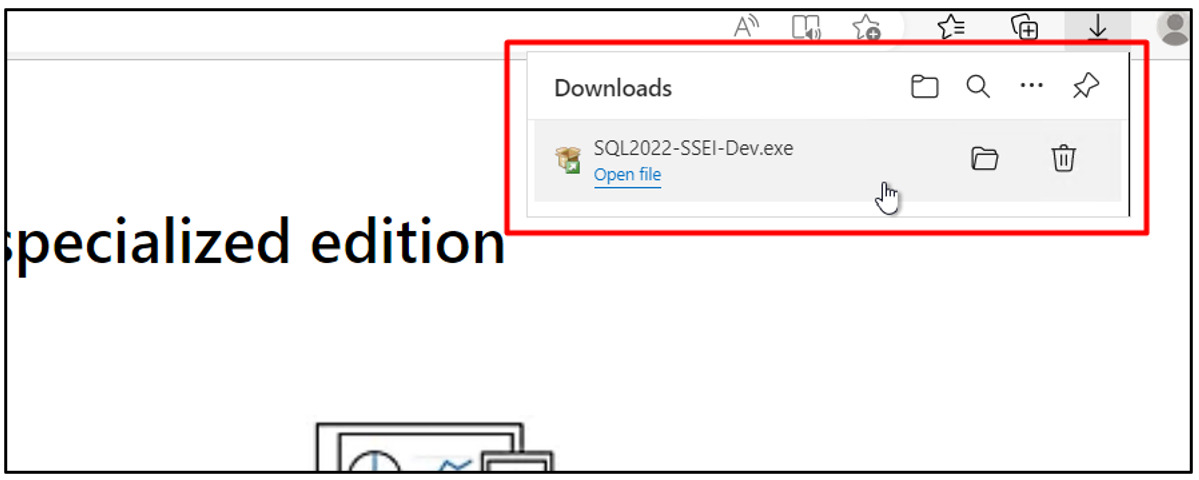
Once the Microsoft SQL Server has been downloaded, click on it to launch the installer:
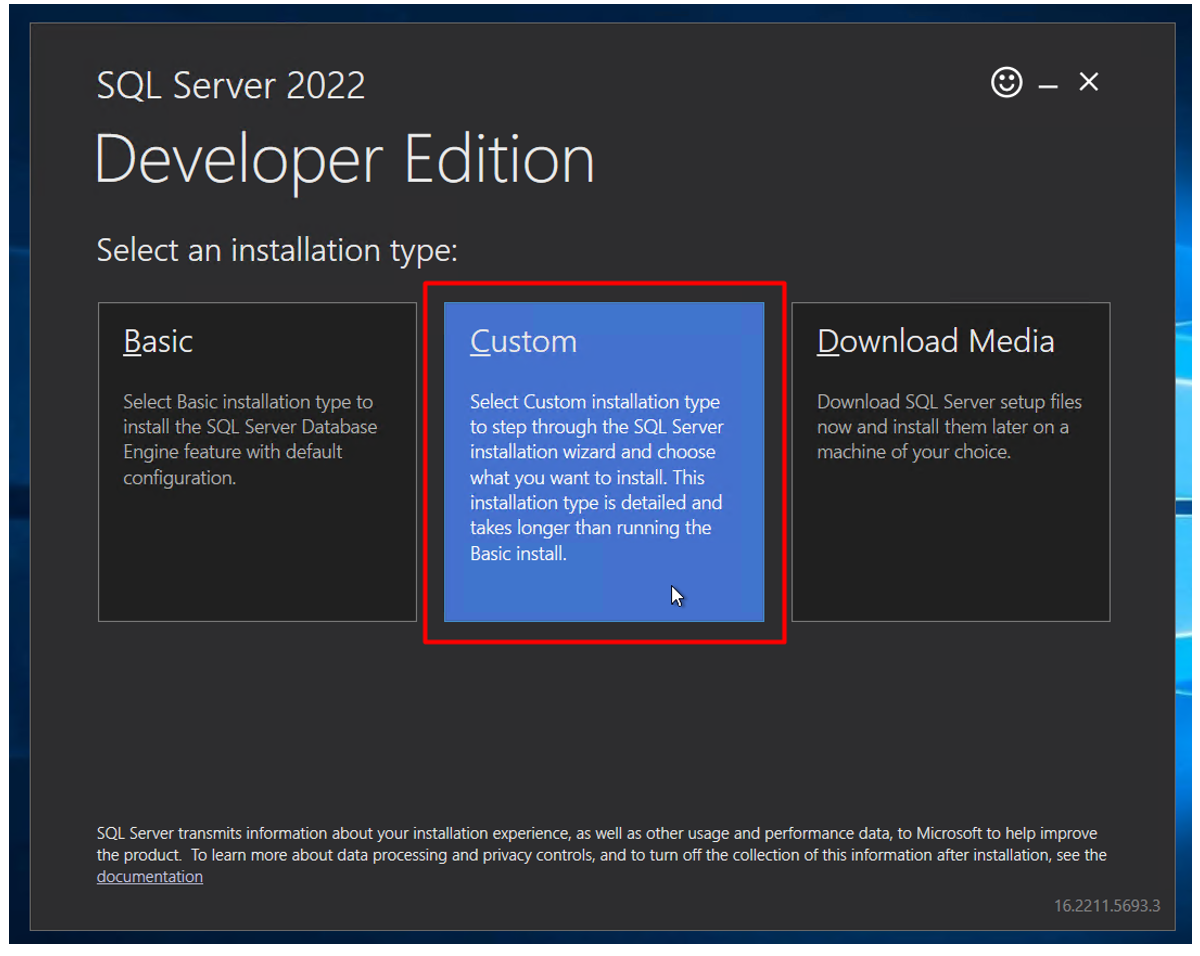
In the installer, for the Installation type, choose “Custom”:
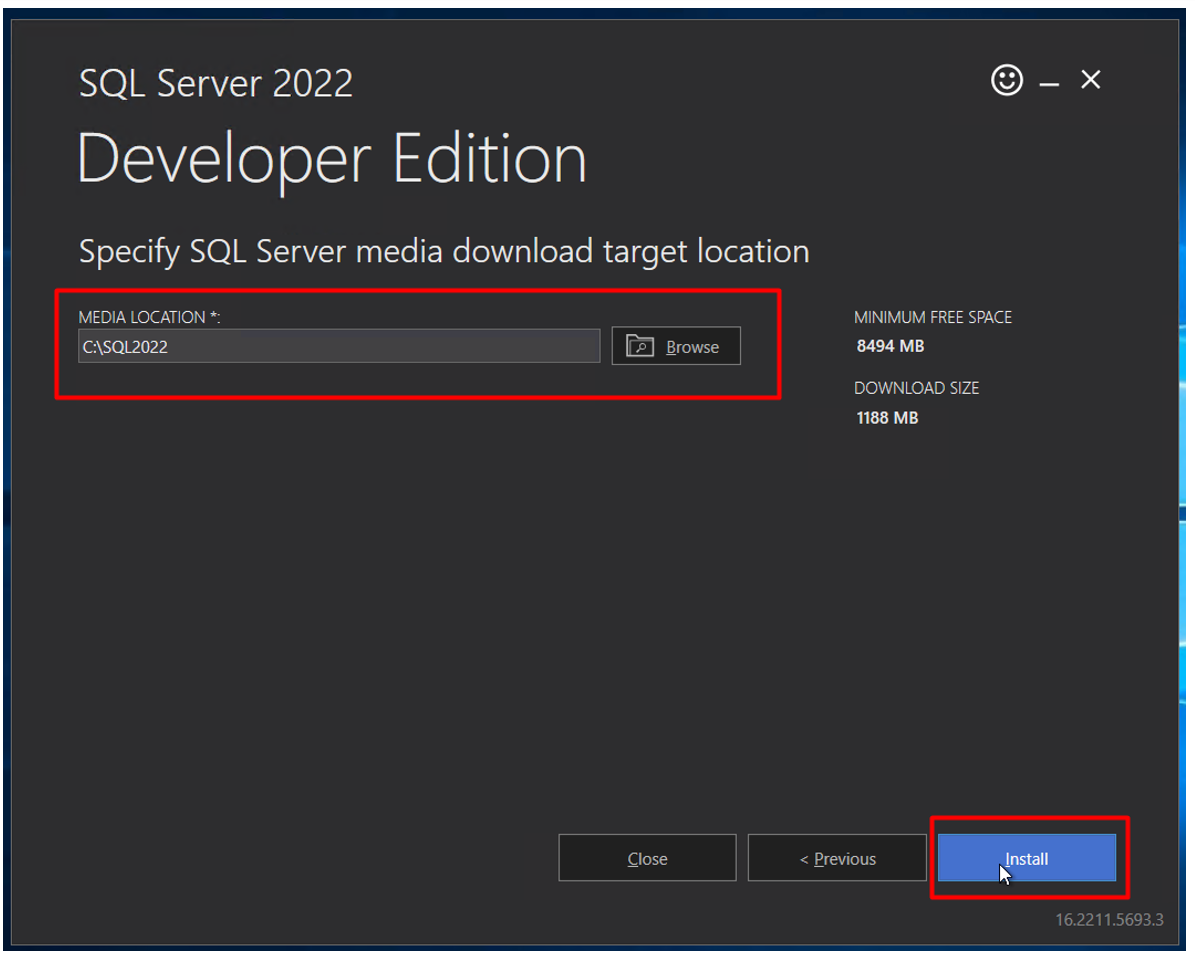
After that, leave the install location as default and click on the “Install” Button:
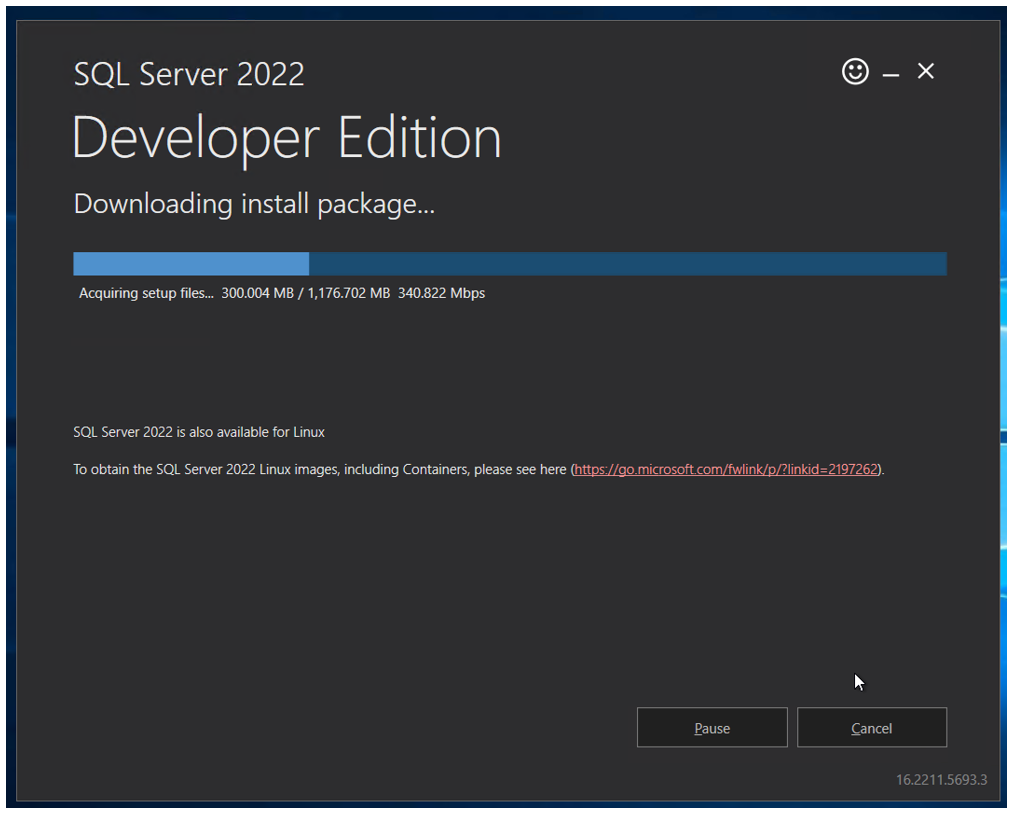
After that, wait for the downloading process to complete:
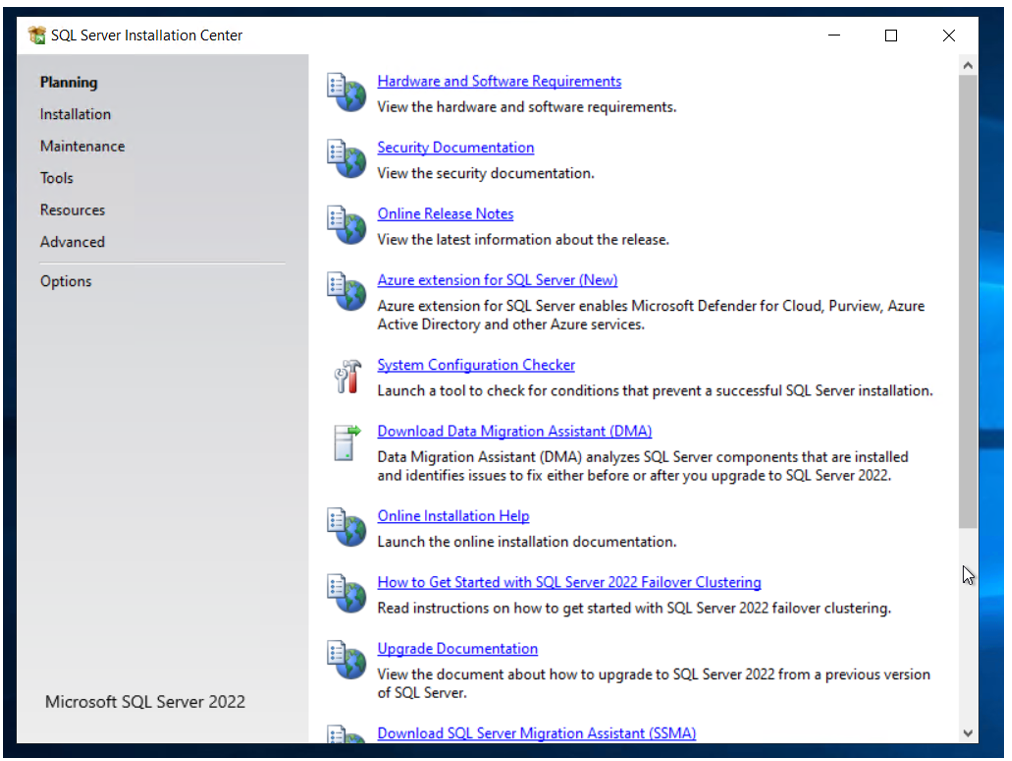
Once the downloading has completed, it will open up the following installation center:
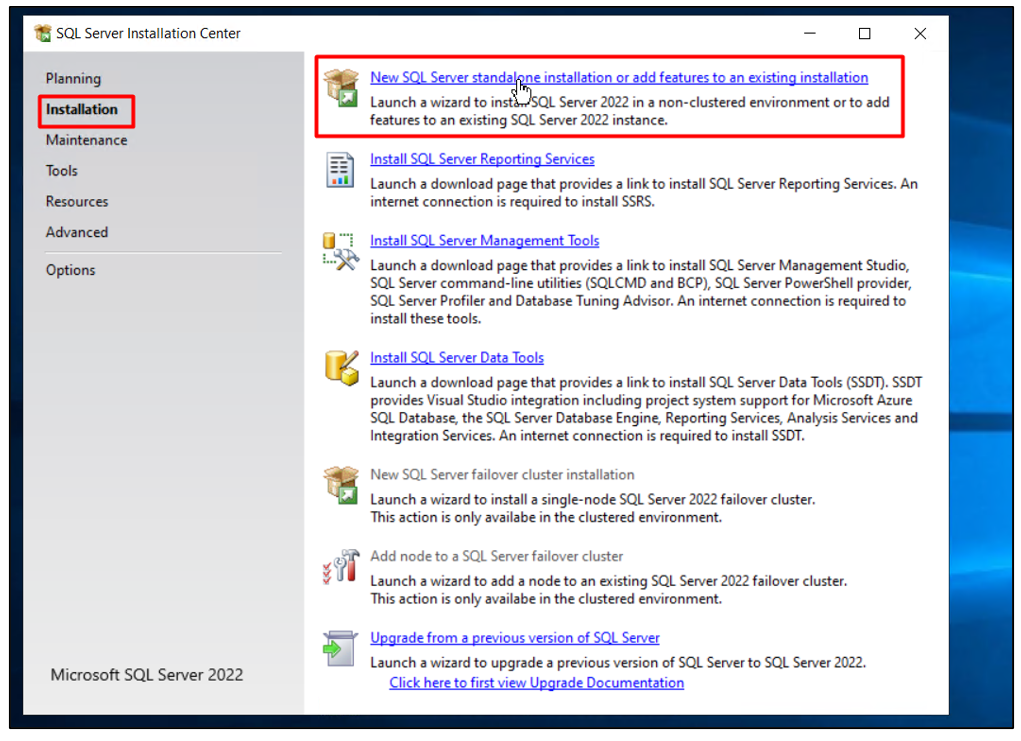
From here, click on the Installation button from the left-side navigation panel and select “New SQL Server Standalone…”:
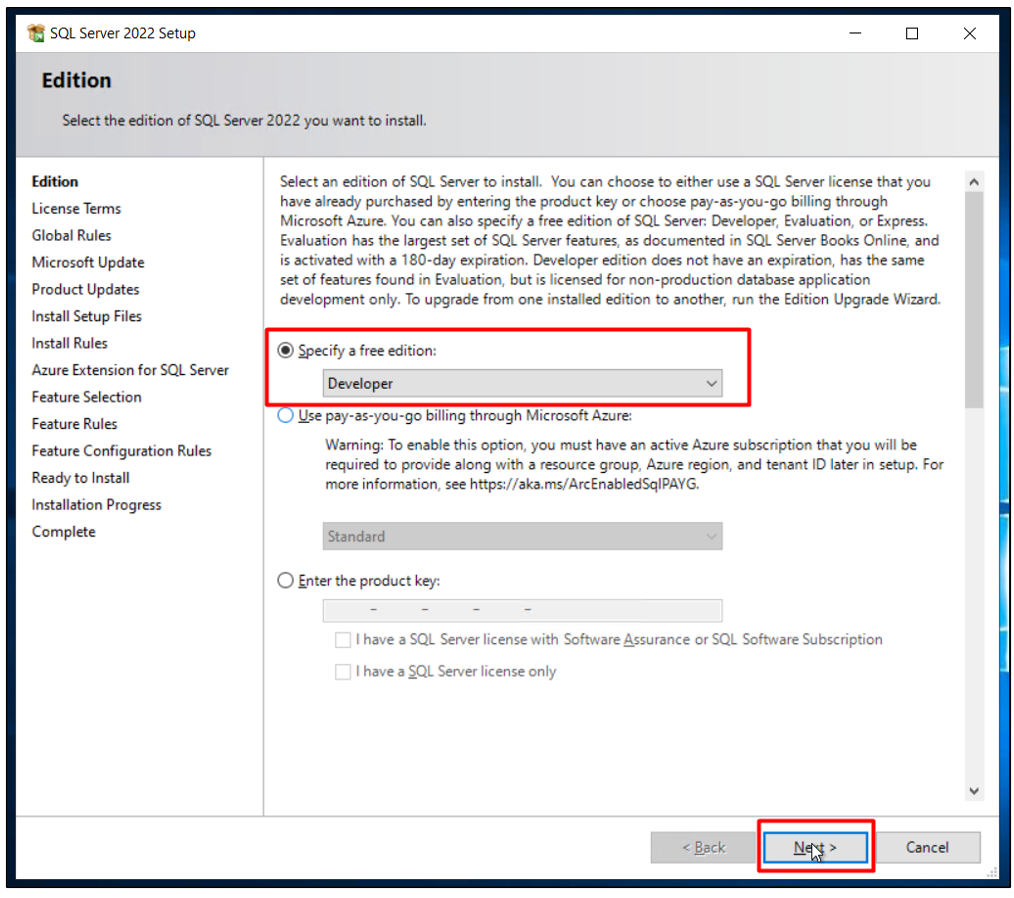
In the installation wizard, simply click on “Next” for the “Edition”:
On the next page, click the “checkbox” for the agreement and then click on the “Next” button:

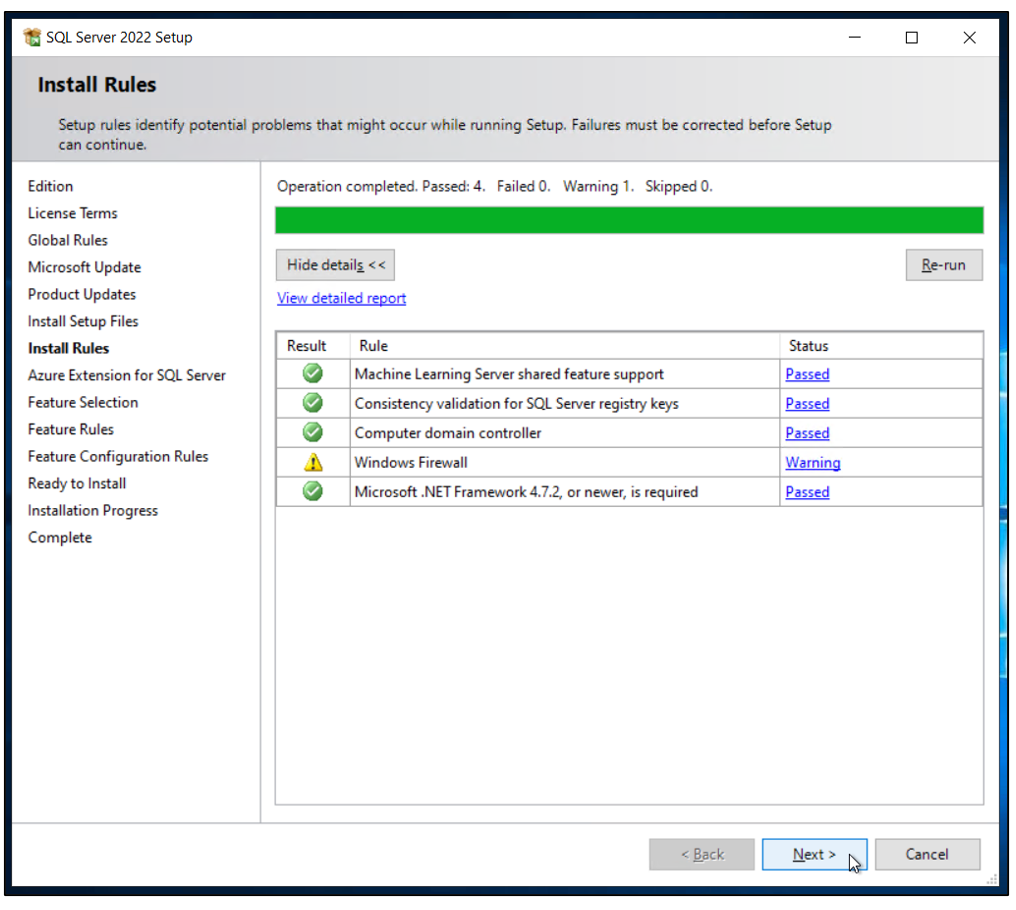
Continue with the wizard, and make sure that the install rules are set exactly like this:
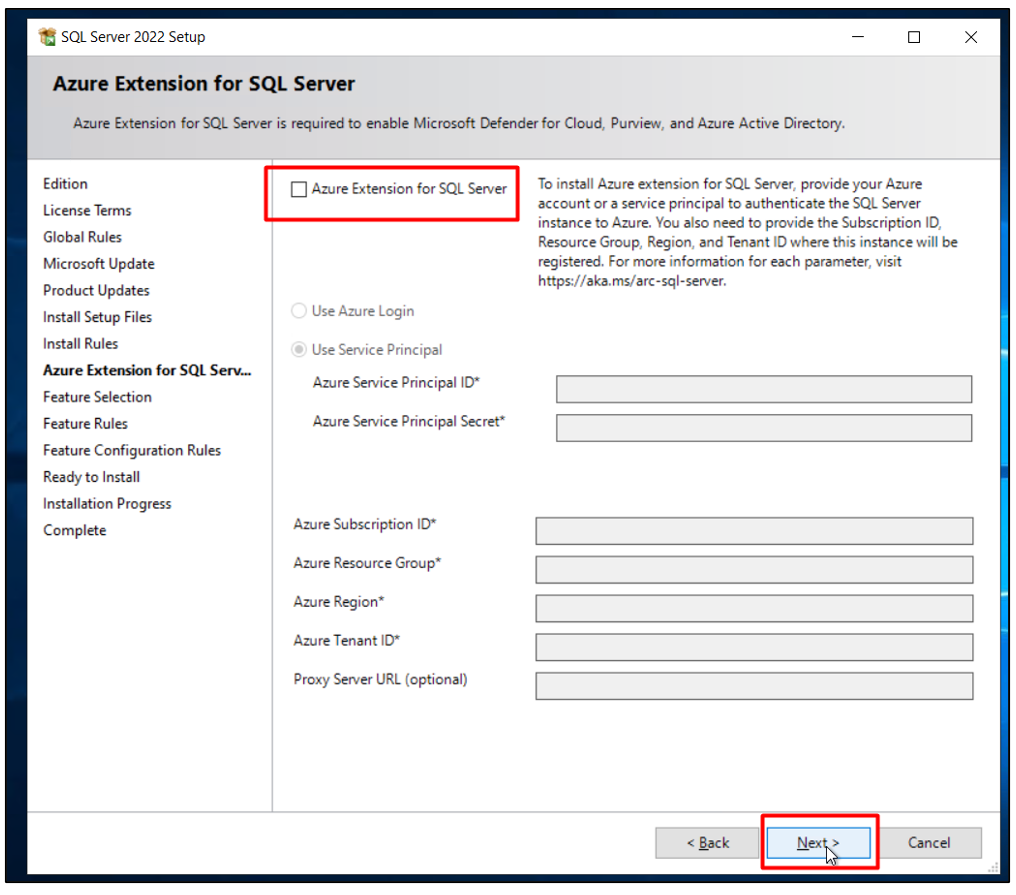
You can choose the option for Azure according to your preference, but for this post, it will be turned off:
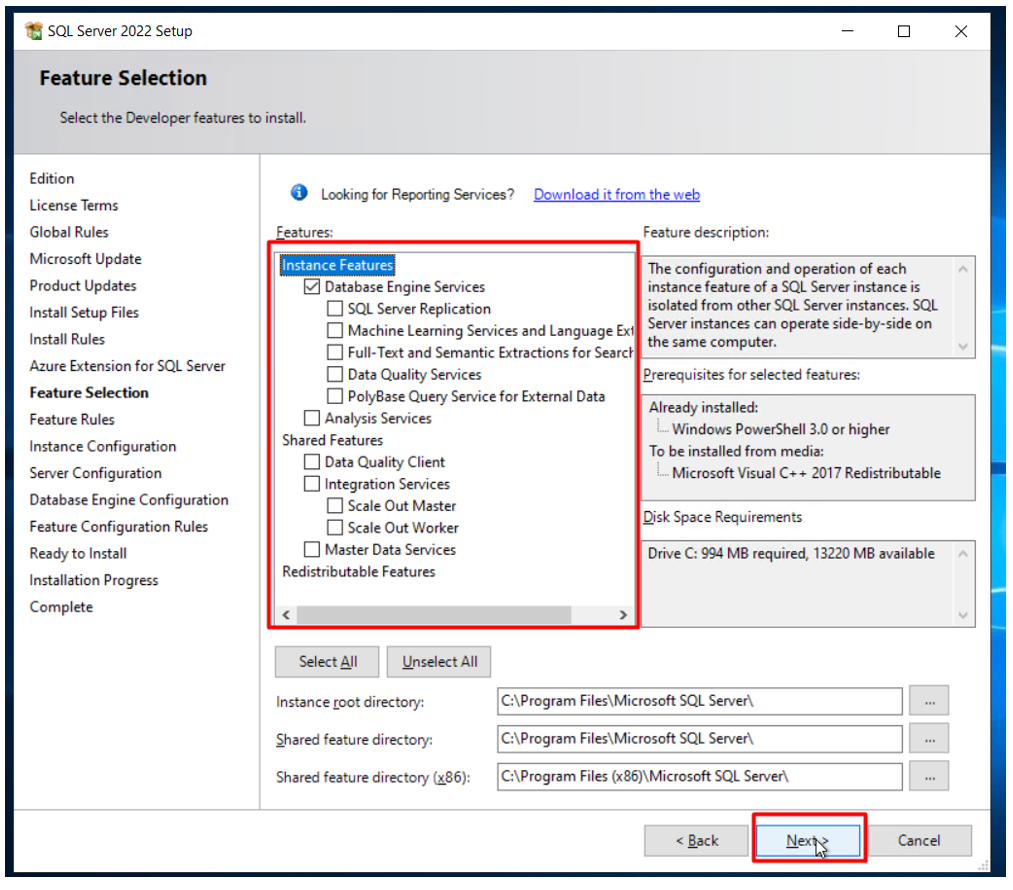
On the next page about features, Select the “Database Engine Service” and click on the next button:
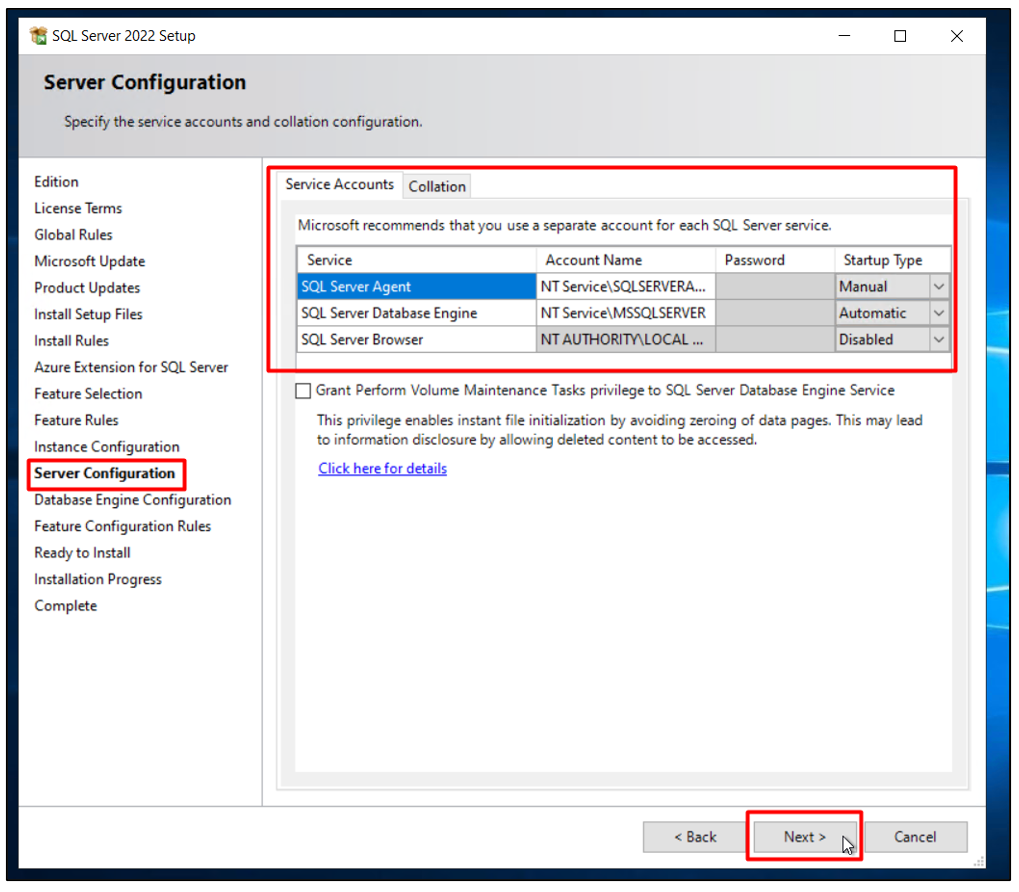
After that, continue with the wizard, and for the “Server Configuration,” make sure that the server accounts in the following way:
For the Database server configuration, click on the “Add current user” button:
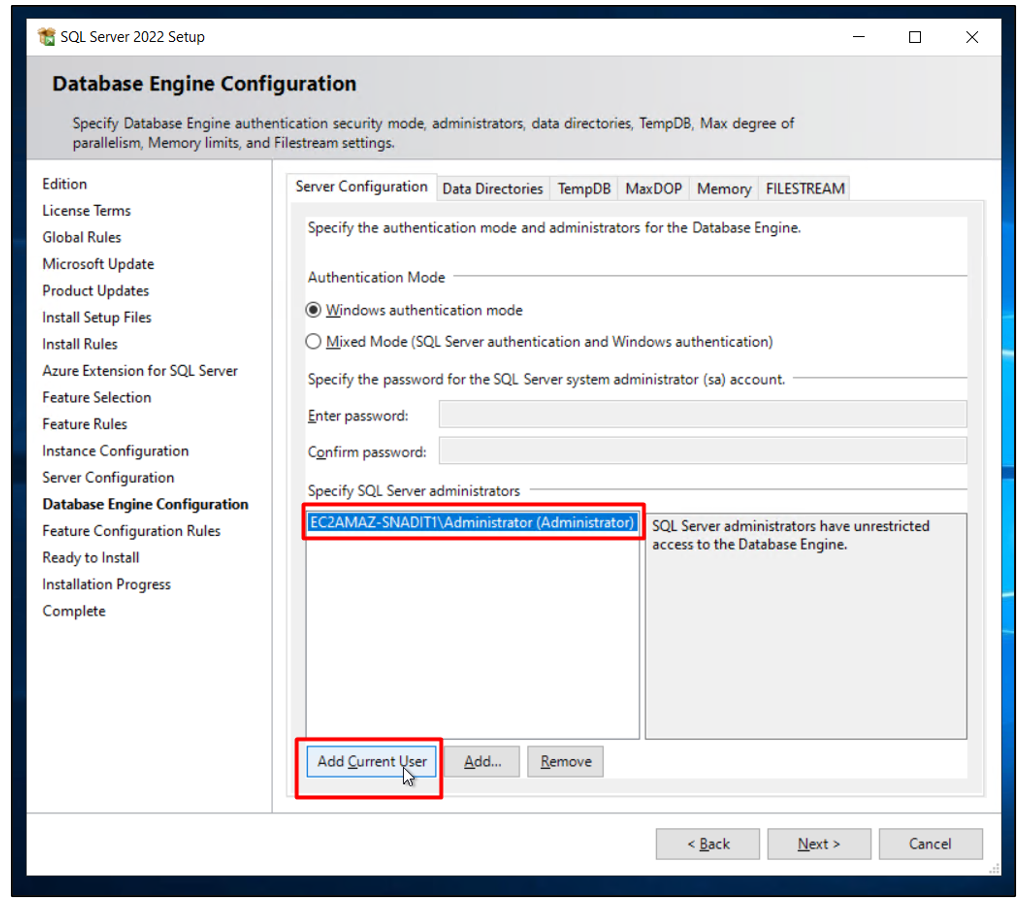
Change the Authentication mode to “Mixed Mode,” and for the password of the account “sa”, paste in the password of the key pair from the connection page:

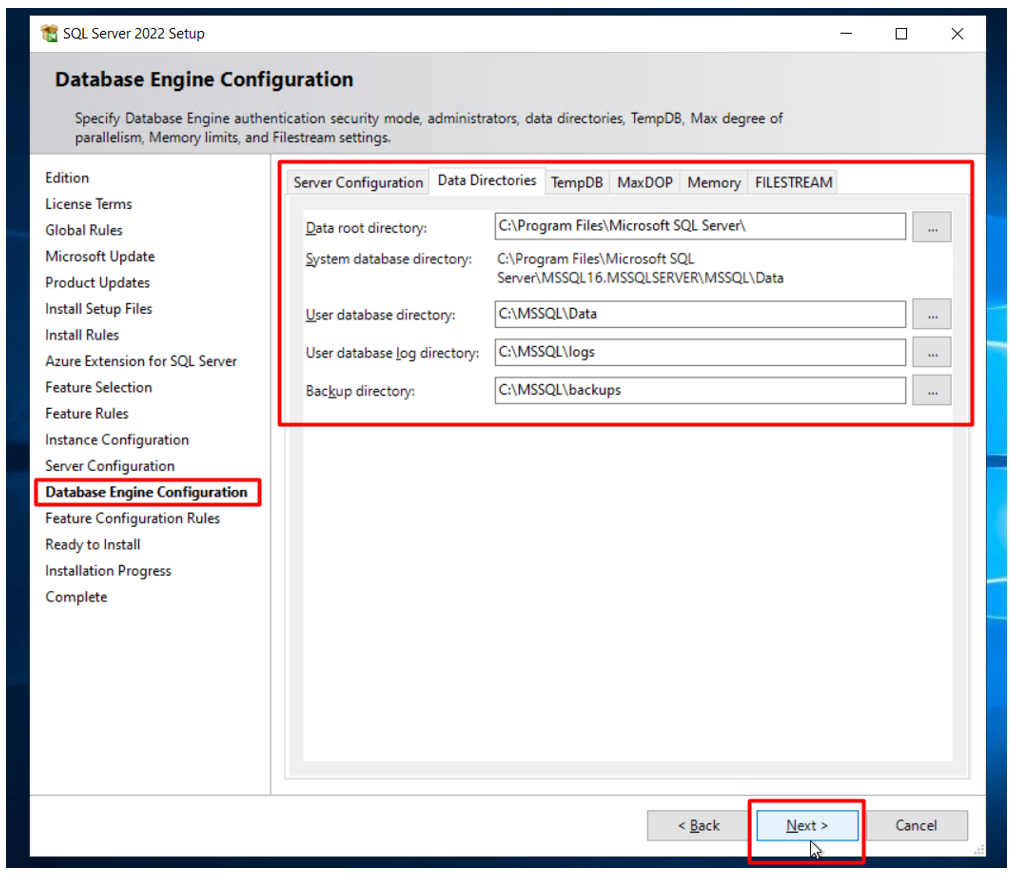
After that, switch the tab to “Data directories”, and provide the paths as the following and click on the next button:
- Data => C:\MSSQL\Data
- Logs => C:\MSSQL\logs
- Backups => C:\MSSQL\backups
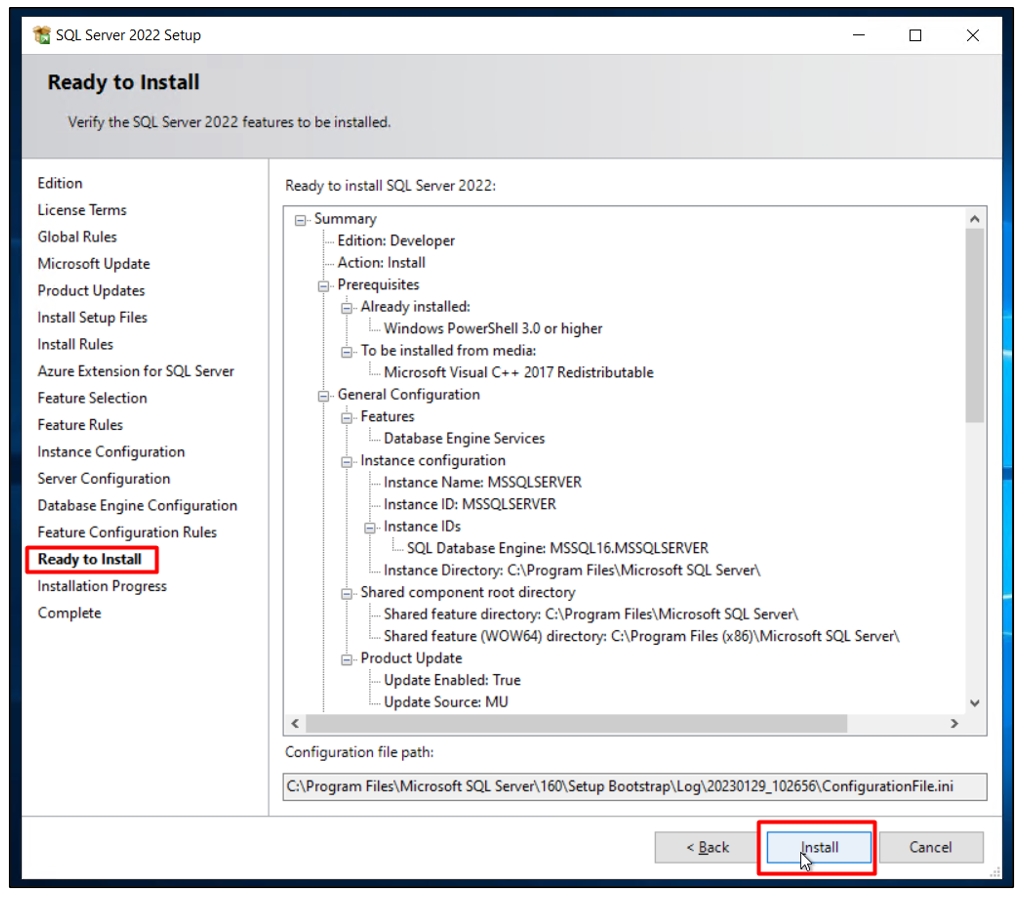
For the “Ready to Install” page, simply click on the “Instal” button:
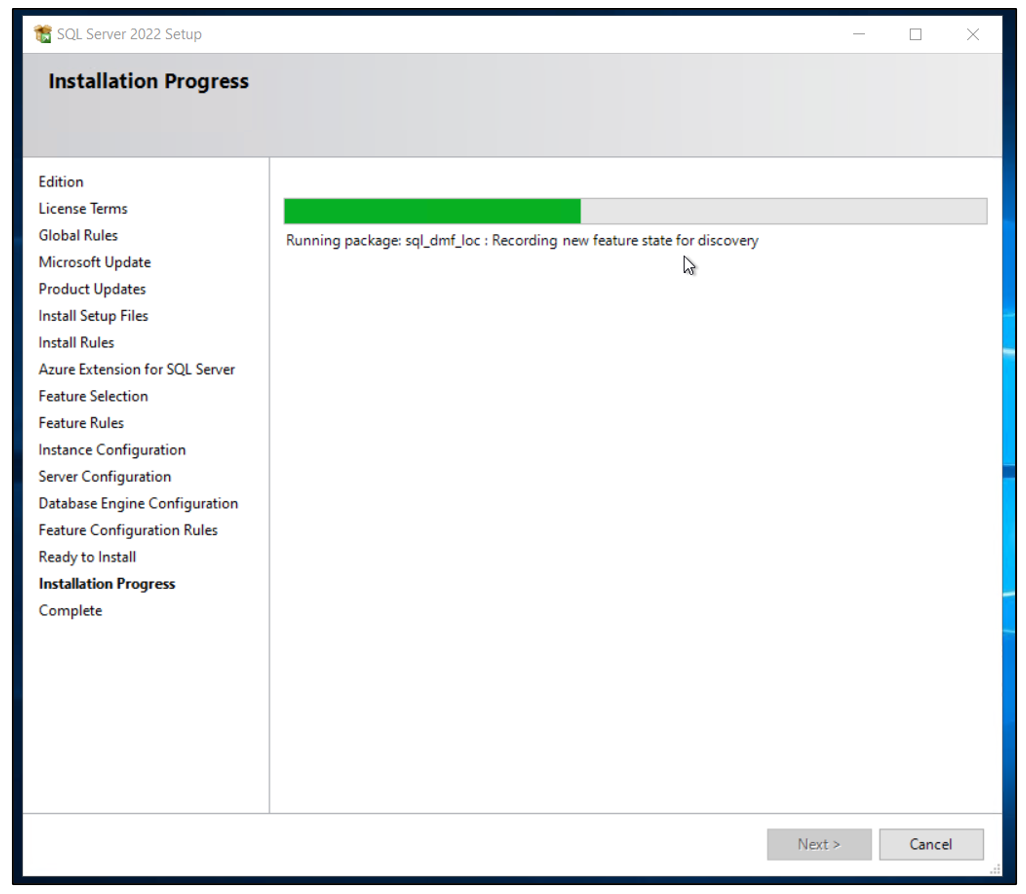
After that, simply wait for the installation process of MSSQL to complete:
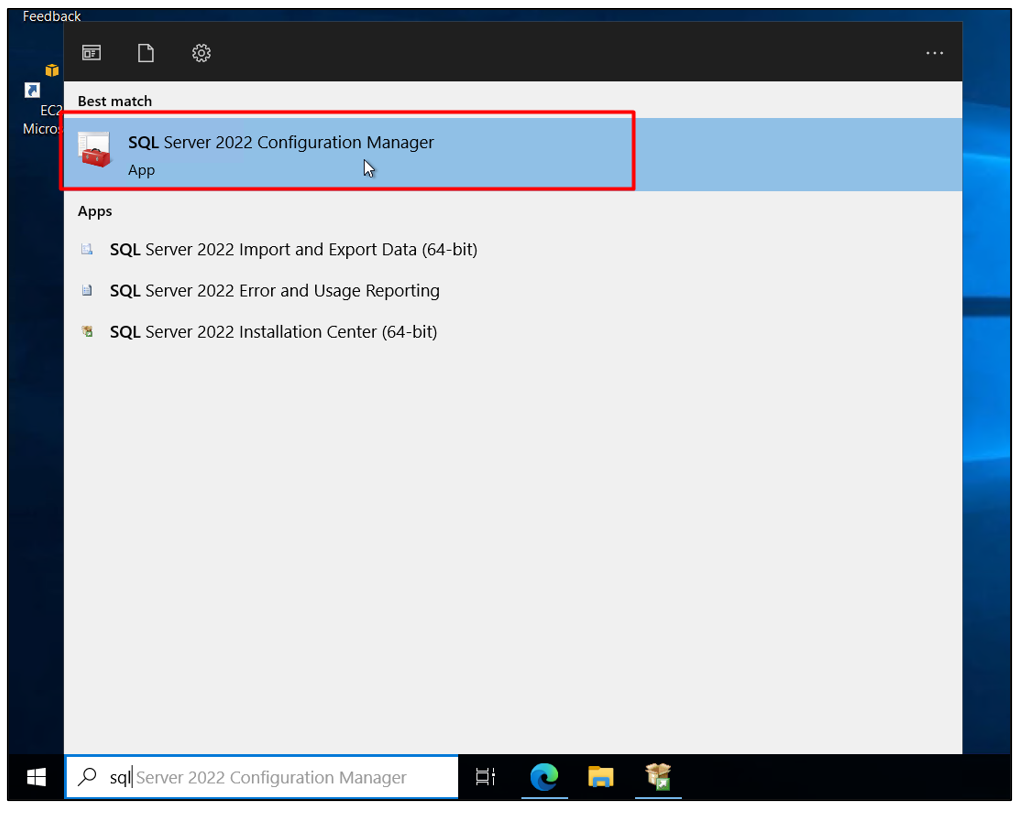
After the installation is done, the next step is to enable the TCP port for a client, for that open up the “SQL Server Configuration Manager”:
Head inside the SQL network configuration and enable the TCP\IP protocol by right-clicking on it and choosing the “Enable” option

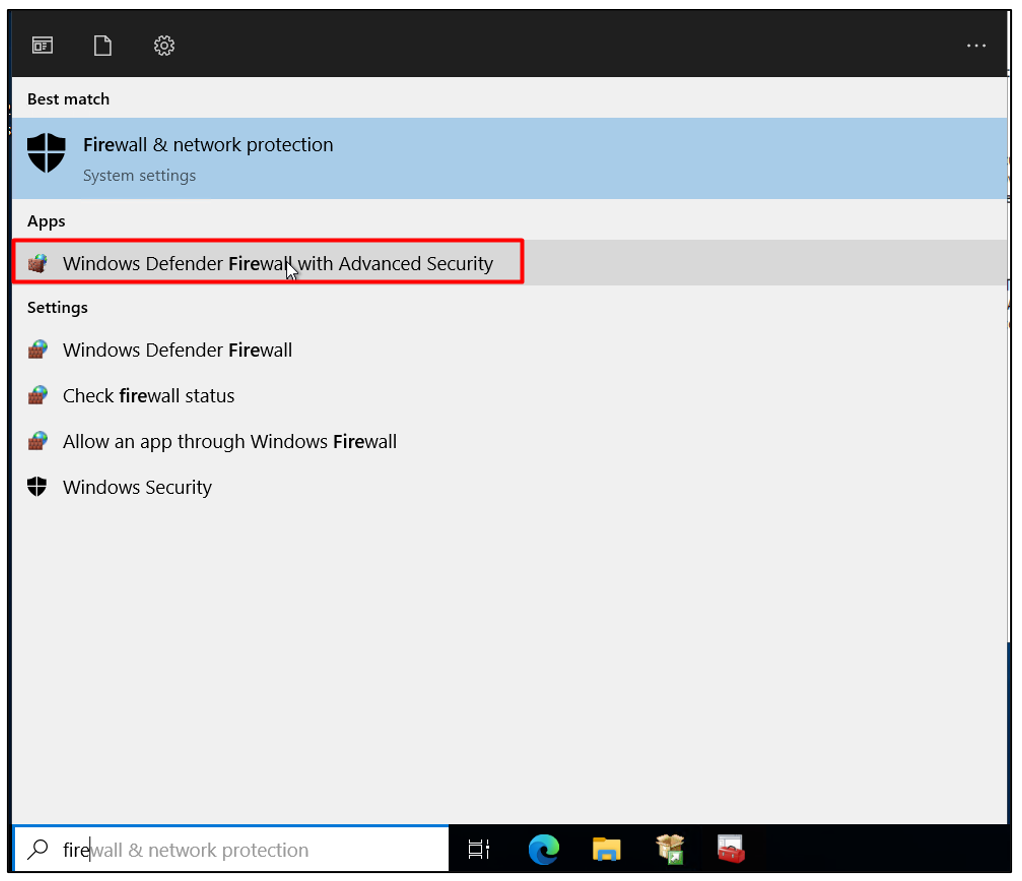
After that, you need to add a port in the firewall configuration. To open up, press windows and search for “Firewall,” and open the following application:
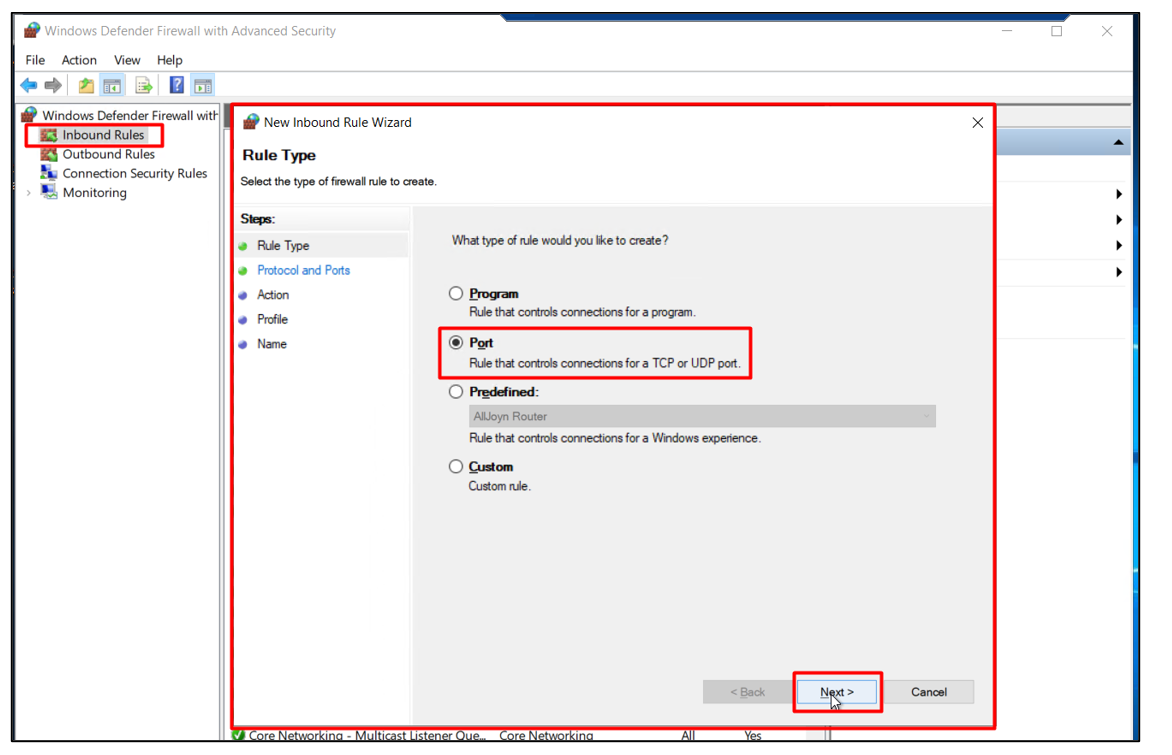
Click on “Inbound Rule” and add a new port rule:
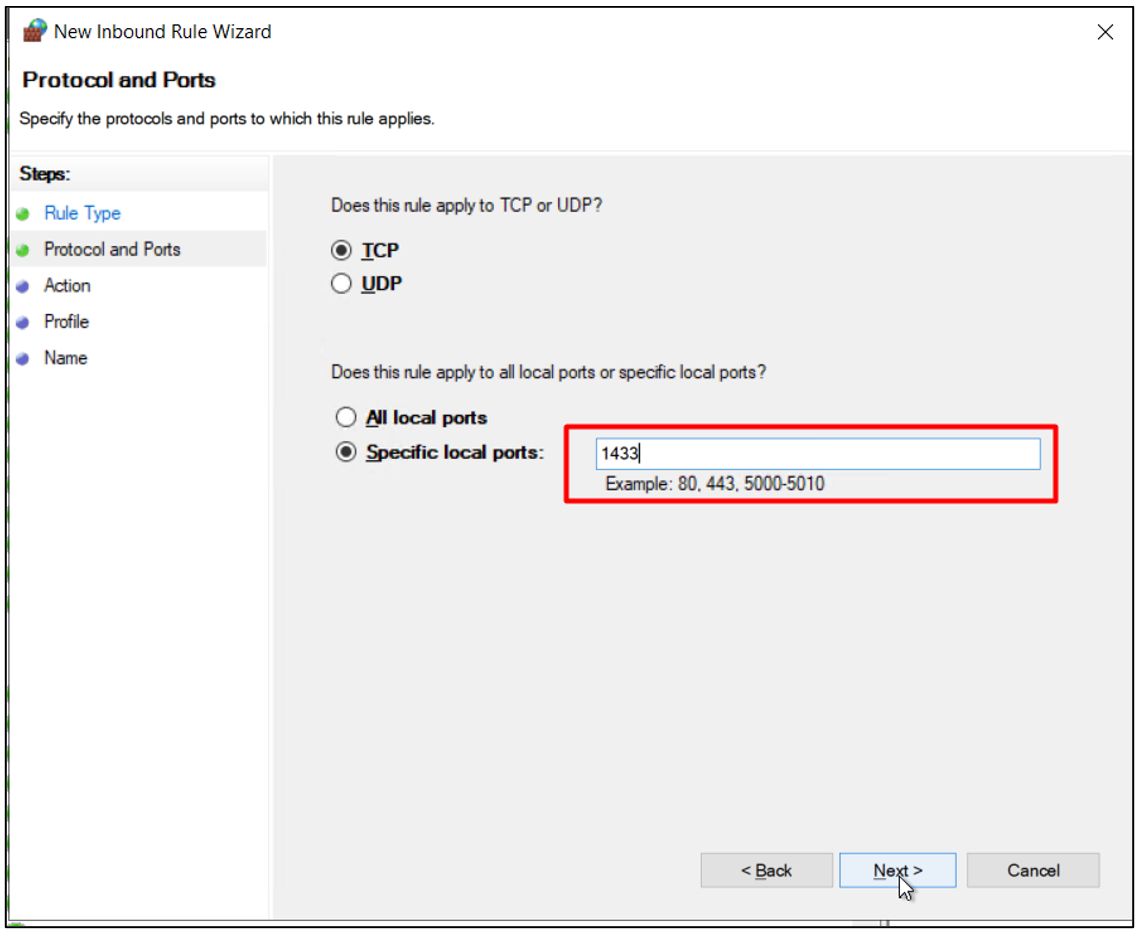
Specify the port number “1433” and click on the next button:
After that simply go head with the new rule wizard and complete the new inbound rule. The next step is to assign the same port “1433” to the EC2:
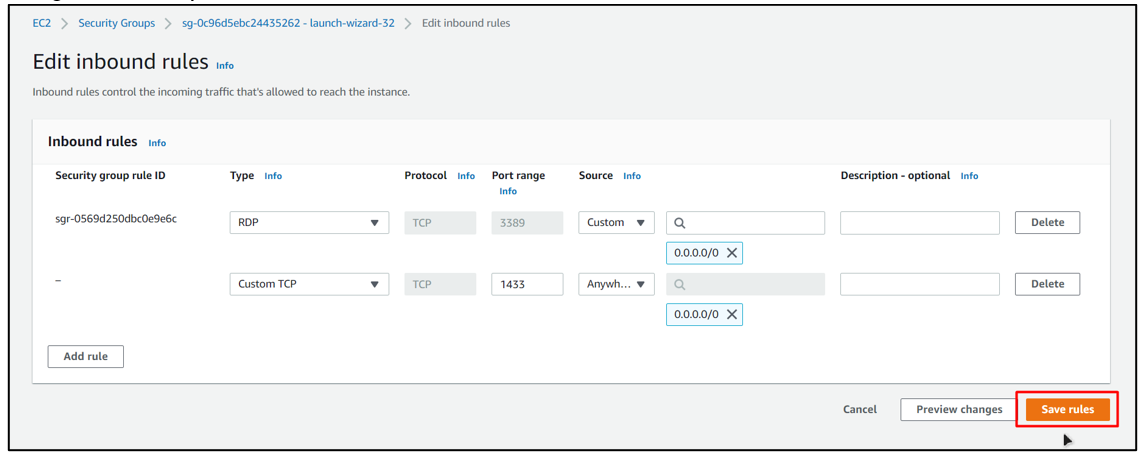
Note: If you want to know more about adding inbound rules to EC2, then read this guide!
After that, you can create a connection with the Instance hosting the Microsoft SQL Server Therefore, on your local PC, open up the SQL Server Management Studio:
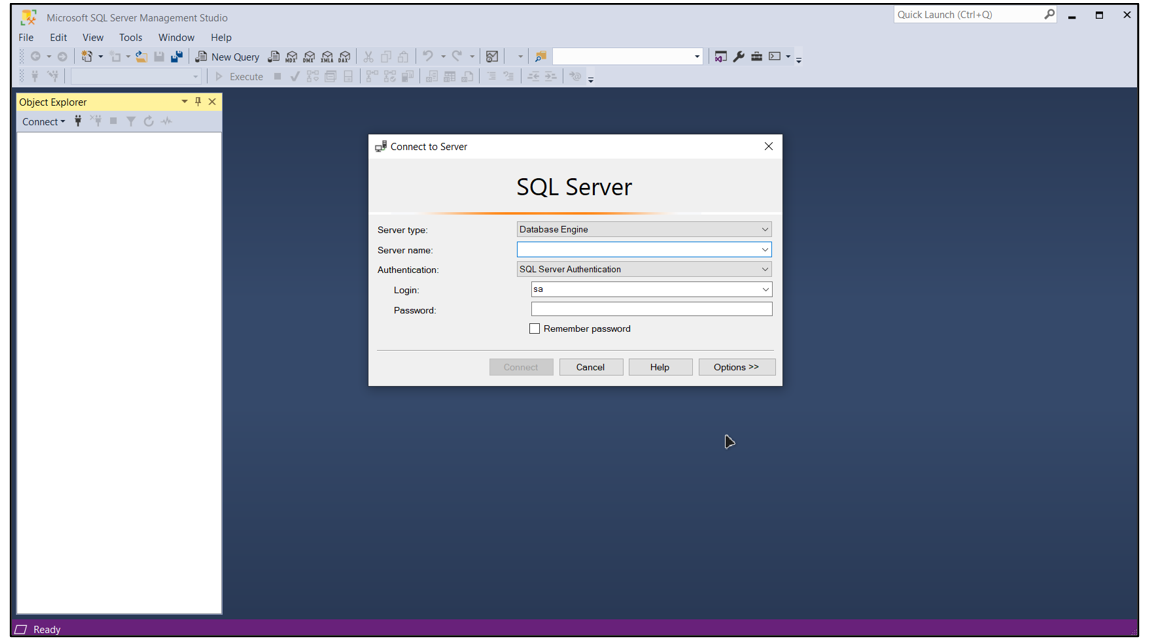
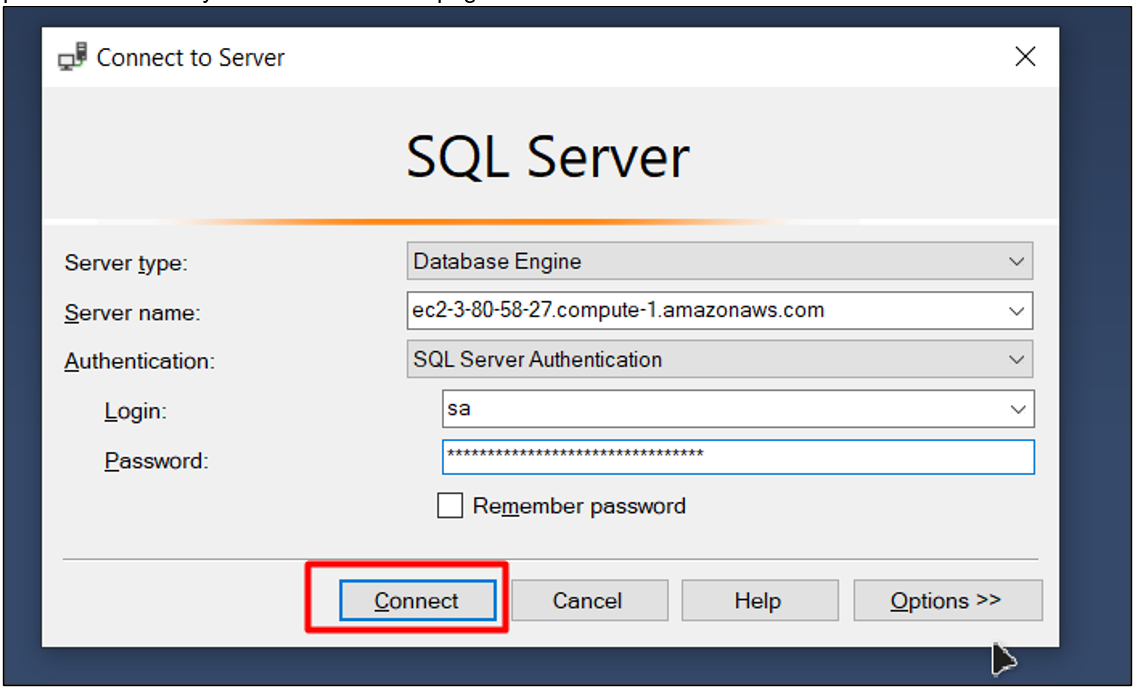
In the SQL Connection, provide the public DNS of the EC2 instance in the Server name, change the Authentication to “SQL Server Authentication”, set the login username to “sa” and then provide the password shown by the EC2 connection page and then click on the connect button:
After that, you will observe the following result on the SQL Server Management Studio:
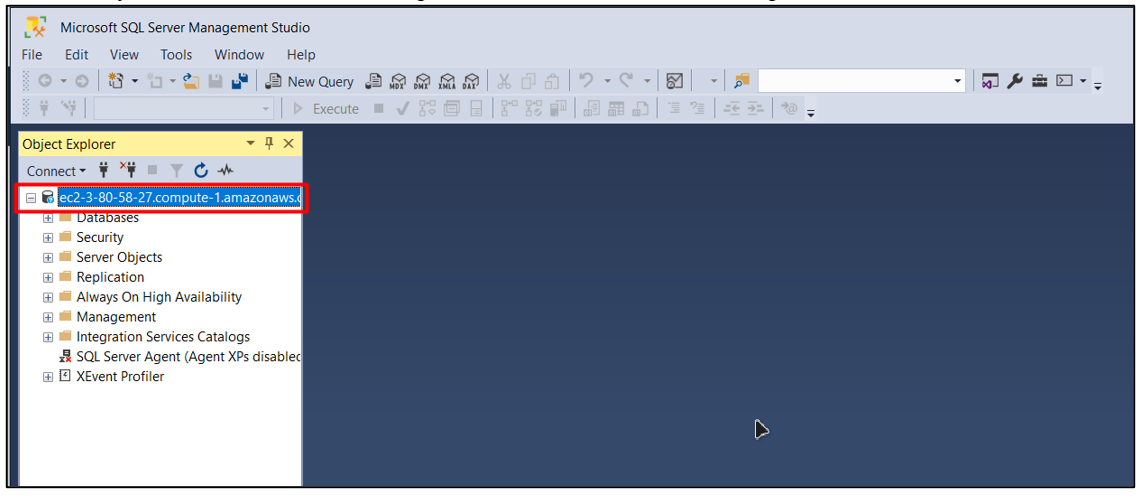
This confirms that you have successfully set up a Microsoft SQL Server on AWS EC2 and are connected to it.
Conclusion
Setting up a Microsoft SQL Server on AWS EC2 can be time taking and complex. But, if you have the right guide then this whole process becomes easy. The steps include, downloading and configuring MSSQL server, adding inbound rules to EC2 and Windows running inside EC2 and then connecting to it using the SQL Server Manager. This post has taught you how to set up Microsoft SQL Server on AWS EC2.