Amazon Web Service offers many services on the cloud to use its resources without having to manage them. The platform allows the user to create a virtual machine called instance on the cloud and run it on their local machine. The user can manually enable the Graphical User Interface (GUI) also called a desktop environment, on Amazon machines.
Let’s start with how to enable GUI in Amazon Linux EC2.
Enable GUI in Amazon Linux AWS EC2
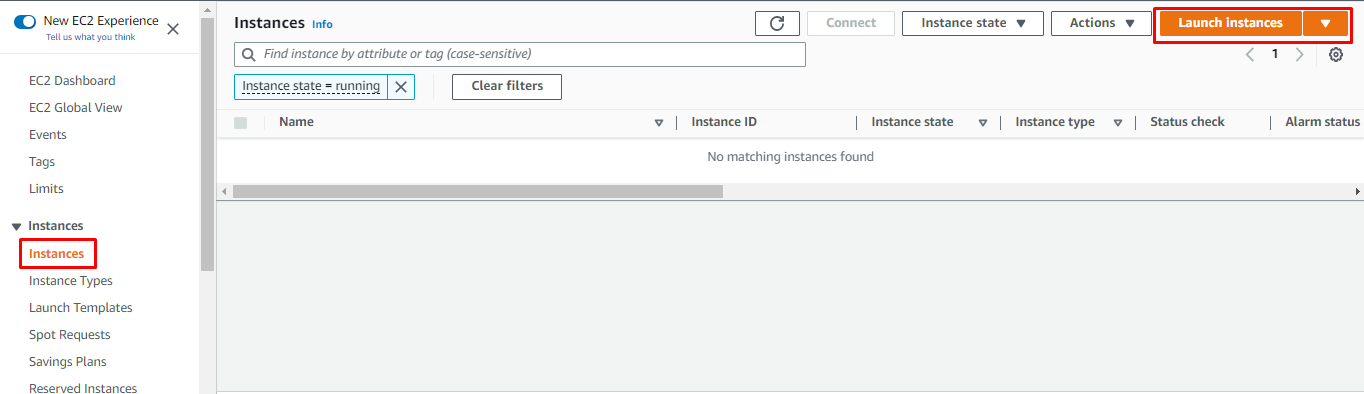
To enable the GUI in Amazon Linux EC2 instance, head into the EC2 dashboard from the Amazon platform:
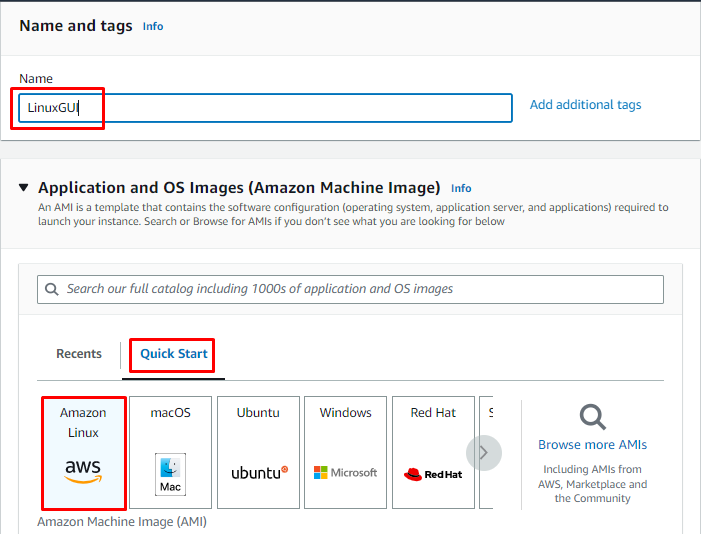
Type the name of the instance and select the “Amazon Linux” Machine Image from the Quick Start section:
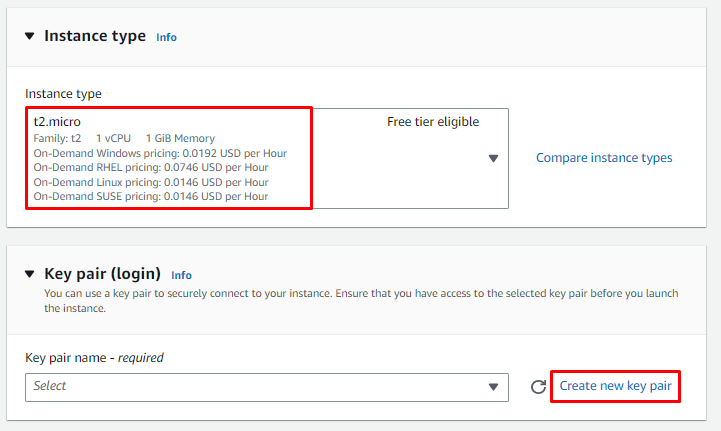
Select the instance type and click on the “Create new key pair” link from the instance creation page:
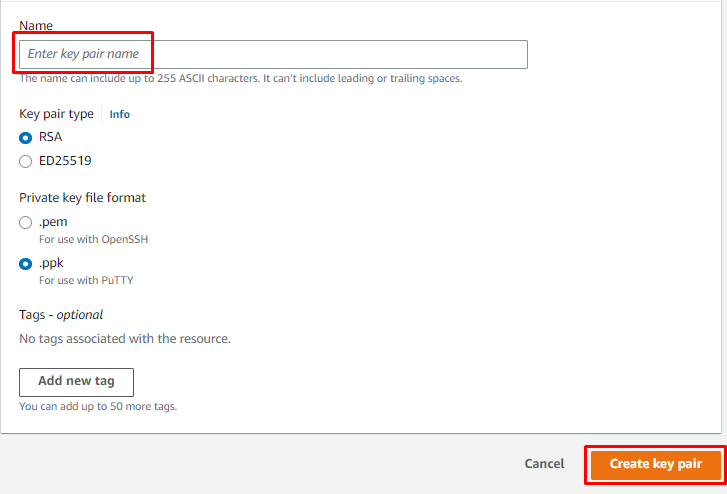
Type the name of the key pair and click on the “Create key pair” button after configuring key pair settings from the window:
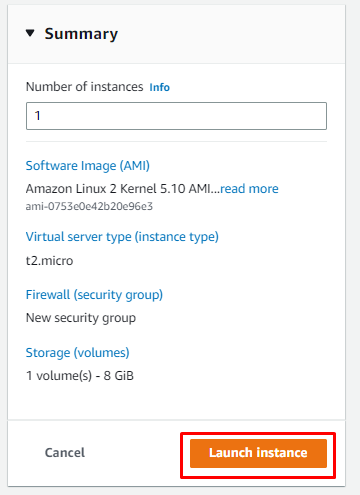
Review the settings from the Summary and click on the “Launch Instances” button:
After that, select the instance and click on the “Connect” button:

Copy the command provided in the SSH section from the page:
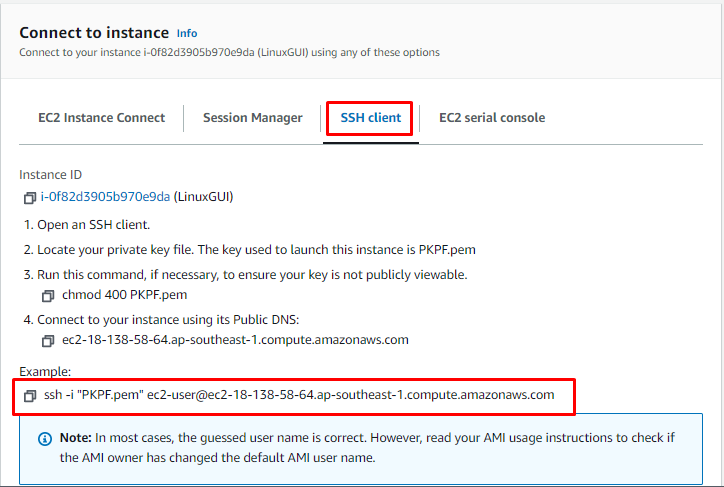
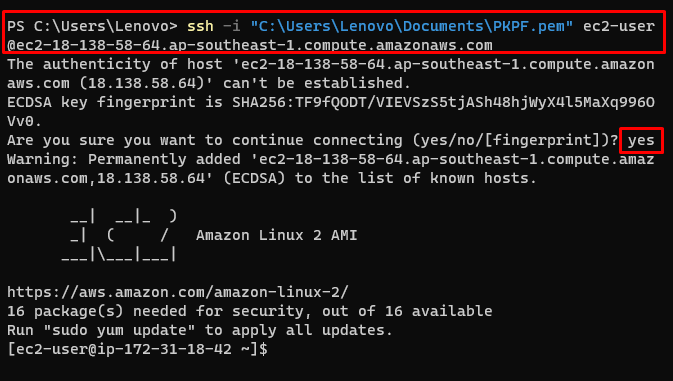
Use the following command to connect to the EC2 instance after changing the path of the private key pair file from the system:
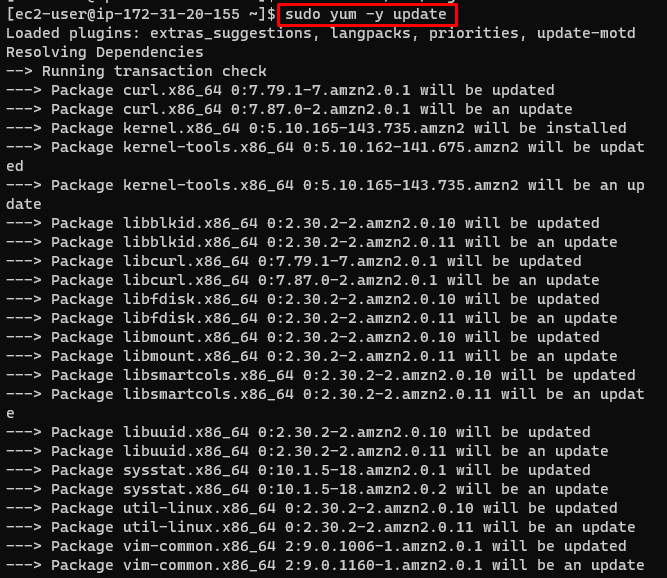
Use the following command to update yum packages:
Running the above command will display the following output:
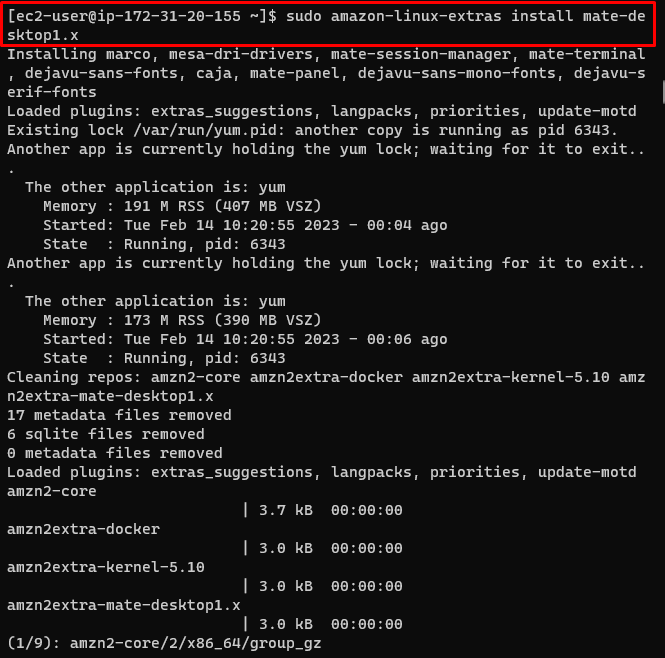
Install the Mate-Desktop environment by using the following command:
The above command will install the lightweight GUI-based mate on the instance:
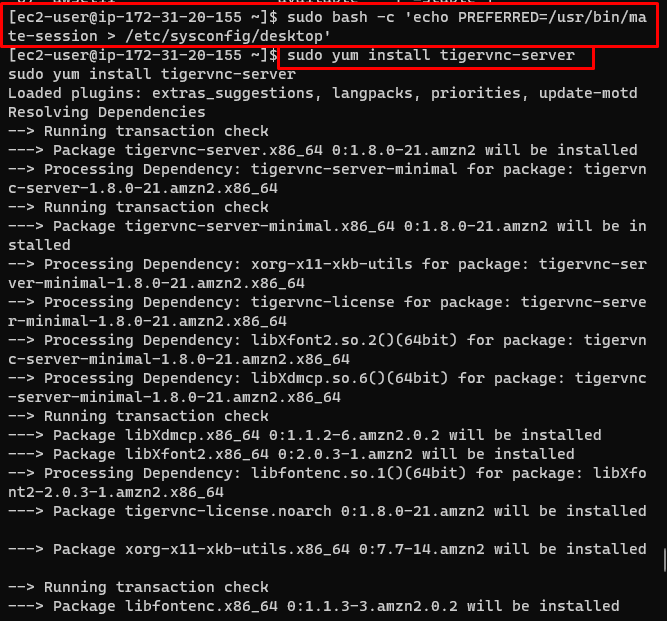
After installation, the user must define Mate as a default desktop using the following command:
Use the following command to install a “VNC” server which is “tigervnc” in this case:
Running the above command will install Tiger vnc on the Linux machine:
Set the password for Linux GUI by typing the following command on the terminal:
Running the above command will prompt the user to type the password twice and hitting enter will set the password:

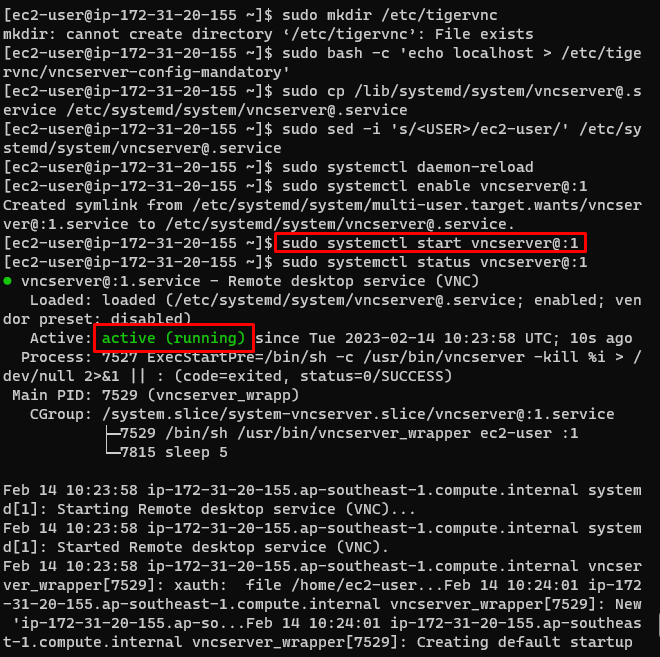
For security reasons, it is important to restrict vnc server to the localhost only by creating a directory for tigervnc using the following command:
Use the following command to create a mandatory configuration file with localhost option:
Create a new systemd unit from an existing template by typing the following command:
Use the following command to replace all occurrences of the user in the new unit with EC2 user:
Reload the systemd manager by using the following command:
Run the following command to enable the service:
The following command will start the service:
Running the above series of commands will start the tigervnc server:
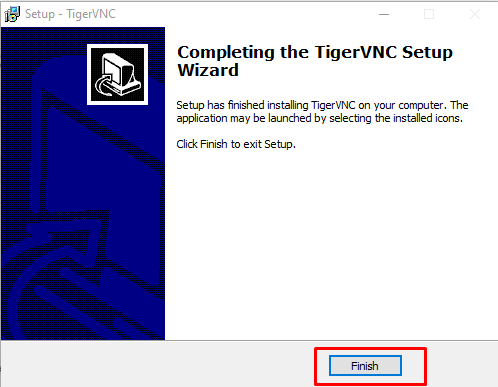
After that, click here to download the “Tiger VNC” software on the local system:
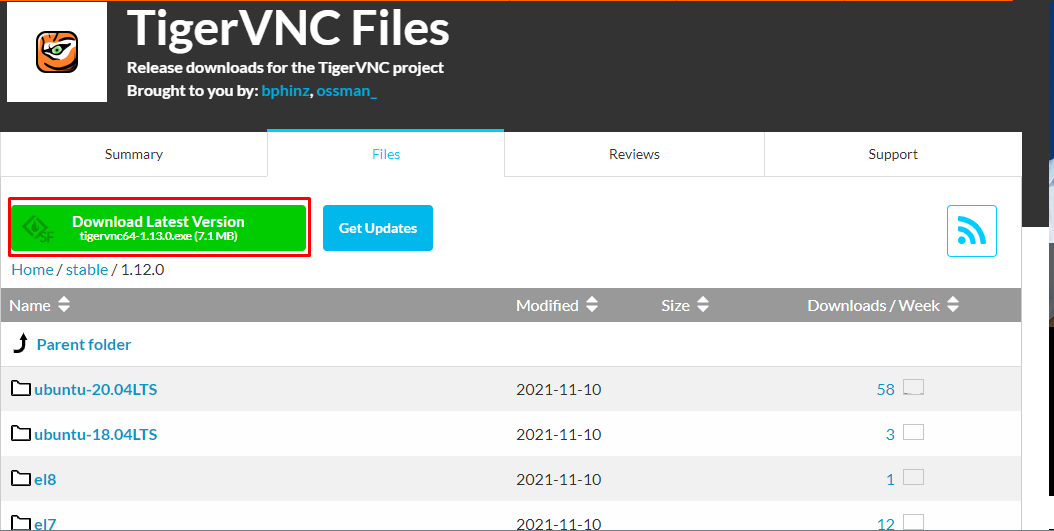
Install the software on the system to use GUI:
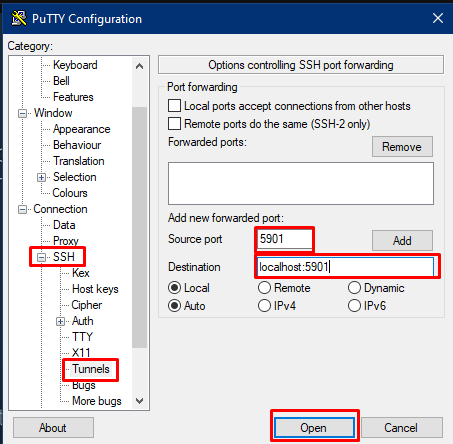
Start PuTTY to open the “Tunnels” window from the “SSH” section and add source and destination ports:
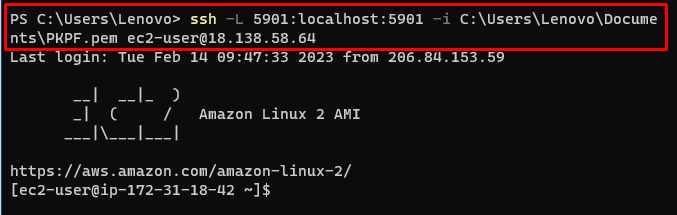
Type the following command on the windows terminal to connect to the EC2 instance by opening the port number 5901:
The syntax of the above command is mentioned below:
Running the above command will connect to the EC2 instance:
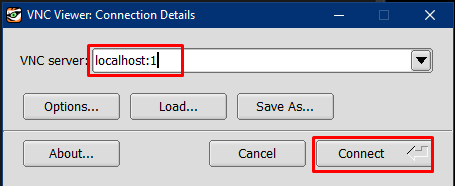
Open the VNC viewer on your system and type “localhost:1” and click on the “Connect” button:
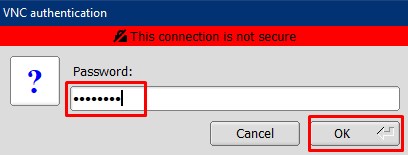
After that, enter the password and click on the “OK” button:
The following screen will be displayed on the screen:
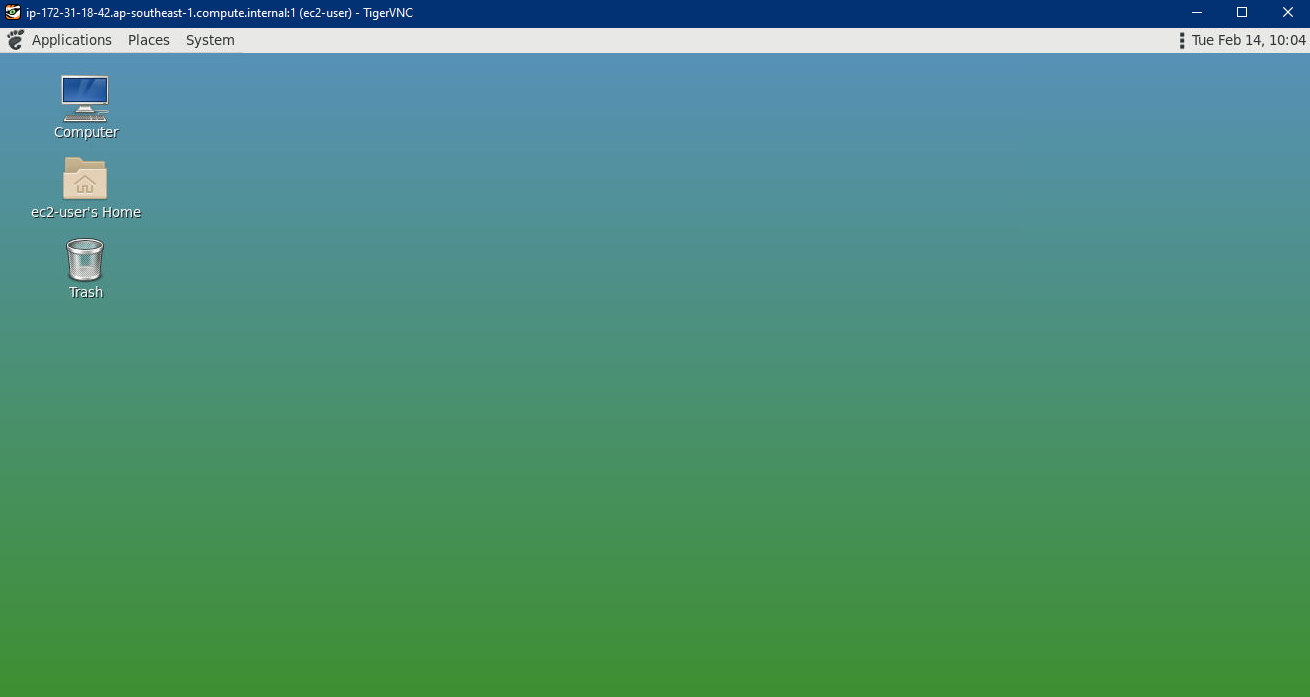
You have successfully enabled GUI in Amazon Linux EC2 instance.
Conclusion
To enable GUI in Amazon Linux EC2 instance, head into the EC2 dashboard from the AWS platform and launch an instance. After that, connect to the instance to configure the GUI by installing the VNC server on the machine and then start the server on Linux. Start the VNC viewer on the local machine and configure it to view the GUI of the Linux machine EC2 instance.