This blog will explain how to set up the editor to work with Git on Windows.
How to Set Up Git Default Editor on Windows?
To set up the Git default editor, follow the given below steps:
- First, open Git bash and switch to the local directory.
- Then, set up the editor using the “git config core.editor <editor-name>” command
- Finally, verify the default editor through the “git config core.editor” or “git config –list” command.
Step 1: Move to Local Repository
First, switch to the specific local repository:
Step 2: View Default Editor
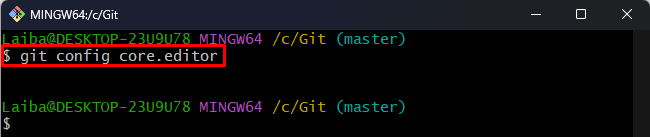
Then, view the default configuration setting for the editor:
It can be seen that no default editor has been set for Git:
Step 3: Setup Editor
To set up the new editor, configure the “core.editor” setting by using the below-provided command and specify the desired editor name. For instance, we have specified the “notepad” editor to work with Git:

Step 4: Verification
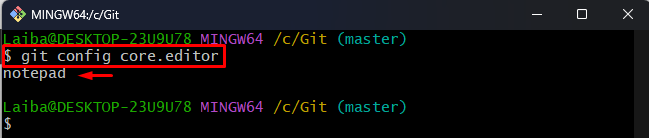
Now, ensure that the desired editor has been set as the default editor by running the given-below command:
As you can see the “notepad” has been set as the default editor:
Step 5: View Configuration Settings
Lastly, list all the configuration properties to view the default editor settings:
In the below image, the highlighted part shows the default editor value, i.e., “notepad”:

We have explained the easiest way to set up an editor to work with Git on Windows.
Conclusion
To set up an editor to work with Git, first, open the Git bash terminal and navigate to the local repository. Then, execute the “git config core.editor <editor-name>” command to set up the desired editor. After that, verify the default editor using the “git config core.editor” or “git config –list” command. This blog has explained the method of setting up the editor to work with Git on Windows.