Sometimes, however, all you need to do is send a simple text-only message, and you may not always be able to launch a GUI application or log in to a webmail interface to get the job done. In such situations, it’s handy to know how to send email from the Linux command line, and this article explains how to do just that.
Before We Begin
Before we describe the smartest ways to send email from the Linux command line, what you can expect to learn by reading this article:
You will learn to send email messages through your email provider’s SMTP server to any email address.
You won’t learn how to set up your email server and use it to send email messages directly.
Why not? Because nobody would accept emails sent from your email server anyway. As you know, spam is a huge problem when it comes to email, and virtually all email service providers and mail servers now include at least basic spam protection that causes all emails from dubious sources to be rejected.
An avid Linux user with a DIY email server is considered a dubious source of email. What’s more, most internet service providers block port 25, which is the standard port used for SMTP connections, so you most likely wouldn’t even be able to send messages in the first place.
Instead of going through all the trouble of making a home email server work, it’s much easier to use an email service like Gmail, which we’ll be using for this article.
If you haven’t done so already, log in to your Gmail account and enable IMAP access from the Forwarding and POP/IMAP tab in Settings. You should also allow apps that use less secure sign-in technology.
Method #1: Mutt
Mutt is a venerable email client. It was created in 1995 by Michael Elkins, and it has been receiving updates at a steady rate ever since. Despite its command-line nature, Mutt supports many useful features, including keyboard macros, PGP/MIME, message threading, attachments, and much more. You can use it with any email service that provides POP3 or IMAP access.
First, you need to install Mutt from your distribution’s repositories:
Then you can launch Mutt:
You will be asked to create a Mail directory. Choose “yes” to create it. Mutt should launch and tell you that no mailbox is open. Now that you’ve confirmed that Mutt is working, it’s time to create some basic directories and the main configuration file, called muttrc.
$ mkdir ~/.mutt/cache/bodies
$ touch ~/.mutt/certificates
$ touch ~/.mutt/muttrc
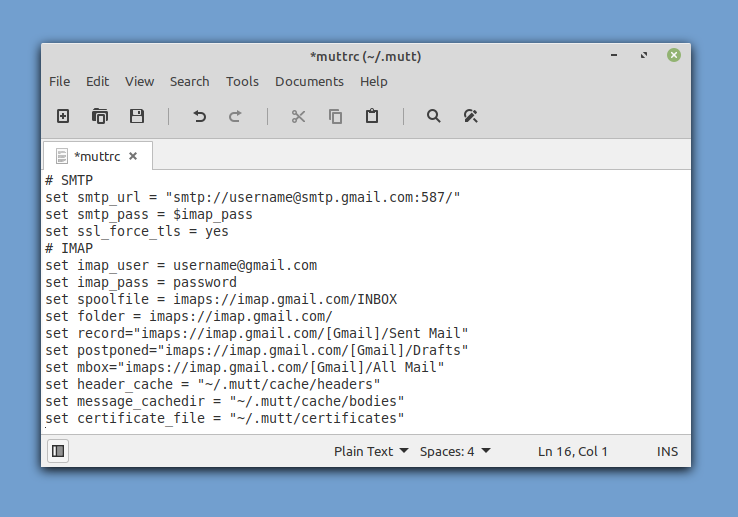
Now, open the configuration file in your favorite text editor and copy & paste the following configuration (make sure to change the default settings to those that match your Gmail email account):
set smtp_url = "smtp://[email protected]:587/"
set smtp_pass = $imap_pass
set ssl_force_tls = yes
# IMAP
set imap_user = username@gmail.com
set imap_pass = password
set spoolfile = imaps://imap.gmail.com/INBOX
set folder = imaps://imap.gmail.com/
set record="imaps://imap.gmail.com/[Gmail]/Sent Mail"
set postponed="imaps://imap.gmail.com/[Gmail]/Drafts"
set mbox="imaps://imap.gmail.com/[Gmail]/All Mail"
set header_cache = "~/.mutt/cache/headers"
set message_cachedir = "~/.mutt/cache/bodies"
set certificate_file = "~/.mutt/certificates"
# EDITOR
set editor = "nano"
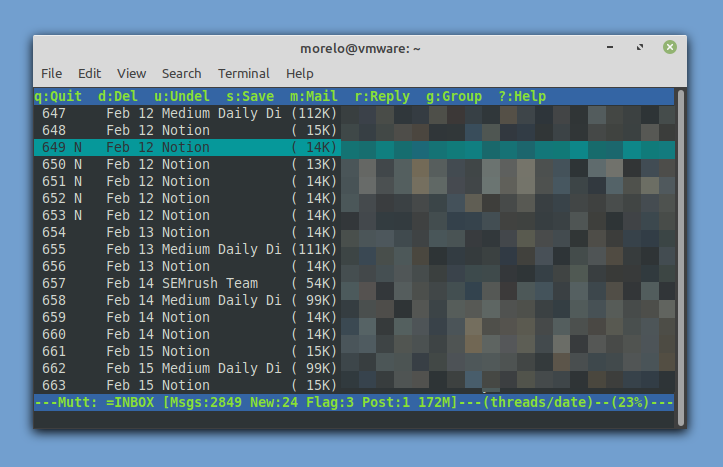
You can now launch Mutt, and it should automatically fetch your emails for you. To send your first email message from the command line, press “m” on your keyboard. Choose not to recall a postponed message and enter the recipient’s email address, the subject of the email message, and, finally, the body of the message.
Before Mutt sends the email message, it will allow you to modify it and attach a file. Once you’re happy with it, you can press “y” to send it. That’s how easy it is to send an email from the Linux command line!
Method #2: aerc
It probably won’t surprise you to learn that Mutt isn’t the only command-line email client for Linux, although it’s certainly the most popular one. While it would be beyond the scope of this article to describe all command-line email clients for Linux, there are two more clients we want you to know about, starting with aerc.
Designed to be efficient and extensible, aerc brings to the table support for multiple accounts, Vim-style keybindings, an interactive terminal web browser capable of rendering HTML emails, and more.
Best of all, aerc is considerably easier to set up than Mutt, but there’s a chance that it won’t be included in your distribution’s repositories. In that case, you can compile it yourself by following the instructions on the official instructions.
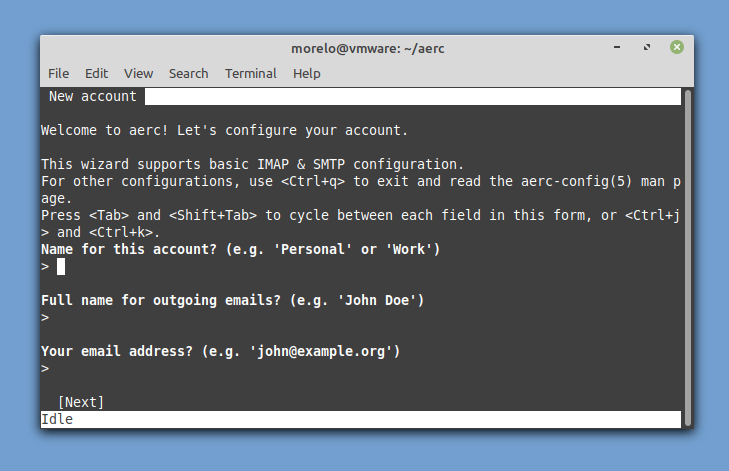
When you have aerc installed on your system, you can launch it using the “aerc” command. Aerc includes a handy setup wizard to help you configure your account—no need to edit configuration files manually!
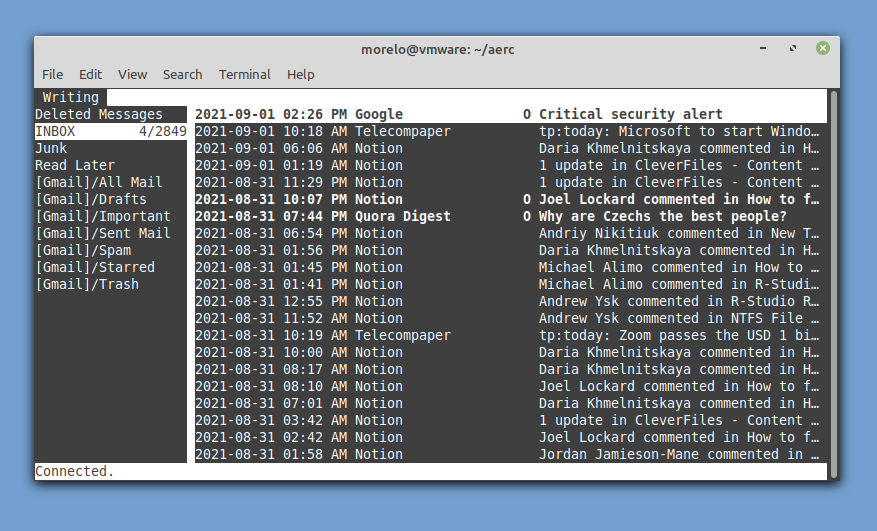
Once you’re done entering basic account information and configuring a couple of basic settings, you can either read the bundled tutorial or go straight to your inbox.
To compose a new message, all you need to do is press Shift + C.
Method #3: swaks
To send email from the Linux command line the smartest way possible, you need to think outside the box and use software tools in ways they were not intended to be used. The swaks application is an all-purpose SMTP transaction tester that can be used to send email messages through Gmail and other providers.
Start by installing it just like you would any other application:
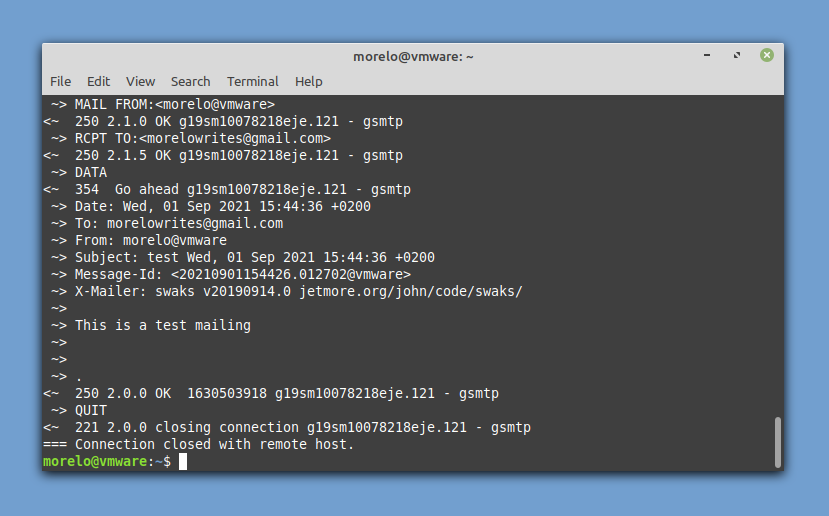
Now, enter the following command (make sure to include your own Gmail address) to test your connection:
You will be asked to enter your Gmail username (your email address) and your password. You should receive an email address from yourself, confirming that the test was successful. To send an actual email message, use the following syntax:
That’s how you can send an email message using swaks with a single terminal command.
Method #4: sSMTP
sSMTP is an email delivery program intended to deliver mail from a computer to a mail hub (SMTP server). This means that you can use it to send an email message to someone else, but you can’t use it to receive an email message sent to you by someone else.
You can install sSMTP by installing the corresponding package from repositories:
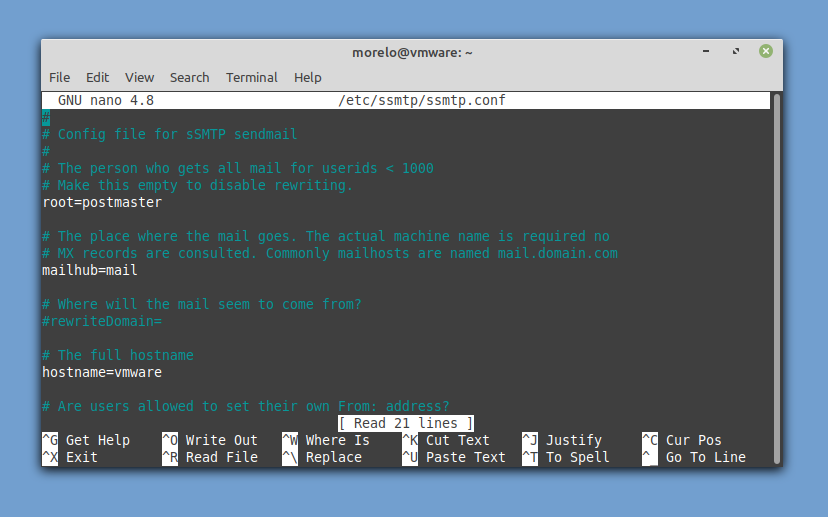
Configuration is done by editing the /etc/ssmtp/ssmtp.conf configuration file:
root=username@gmail.com
# The mail server (where the mail is sent to), both port 465 or 587 should be acceptable
# See also https://support.google.com/mail/answer/78799
mailhub=smtp.gmail.com:587
# The address where the mail appears to come from for user authentication.
rewriteDomain=gmail.com
# The full hostname. Must be correctly formed, fully qualified domain name or Gmail will reject the connection.
hostname=yourlocalhost.yourlocaldomain.tld
# Use SSL/TLS before starting negotiation
TLS_CA_FILE=/etc/ssl/certs/ca-certificates.crt
UseTLS=Yes
UseSTARTTLS=Yes
# Username/Password
AuthUser=username
AuthPass=password
AuthMethod=LOGIN
# Email 'From header's can override the default domain?
FromLineOverride=yes
To send an email message, you need to install the mailutils (Debian-based systems) or mailx (RHEL-based systems) package to use the mail command to pass your email message to sSMTP that it can deliver it to Gmail. Like this:
Method #5: Telnet
The last method we want to look at is the geekiest one of them all, but it could come in handy at some point in your life, so at least being aware of its existence is nice. This method relies on Telnet, a client-server protocol used to establish a remote text-only connection over a network.
What’s great about this method is that a Telnet client is most likely already installed on your Linux distribution. What’s not so great is that there are many steps to go through. Since we’re using Gmail for the purposes of this article, you need to make sure that your telnet client supports SSL encryption:
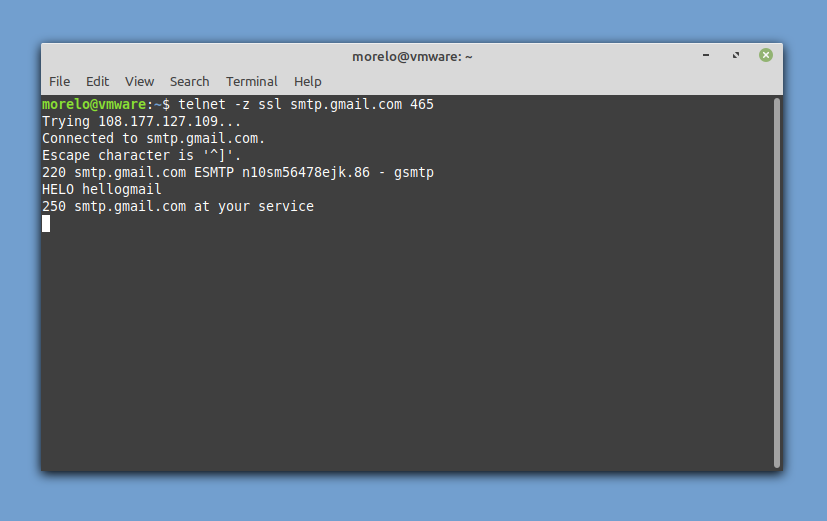
You can then launch your Telnet client and connect it to Gmail’s SMTP server:
Since it would be impolite not to introduce ourselves, you can greet the server like this:
If you’ve received a positive response, you can proceed with authentication:
First, enter your username encoded in base64 and then enter your password, also encoded in base64. The SMTP server should respond with “334 UGFzc3dvcmQ6” each time.
Now it’s time to specify your email address:
Then, specify the recipient:
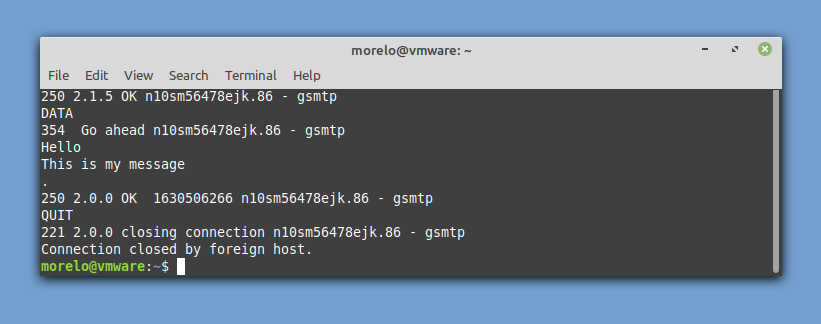
Finally, tell the SMTP server that you want to write an email:
You can now enter the subject of your email and press enter to confirm. Proceed with the body of the mail and press enter to confirm. To close your email message, enter:
.
You should see a confirmation message that looks like this: 250 2.0.0 OK 1630506266 n10sm56478ejk.86 – gsmtp
Enter the following command to terminate your connection and send the email:
Conclusion
Is sending email messages from the Linux command line impractical? Perhaps, but you never know when this skill will be useful. Even if you never put it to good use, at least you can feel good about yourself, knowing that you’ve become slightly more advanced as a Linux user.

