In this article, I am going to show you how to run multiple MariaDB database server instances on the same computer/server running the Ubuntu 20.04 LTS operating system. So, let’s get started.
Installing MariaDB Database Server:
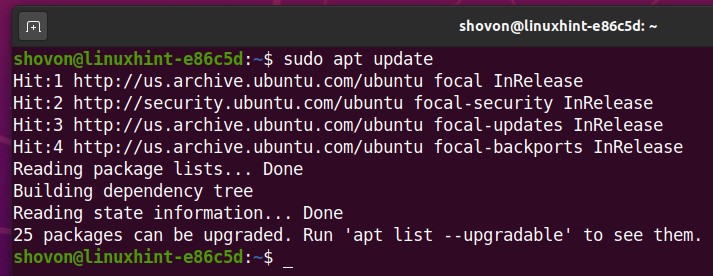
First, update the APT package repository cache with the following command:
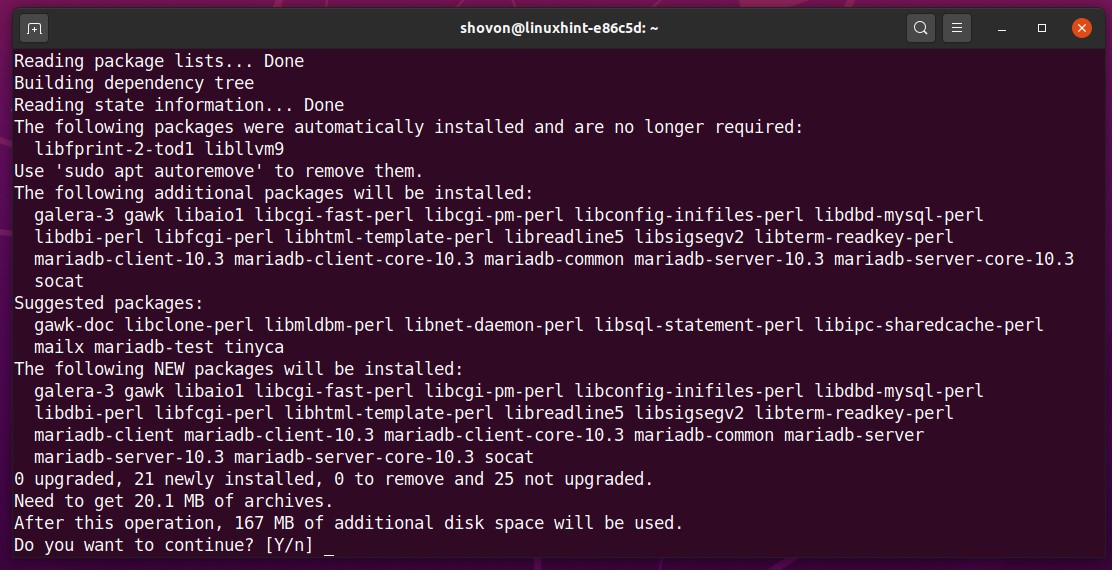
You can install the MariaDB database server with the following command:

To confirm the installation, press Y and then press <Enter>.
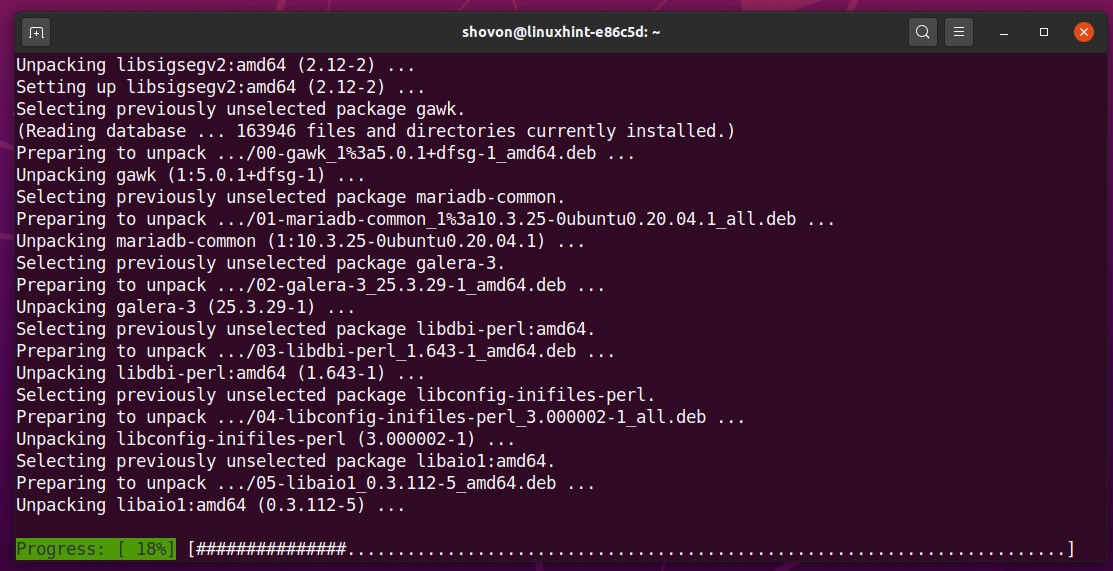
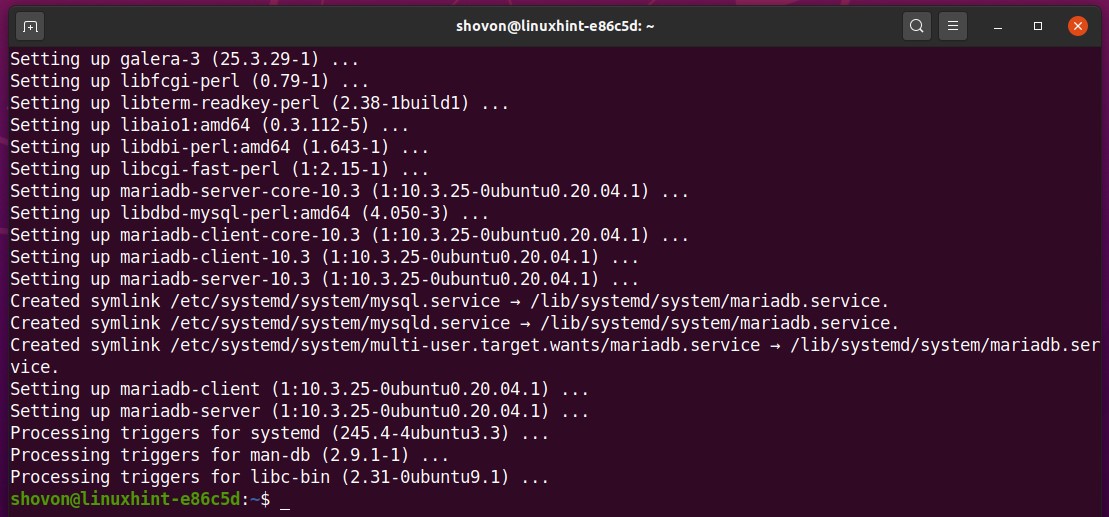
MariaDB is being installed. It may take a while to complete.
At this point, MariaDB should be installed.
Stopping the MariaDB Database Service:
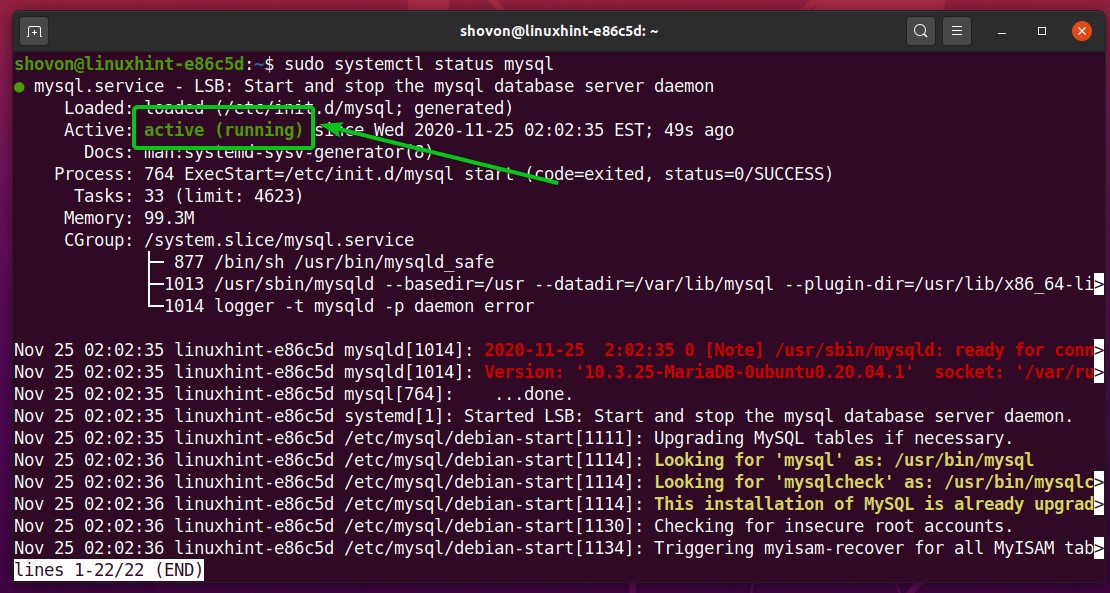
You can check whether the mysql database service is running with the following command:

The mysql database service should be running by default as you can see in the screenshot below.
As we want to run multiple instances of the MariaDB database server software, we don’t need the default mysql systemd service to run. We will run the MariaDB database instances manually.
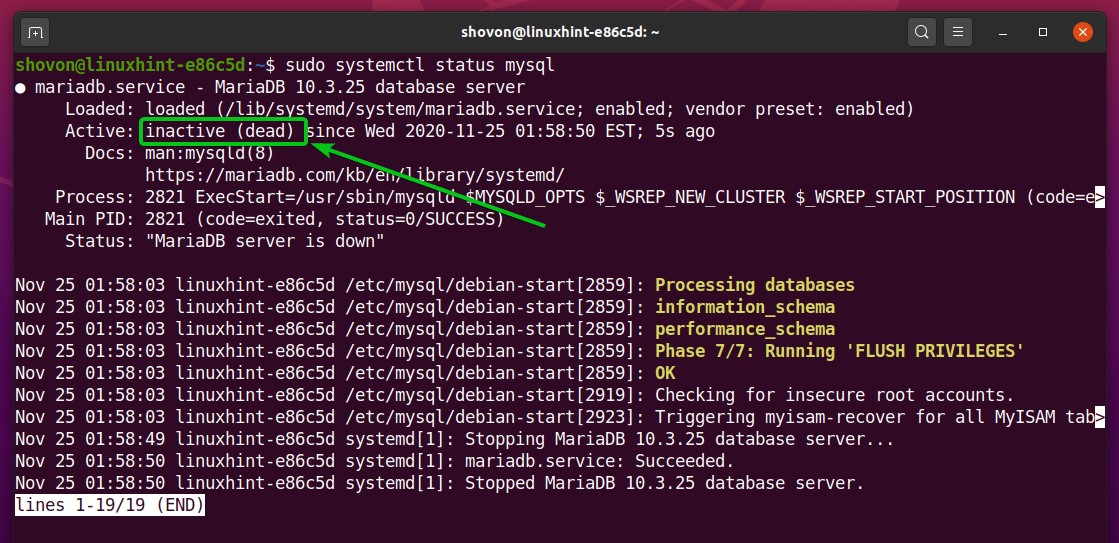
So, stop the mysql database service with the following command:

The mysql database service should be stopped.
We also want to remove the mysql database service from the system startup of Ubuntu 20.04 LTS. So that it won’t start automatically on boot.
To remove the mysql service from the system startup, run the following command:

Configuring MariaDB for Running Multiple Database Instances:
All the MariaDB database configuration files are in the /etc/mysql/mariadb.conf.d/ directory.
To make working with the MariaDB configuration files easier, navigate to the /etc/mysql/mariadb.conf.d/ directory as follows:

We don’t need the default MariaDB configuration file 50-server.cnf file anymore.
To make sure that this configuration file is not read by the MariaDB server, rename the main MariaDB configuration file 50-server.cnf to 50-server.cnf.backup with the following command:

Create a new MariaDB configuration file 50-server-multi.cnf with the following command:

Type in the following lines in the 50-server-multi.cnf file.
mysqld = /usr/bin/mysqld_safe
mysqladmin = /usr/bin/mysqladmin
log = /var/log/mysql/mysqld_multi.log
user=multi_admin
password=secret
Once you’re done, press <Ctrl> + X followed by Y and <Enter> to save the 50-server-multi.cnf file.

Here, the MariaDB server logs will be stored in the file /var/log/mysql/mysqld_multi.log.
The mysqld_multi admin username will be multi_admin and the password will be secret. This is needed for allowing the SHUTDOWN permission to the MariaDB database server instances.

In this article, I will run 3 MariaDB database instances for the demonstration. Each of the MariaDB database instances will have their own configuration file.
Create a configuration file 50-server1.cnf for the first MariaDB database server instace as follows:

Type in the following lines in the 50-server1.cnf file.
user = mysql
pid-file = /run/mysqld/mysqld1.pid
socket = /run/mysqld/mysqld1.sock
basedir = /usr
datadir = /var/lib/mysql1
tmpdir = /tmp
lc-messages-dir = /usr/share/mysql
bind-address = 127.0.0.1
query_cache_size = 16M
log_error = /var/log/mysql/mysqld1_error.log
expire_logs_days = 10
character-set-server = utf8mb4
collation-server = utf8mb4_general_ci
port = 20101
Once you’re done, press <Ctrl> + X followed by Y and <Enter> to save the 50-server1.cnf file.
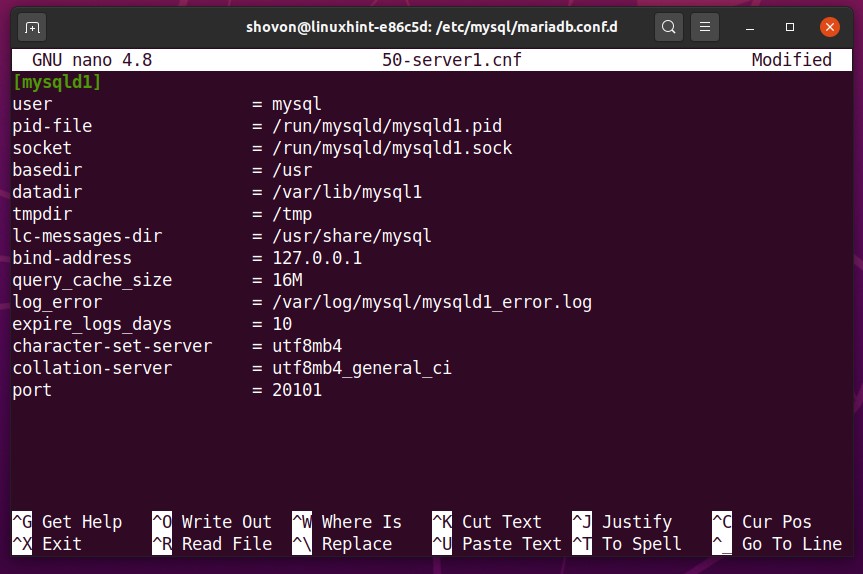
Here, mysqld1 is the instance name. For the second instance, it will be mysqld2 and so on.
![]()
The path to the PID file will be /run/mysqld/mysqld1.pid and socket file will be /run/mysqld/mysqld1.sock for the mysqld1 instance. These will be different for each of the MariaDB instances.
![]()
The data directory for the mysqld1 instance will be /var/lib/mysql1. It will be different for each of the MariaDB instances.
![]()
The error log file path for the mysqld1 instance will be /var/log/mysql/mysqld1_error.log. It will be different for each of the MariaDB instances.
![]()
The port of the mysqld1 instance will be 20101. It will be different for each of the MariaDB instances.
![]()
The configuration file for the second and the third MariaDB instances will be similar to the first MariaDB instance. So, we can just copy the first MariaDB instance configuration file 50-server1.cnf and make little adjustments.
Copy the 50-server1.cnf to create a new configuration file 50-server2.cnf for the second MariaDB instance as follows:

The same way, copy the 50-server1.cnf to create a new configuration file 50-server3.cnf for the third MariaDB instance as follows:

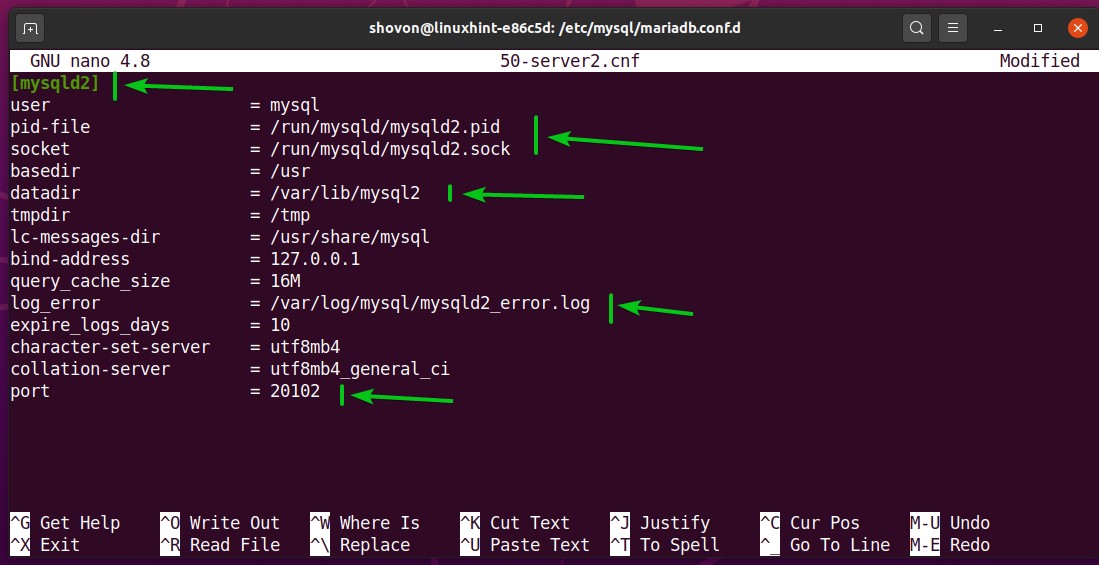
To make adjustments to the second MariaDB server instance configuration file 50-server2.cnf, open it with the nano text editor as follows:

Adjust the marked sections of the configuration file 50-server2.cnf.
Once you’re done, press <Ctrl> + X followed by Y and <Enter> to save the 50-server2.cnf file.
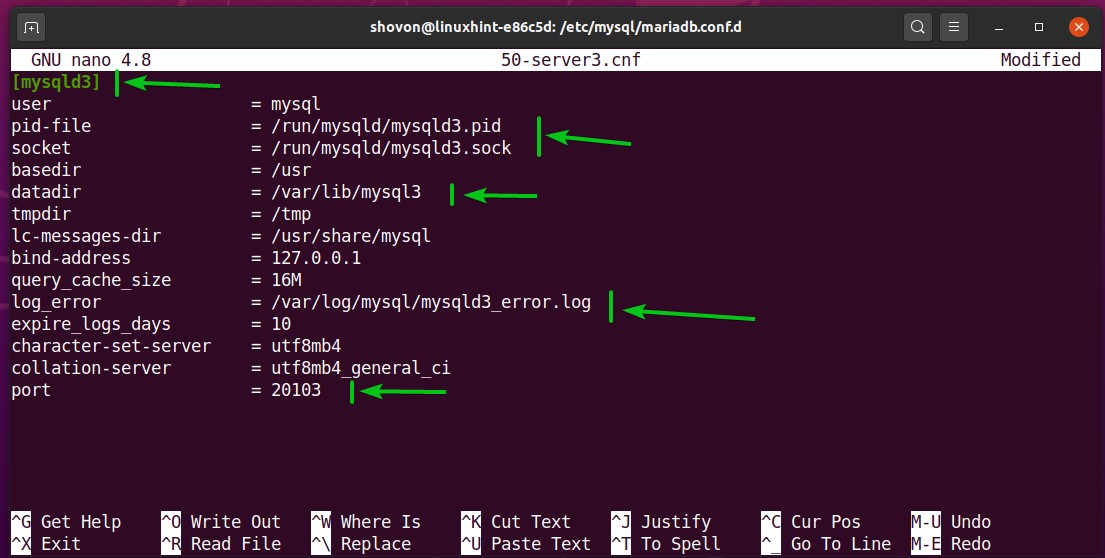
To make adjustments to the third MariaDB server instance configuration file 50-server3.cnf, open it with the nano text editor as follows:

Adjust the marked sections of the configuration file 50-server3.cnf.
Once you’re done, press <Ctrl> + X followed by Y and <Enter> to save the 50-server3.cnf file.
Creating the MariaDB Log Files:
Create a log file mysqld_multi.log in the /var/log/mysql/ directory for the mysqld_multi program as follows:

Set the owner (to mysql) and group (to adm) of the mysqld_multi.log file with the following command:

Set the correct file permissions to the mysqld_multi.log file with the following command:

Create error log files for the mysqld1, mysqld2, and mysqld3 MariaDB instances with the following command:

Change the owner (to mysql) and group (to adm) of the error log files of the mysqld1, mysqld2, and mysqld3 MariaDB instances with the following command:

Set the correct file permissions to the error log files of the mysqld1, mysqld2, and mysqld3 MariaDB instances with the following command:

Creating and Preparing the MariaDB Data Directories:
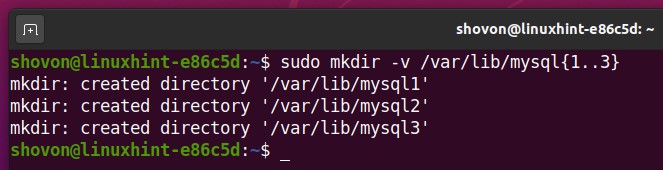
Create MariaDB data directories for the mysqld1, mysqld2, and the mysqld3 MariaDB instances with the following command:
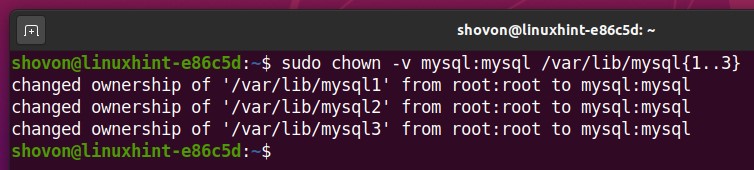
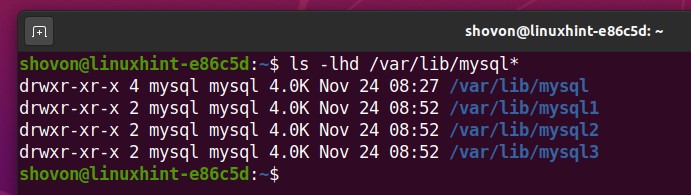
Change the owner and group of each of the data directories to mysql with the following command:
Set the correct permissions to each of the data directories with the following command:

Once the owner, group, and file permissions are correctly set, all the MariaDB data directories should look as shown in the screenshot below:
Now, you have to prepare the MariaDB data directories. To do that, you can use the mysql_install_db command.
To prepare the MariaDB data directory /var/lib/mysql1 for the mysqld1 instance, run the following command:

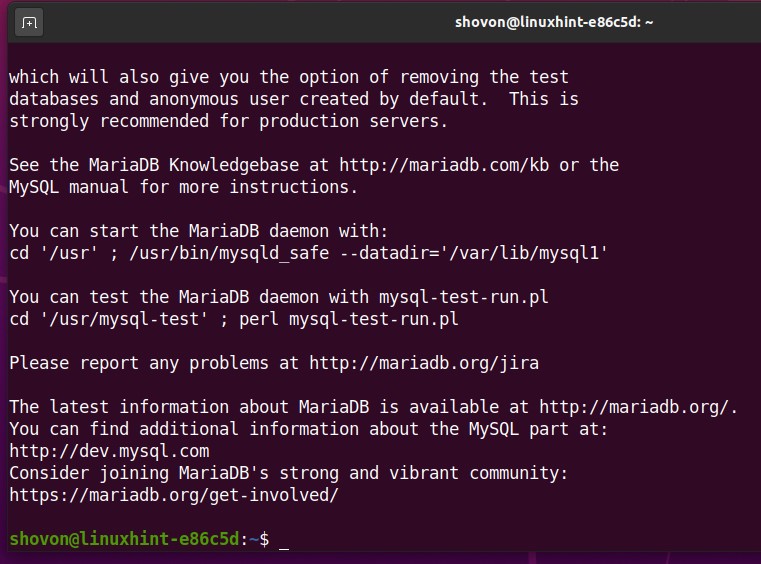
The data directory /var/lib/mysql1 should be ready for the mysqld1 instance.
In the same way, prepare the MariaDB data directory /var/lib/mysql2 for the mysqld2 instance with the following command:

The data directory /var/lib/mysql2 should be ready for the mysqld2 instance.

Also, prepare the MariaDB data directory /var/lib/mysql3 for the mysqld3 instance with the following command:

The data directory /var/lib/mysql3 should be ready for the mysqld3 instance.

Running Multiple MariaDB Instances:
Now you can run multiple MariaDB instances using the mysqld_multi program.
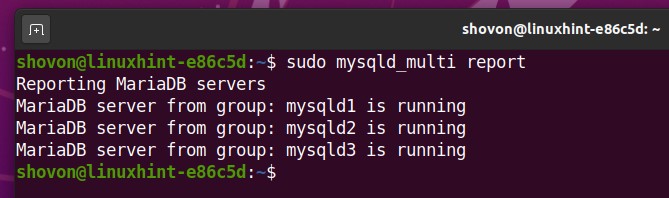
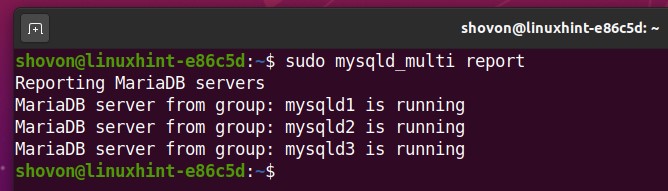
You can check whether the MariaDB instances mysqld1, mysqld2, and mysqld3 is running with the following command:

As you can see, the MariaDB instances are not running at the moment.

You can start all the MariaDB database server instances with the following command:

As you can see, the MariaDB database server instances mysqld1, mysqld2, and mysqld3 are running.
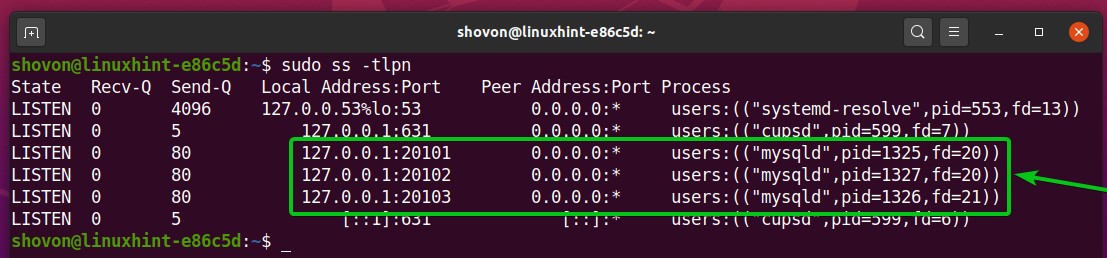
As you can see, the MariaDB database ports 20101 (for mysqld1), 20102 (for mysqld2), and 20103 (for mysqld3) are listening. So, the MariaDB database instances are running perfectly.
Granting SHUTDOWN Permission to the MariaDB Database Instances:
mysqld_multi needs to have the SHUTDOWN permission to be able to stop the MariaDB database instances. To grant the SHUTDOWN permission to mysqld_multi, you need to login to each of the MariaDB database instances, create a multi_admin user (with the login password secret), and grant the SHUTDOWN permission to the multi_admin user.
First, login to the first MariaDB database server instance mysqld1 with the following command:

You should be logged in.

To create a new user multi_admin with the password secret and grant the SHUTDOWN permission to the multi_admin user, run the following SQL statement:

Exit out of the MariaDB database console with the following command:
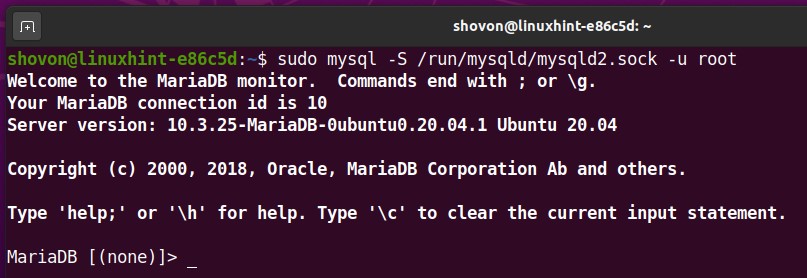
In the same way, login to the second MariaDB database server instance mysqld2 with the following command:
Create a new user multi_admin with the password secret and grant the SHUTDOWN permission to the multi_admin user with the following SQL statement:

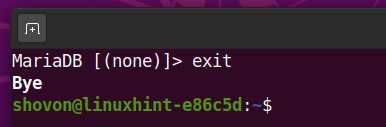
Exit out of the MariaDB database console with the following command:

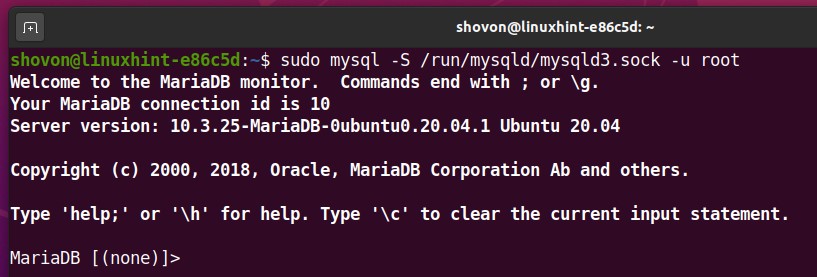
Also, login to the third MariaDB database server instance mysqld3 with the following command:
Create a new user multi_admin with the password secret and grant the SHUTDOWN permission to the multi_admin user with the following SQL statement:

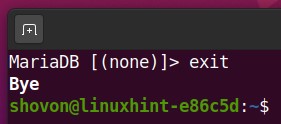
Exit out of the MariaDB database console with the following command:
Let’s see whether mysqld_multi can stop the MariaDB database server instances.
As you can see, the MariaDB database server instances are running.
To stop the MariaDB database server instances, run the following command:

As you can see, the MariaDB database server instances are not running anymore.

The MariaDB database server ports 20101 (for mysqld1), 20102 (for mysqld2), and 20103 (for mysqld3) are not listening as well.

Starting MariaDB Database Server Instances on System Boot:
You don’t want to start the MariaDB database server instances manually every time your server boots. To automatically start the MariaDB database server instances, you can add the starting command as a cronjob.
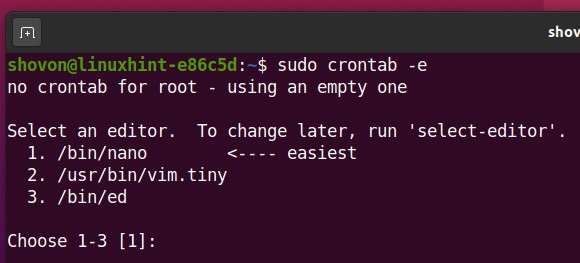
To add any cronjob, you have to modify the crontab file.
To modify the crontab file, run the following command:

Press 1 (to select the nano text editor) and then press <Enter>.
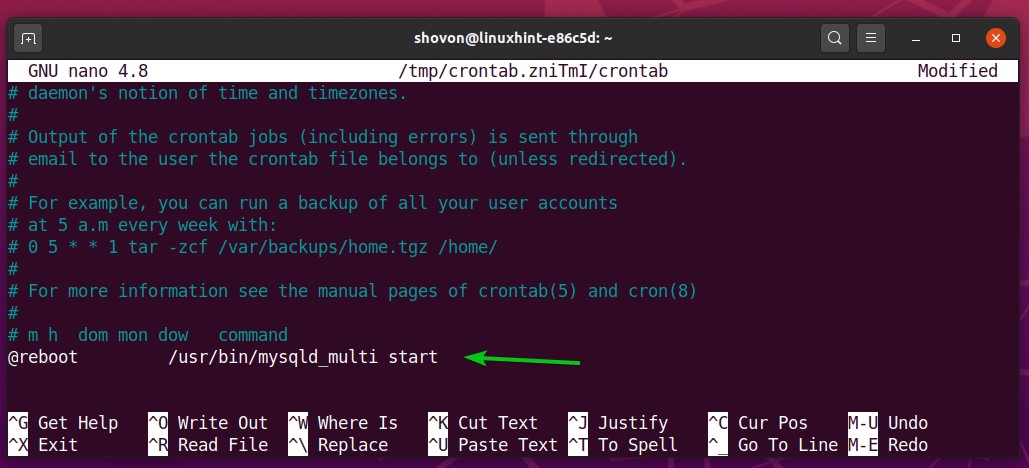
The crontab file should be opened. Add the line as marked in the screenshot below.
Once you’re done, press <Ctrl> + X followed by Y and <Enter> to save the crontab file.
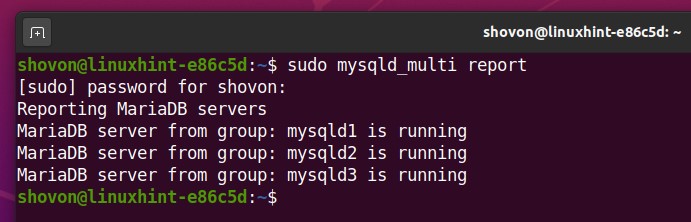
For the changes to take effect, reboot your computer with the following command:

Once your computer boots, you should see that all the MariaDB database instances are running.
As you can see, the MariaDB database ports 20101 (for mysqld1), 20102 (for mysqld2), and 20103 (for mysqld3) are listening. So, the MariaDB database instances are running perfectly.

Conclusion:
In this article, I have shown you how to run multiple instances of the MariaDB database server on the same computer/server using the mysqld_multi program. This article should help you set up multiple instances of the MariaDB database server on the same Ubuntu 20.04 LTS computer/server.