You can optimize your Android device for the Linux features like powering the LAMP server, troubleshooting tool, use your device as a portable network, and pen-testing device. Linux gives you good performance and good UI so that you can do anything you want to do. In case you are looking for a way to install and run Linux on Android devices, there are actually several options for it.
If you want to run any application that is not available on Android, you can go for Linux because it is a good way to access any application. Currently, Android devices offer an ideal system so you can easily run Linux on Android devices. In case you are looking to improve multitasking, you should go for the recent version of Android, but if you want to enhance the feature quality and performance, you should go for Linux.
Linux Over Android
Android is created on the Linux Kernel, a software stack that interfaces with your device’s hardware. There is no doubt that Linux offers more flexibility than Android because you can do so many things on Linux that you can’t do on Android. Linux offers more app development features, such as working in a real desktop environment and advanced image editing.
The smartphone’s little form factor makes it hard to mold an entire desktop GUI on the small screen. It would help if you used the finger for moving the mouse cursor, and you can’t use the phone app while your Linux desktop is running.
How to Run Linux on Android Devices?
Linux can be installed by rooting your device like tablets, TV boxes, or phones. You may also easily run the Linux desktop e without rooting it. So you have two choices to run Linux on Android devices, and it is totally up to you. This is mostly the case in the Android environment. Apart from it, you can also install the Linux command-line tool on your Android device.
You can run Linux on Android devices by the process given below:
1. On a rooted Android device by:
- using Linux Deploy
- installing Kali Linux for penetration testing
2. On a rooted Android device by:
- Debian Noroot
- AndroNix
- UserLAnd
Let’s see the complete details and procedure to run Linux on Android devices.
How to Run Linux on Android Devices (For Rooted Devices)?
If you have a rooted device, then install BusyBox that offers some improved root abilities.
First, you have to install and tap Start to ensure that all root permissions are enabled and then tap on the Settings from the bottom-right corner.
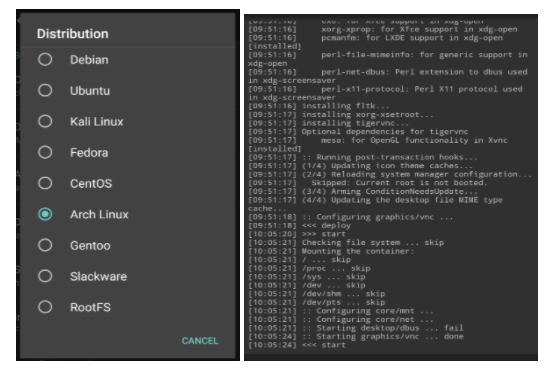
Second, follow the options menu for selecting the preferred Distribution. You will see Debian, Ubuntu, Gentoo, Fedora, etc. that are available for installation. In this case, Arch Linux is used for further operations.
Third, you have to check that Enable box, which is located below GUI for viewing Linux desktop on an Android phone. Additionally, you need to ensure VNC is also selected for all graphics subsystems.
Fourth, check screen resolution below GUI settings, make sure that the Desktop environment is appropriate.
Fifth, find the username and password section and save those details.
Sixth, come back to the menu and tap on three dots, then select install, and click OK.
Finally, after completing this process:
- Install VNC Viewer (you can download it by Play Store).
- At the Linux Deploy, tap on the Start for running Linux.
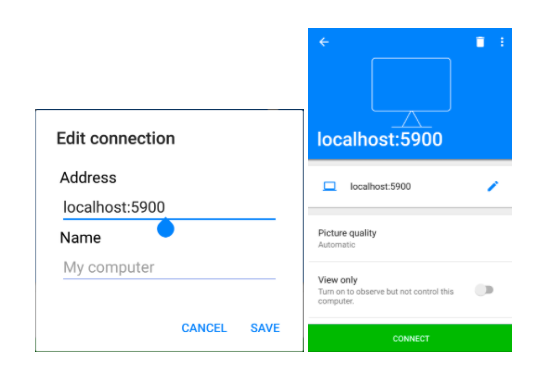
- Then open VNC Viewer, connect to localhost:5900 to view the Linux desktop with credentials you have entered earlier.
How to Run Linux on Android Devices (For Unrooted Devices)?
This process of installing Linux on an Android device is done through Ubuntu.
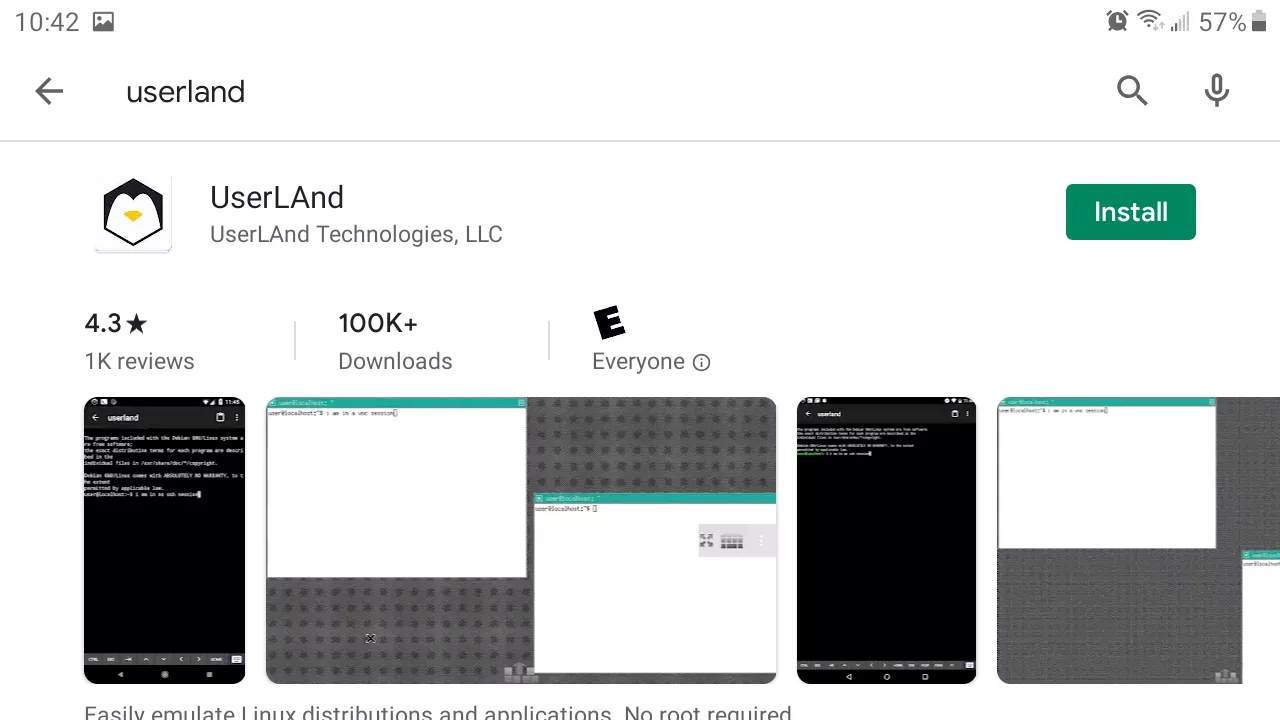
First, download and install UserLand in the Play Store, then start this app.
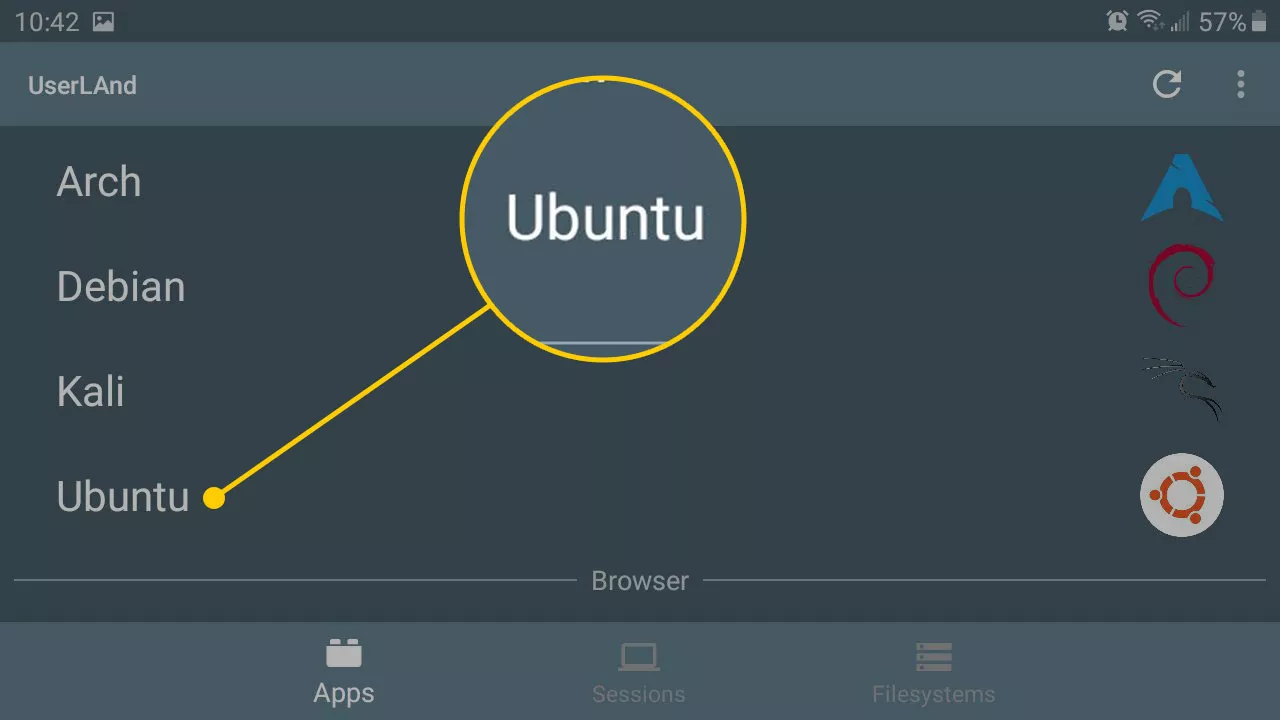
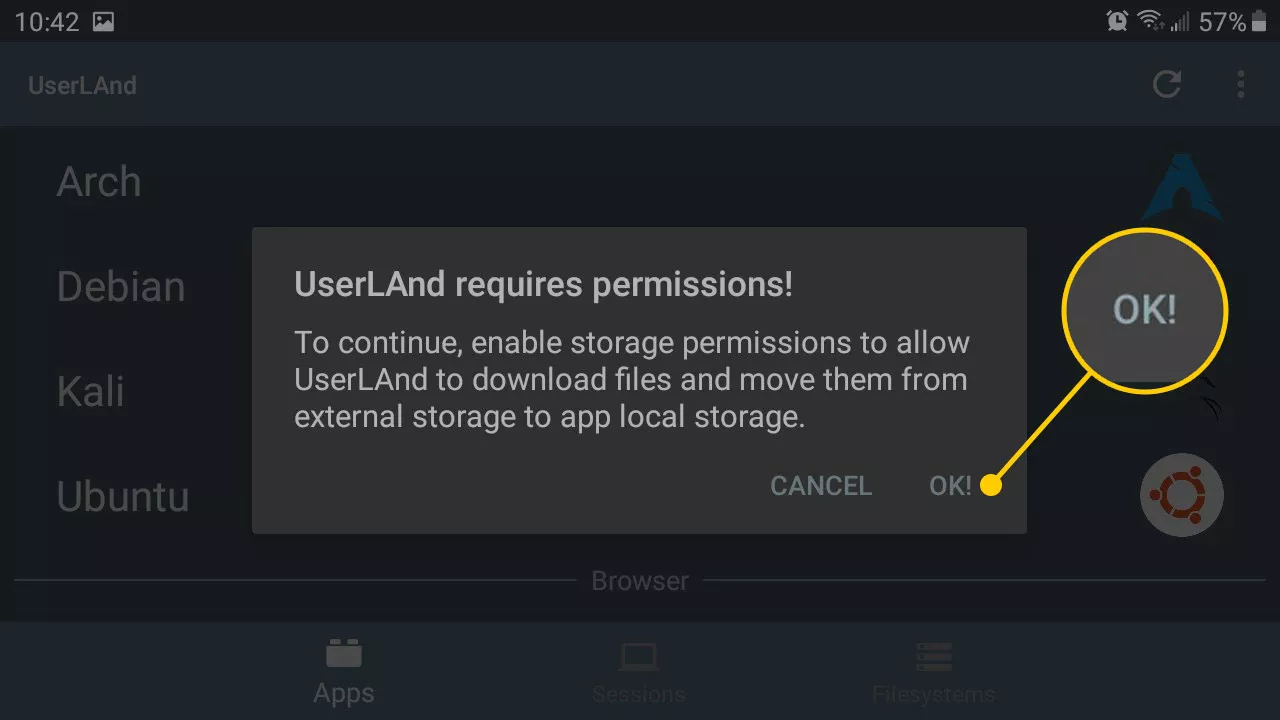
Next, tap on the Ubuntu, then OK, and tap on Allow for granting all of the required app permissions.
After that, for the Ubuntu session, enter the Username, Password, and the VNC Password, then tap on Continue.
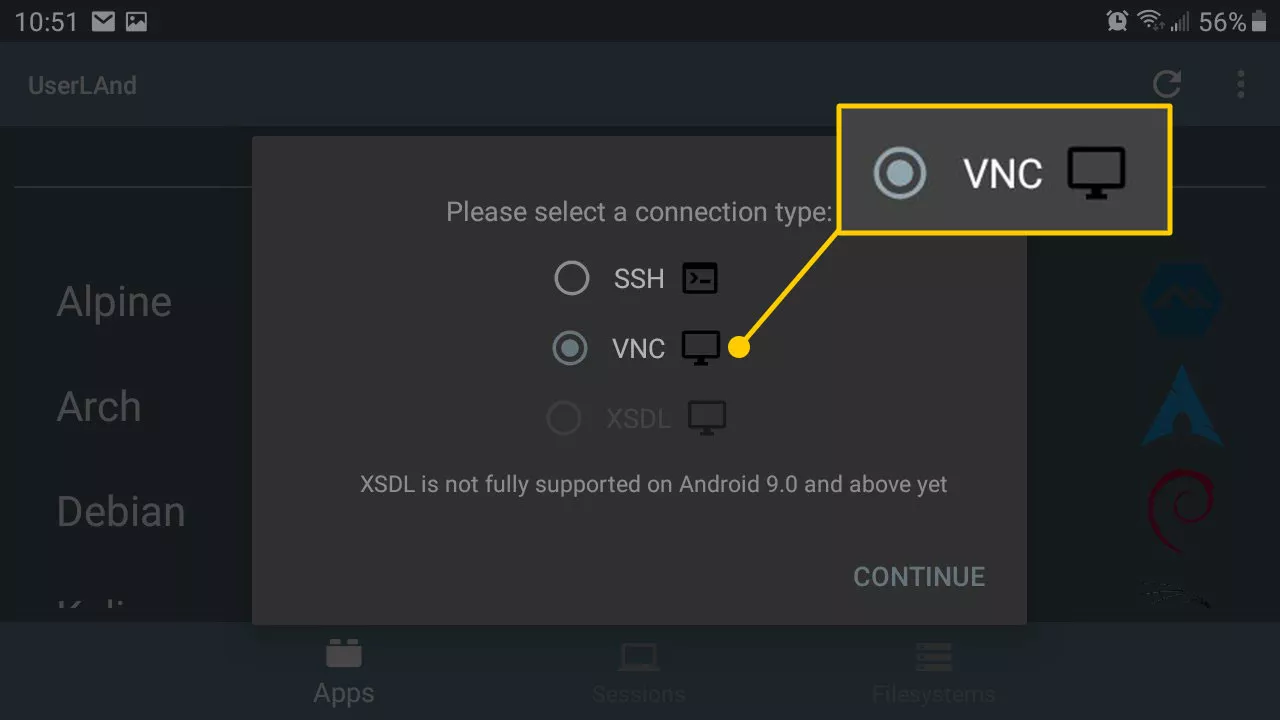
Then, select the VNC and tap on Continue. The UserLAnd will download the required assets for your Ubuntu session (you can use Wi-Fi because it will take a high amount of data and speed to be downloaded).
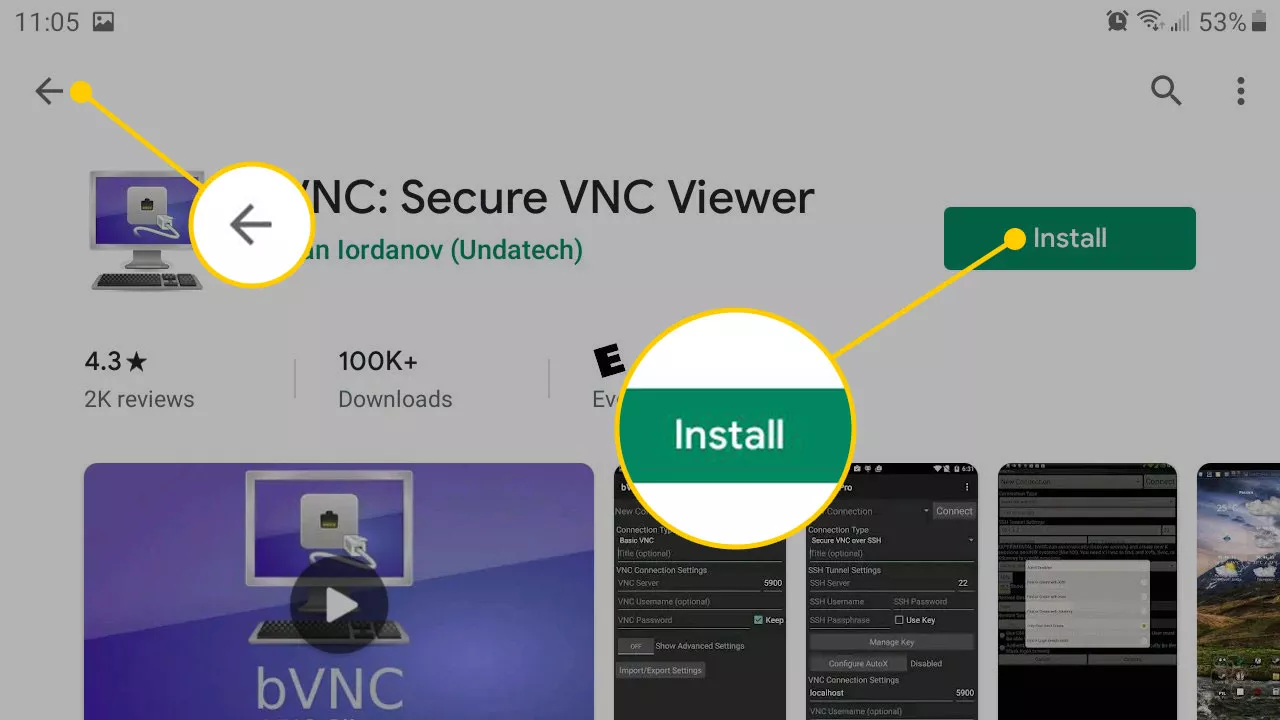
After downloading all of the required files, you will be redirected to your Play Store, where you need to download and install bVNC: Secure VNC Viewer.
Once you downloaded bVNC, press the Back button to return to UserLAnd (in case bVNC requires any permission, tap on Allow to do it).
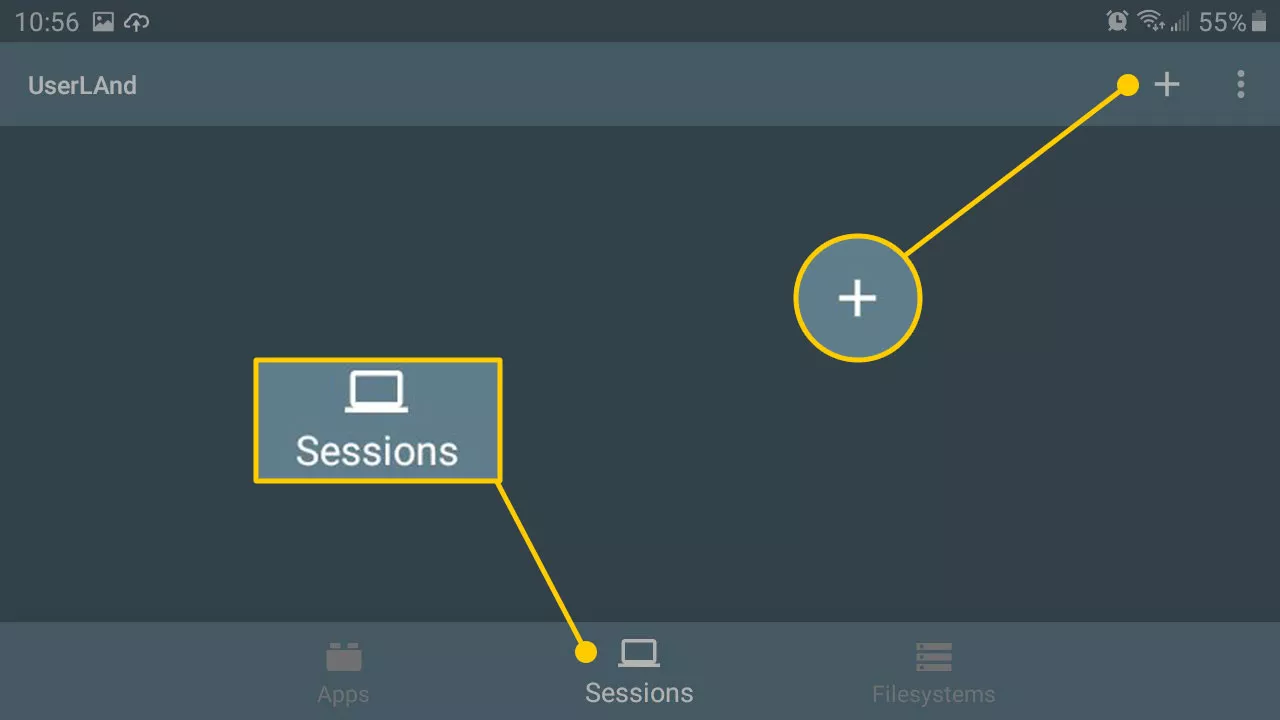
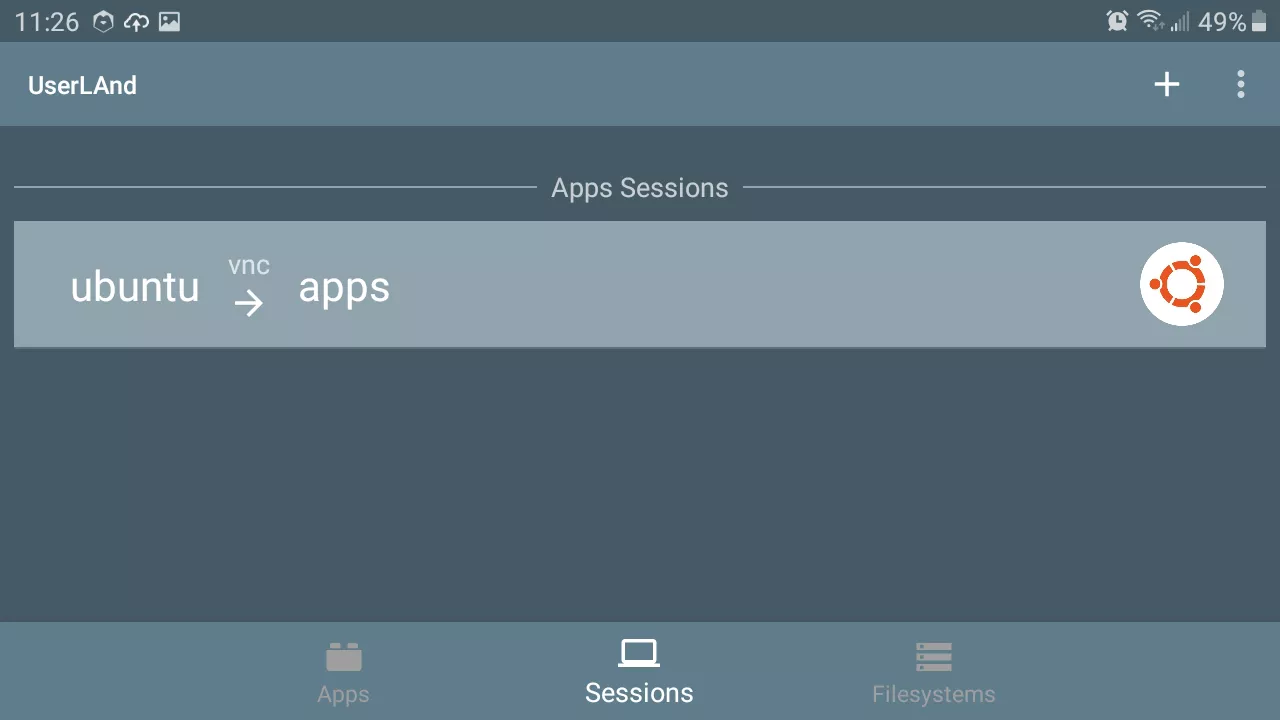
Now, on the bottom of your screen, tap on the Plus(+) icon at the upper-right corner. In case you see the option for Ubuntu, tap on it to start your Linux session.
Once you’re done, name this session “Ubuntu”. Now, select apps: Ubuntu by the file system drop-down menu, then choose SSH for your Service Type. At last, tap on the Save to save all the details.
Finally, tap on the Sessions and Ubuntu for launching the Linux session.
Conclusion
In this article, we have offered complete information on how to run Linux on Android devices. Based on what we have previously discussed, there is no doubt that Linux offers more flexibility than Android because you can do so many things on Linux that is not possible on Android. Linux offers more app development features, such as working in a real desktop environment and advanced image editing.
This article contains the Linux installation process for both rooted and unrooted devices so that you can run Linux on any android device. Apart from those, it informs you of some factors that can also help you understand why you should go for Linux instead of Android if you wish to perform different tasks without any trouble.
For more information about UserLAnd visit the UserLAnd project website or read more about UserLAnd on LinuxHint.com

