The following blog will illustrate how to install and run the sudo command on Windows:
- Using PowerShell
- Using WSL
So, let’s get started!
How to Install sudo Command on Windows Using PowerShell?
On Windows, to install the sudo command line utility, follow the below-mentioned steps.
Step 1: Open PowerShell
First, open the Power User menu using the “CTRL+X” key. Then, select and open non-admin “Windows PowerShell”:

Step 2: Set Execution Policy
Set the Execution policy as “RemoteSigned” and restrict its scope to only “CurrentUser”. This operation will permit the current user to run both local and downloaded scripts:

Step 3: Install scoop
Start scoop installation on Windows:

Step 4: Install sudo Command
Install sudo command line utility using scoop:

Verify sudo installation by running the “sudo” command :

Now, let’s head towards the next method!
How to Run sudo Commands on Windows Using PowerShell?
Let’s run a sudo command to install “Bootstrap” on Windows. To do so, use Node Package Manager (npm) as given in the below command:
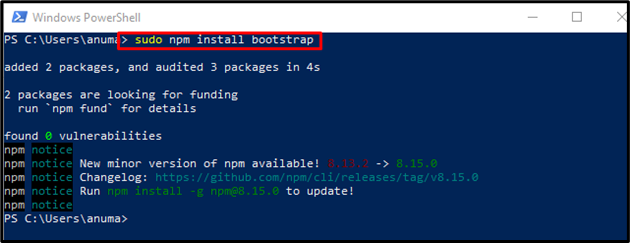
The given output indicates that we have successfully installed Bootstrap using the sudo command on Windows. Now, let’s check out the other WSL method for running sudo commands in Windows.
How to Setup WSL on Windows?
WSL is a Windows Subsystem for Linux tool that will allow us to run Linux commands on the Windows system. To use the sudo command on Windows, First, you need to enable WSL on Windows. For doing so, utilize the below-listed steps.
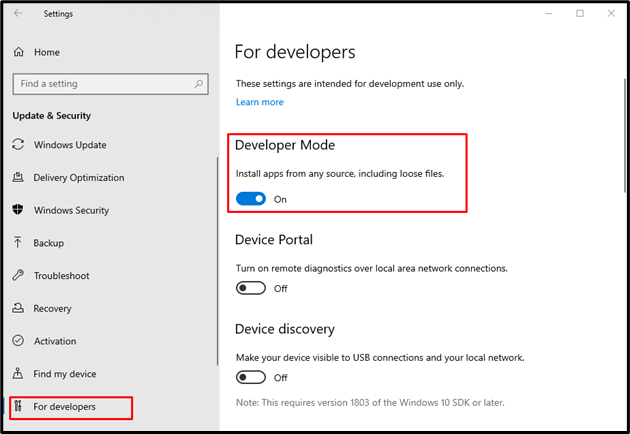
Step 1: Turn on Developer Mode
First, search for “Windows Update settings” in the “Startup” menu and open it:
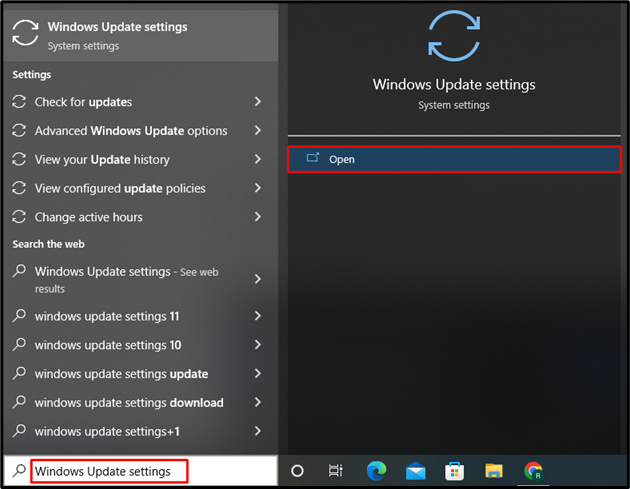
Turn on the “Developer Mode” toggle:
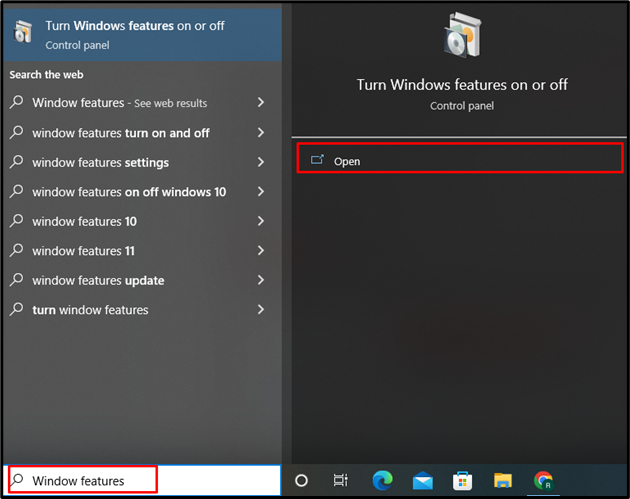
Step 2: Enable Windows Subsystem for Linux
In the next step, search for “Windows Features” in the “Startup” menu and open the below-highlighted settings:
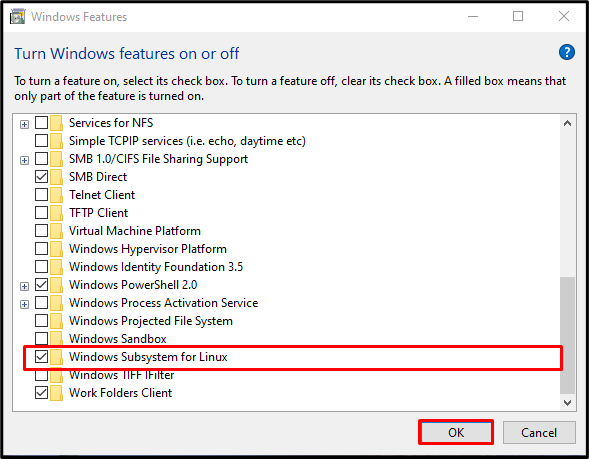
Mark the “Window Subsystem for Linux” checkbox and hit the “OK” button:
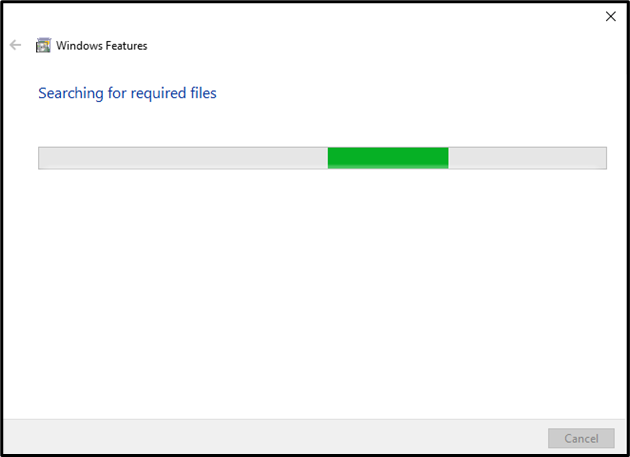
The previously given operation will enable WSL on your Windows system:
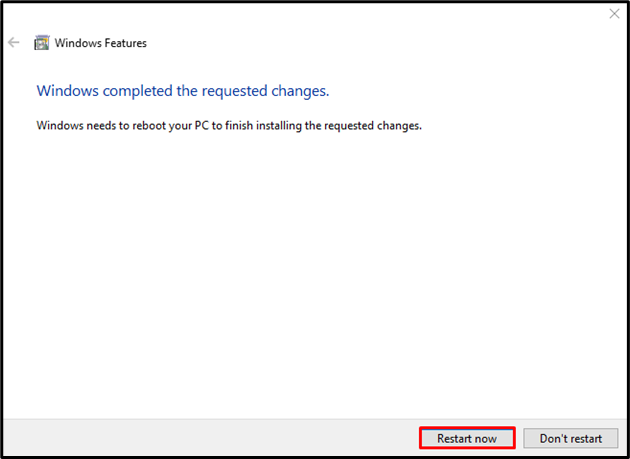
After enabling the WSL on Windows, restart your system. To do so, click on the “Restart now” button:
Step 3: Install Linux Command Line Tool
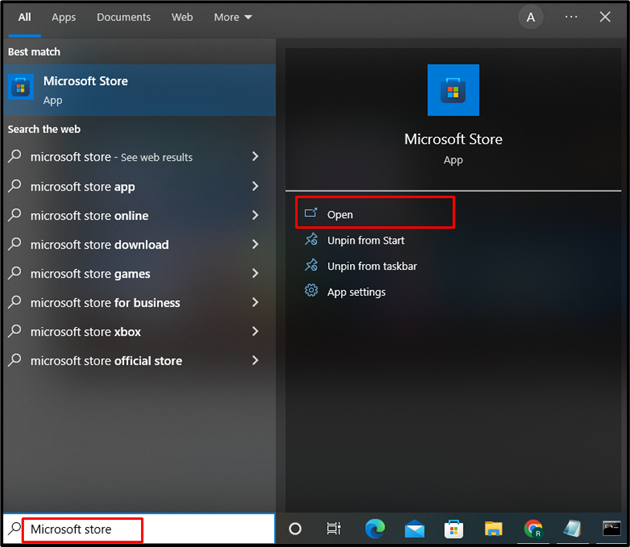
After enabling the WSL, open the “Microsoft Store” by searching it in the “Startup” menu:
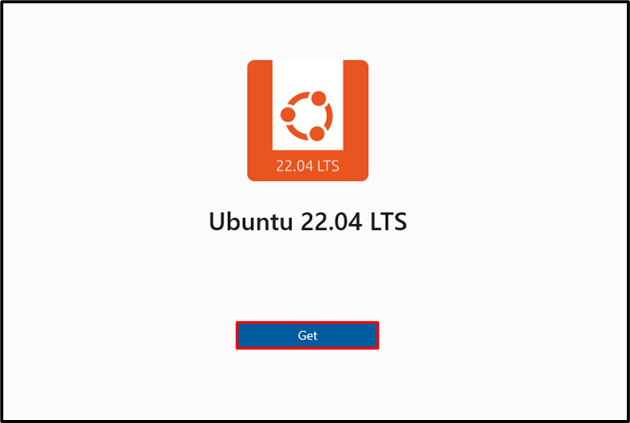
Type “Linux app” in the search bar and select “Ubuntu 22.04 LTS” from the displayed tool:

Click on the “Get” button to install Ubuntu 22.04 on Windows:
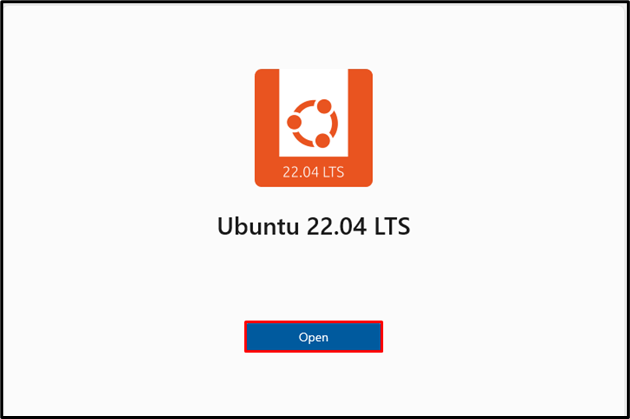
After installing the “Ubuntu 22.04 LTS” Linux command line tool, hit the “open” button to run it on Windows:
Step 4: Setup Username and Password
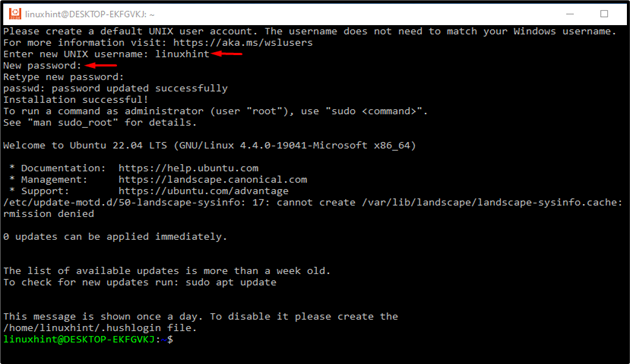
After clicking on the “Open” button in the above step, the Ubuntu 22.04 terminal will appear on the screen. Set the Username and Password:
Till this point, WSL is enabled on your system, and it is all ready to execute sudo commands.
How to Run sudo Commands on Windows Using WSL?
To run the sudo command on Windows using WSL(Windows Subsystem for Linux), follow the provided steps.
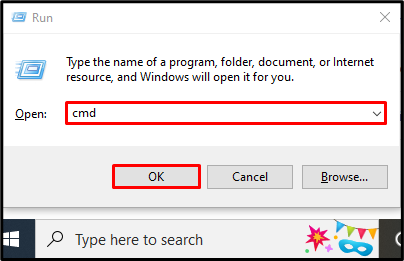
Step 1: Open Command Prompt
Press “Window+R” to open the Run command window, type “cmd” in the highlighted field, and hit the “OK” button:
Step 2: Run Linux Terminal
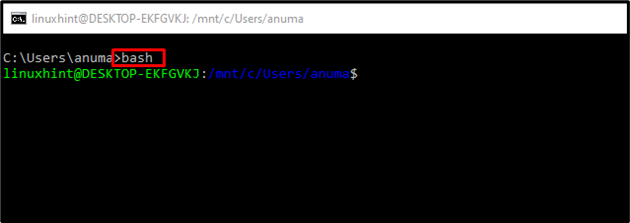
Execute the “bash” command to switch to Linux terminal:
Step 3: Run sudo Command
Run the “sudo” command to check out to verify if it is working or not:

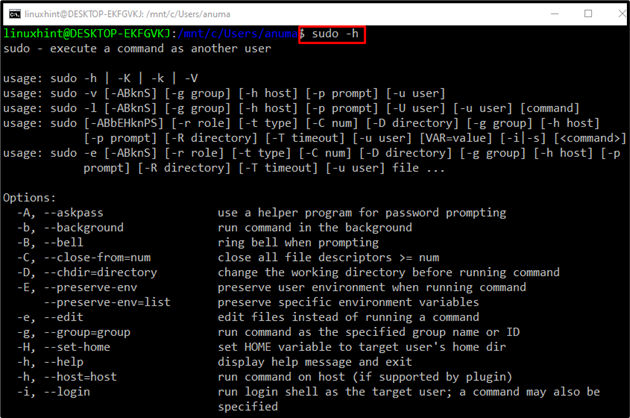
Use the below-provided command to view the sudo command manual:
We have demonstrated the methods to run the sudo commands on the Windows system.
Conclusion
To run sudo commands on Windows, it is required first to install the scoop Windows command line installer. Then, install the sudo command line utility using the “$ scoop install sudo” command. Windows Subsystem for Linux(WSL) can also be used to run the sudo command on Windows. In this blog, we have illustrated the methods to install and run the sudo command on Windows using PowerShell and WSL.

