Running macOS on AWS EC2 Instance
To run a macOS on AWS EC2, you need first to create a new dedicated host for the mac family and then use that host’s ID to create a new EC2 instance. So for this, head inside the EC2 dashboard from the AWS console:
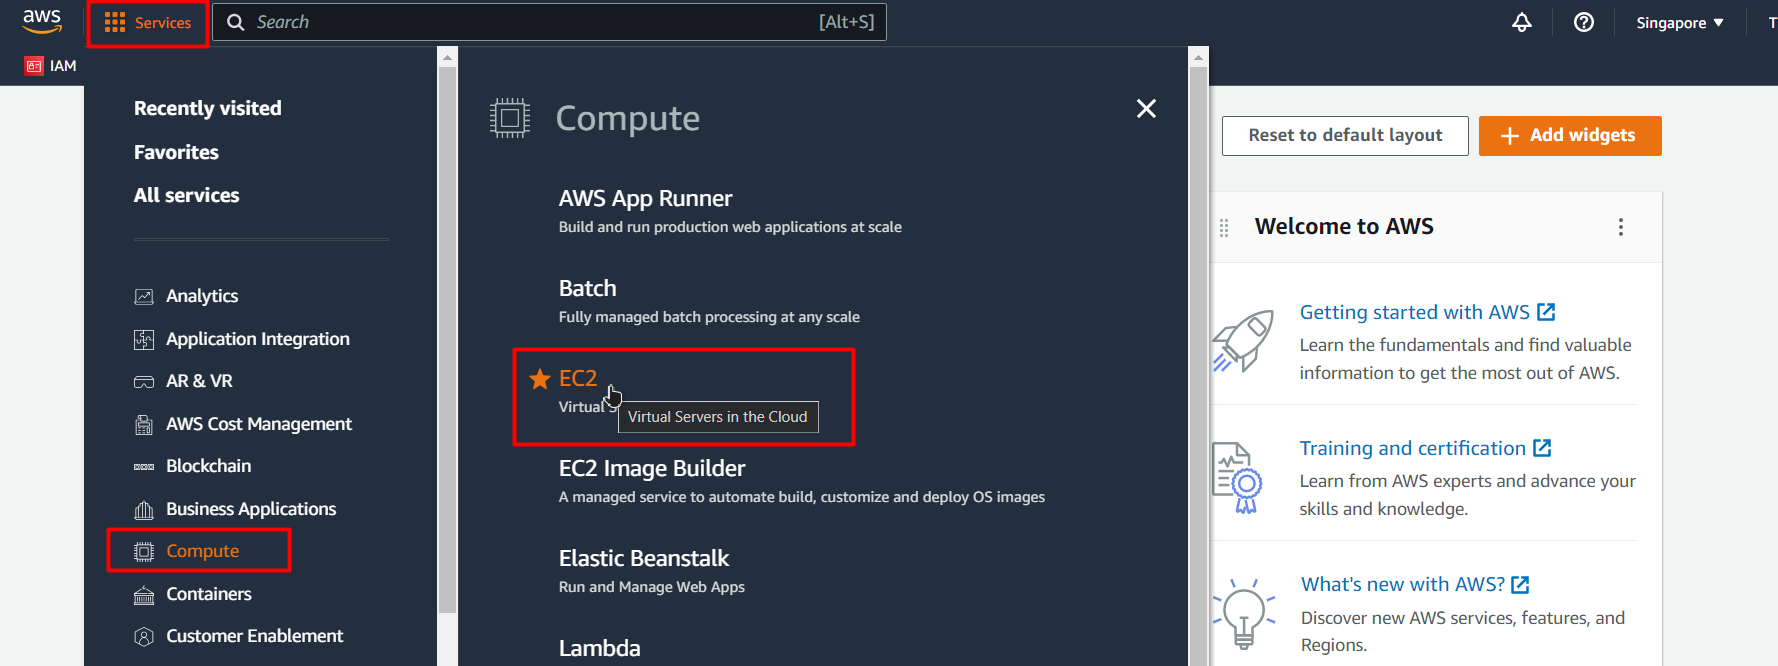
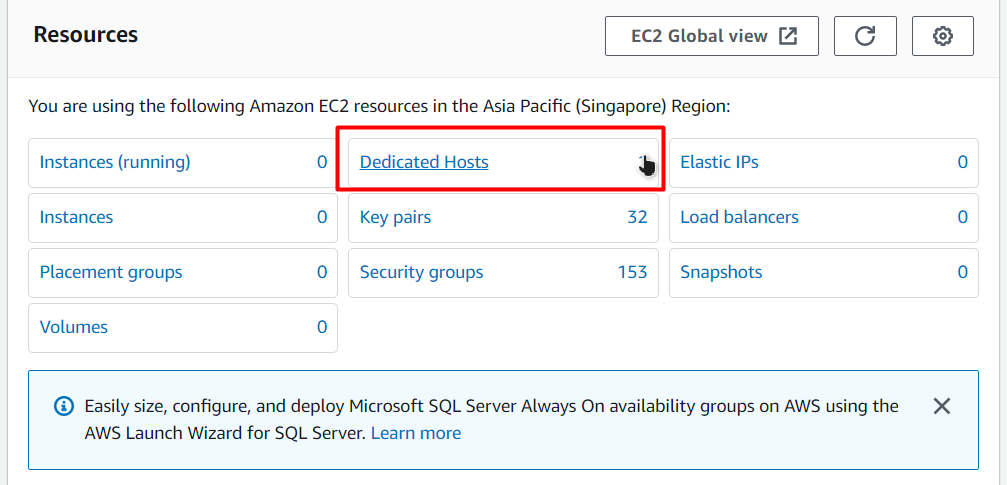
From the EC2 dashboard, click on the option that says “Dedicated Hosts”:
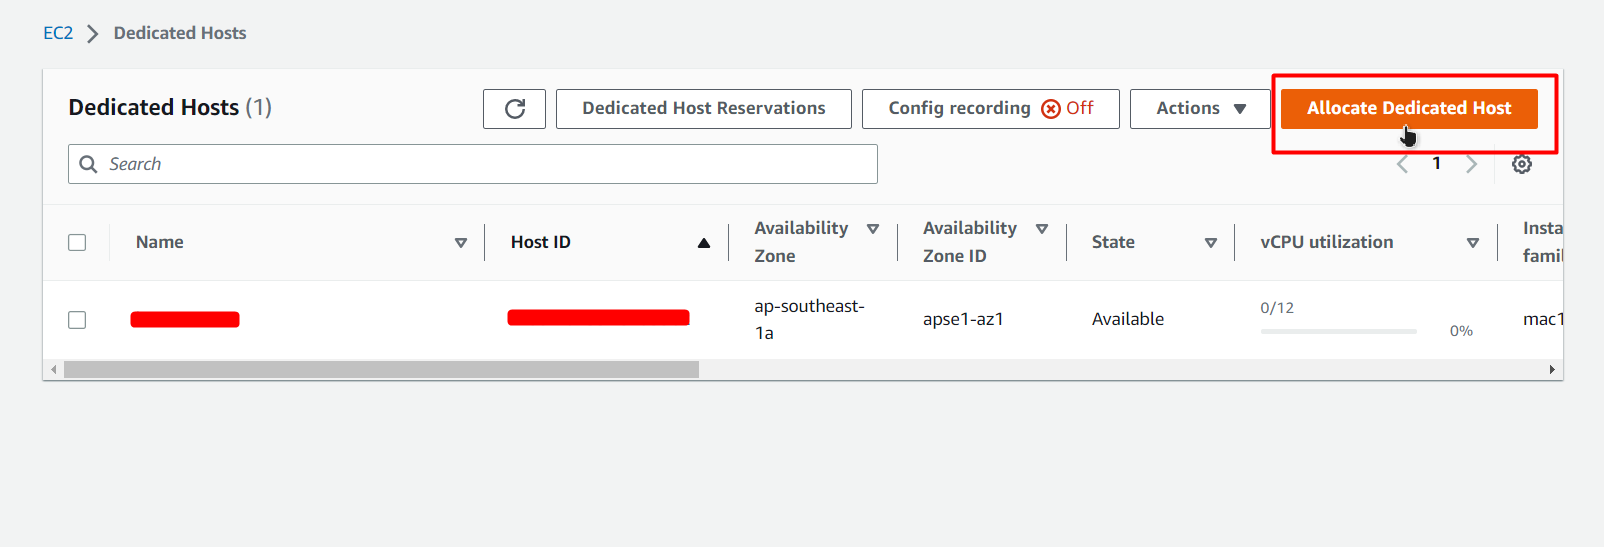
After that, you will be brought to the “Dedicated Hosts” page. To create a new dedicated host, click on the button that says “Allocate Dedicated Host”:
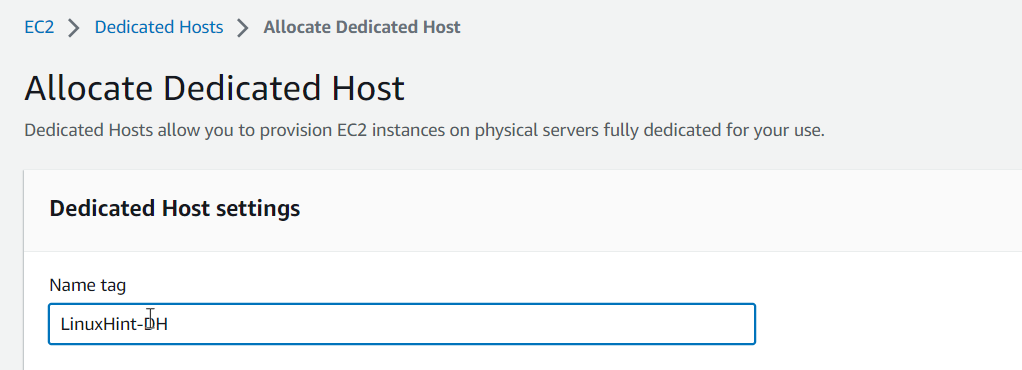
After that, you will be taken to the configurations page of a new dedicated host. On this page, give your dedicated host a name:
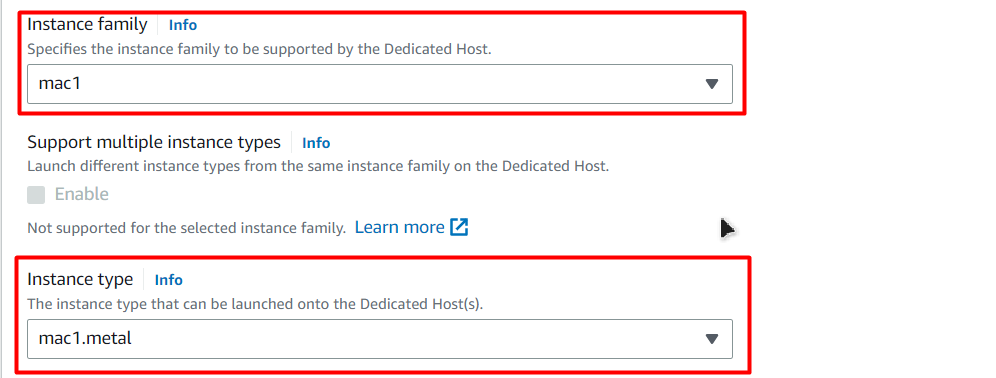
After that, choose “mac1” for the family type and set the instance type “mac1.metal”:
After that, enable the “Auto-placement” option:

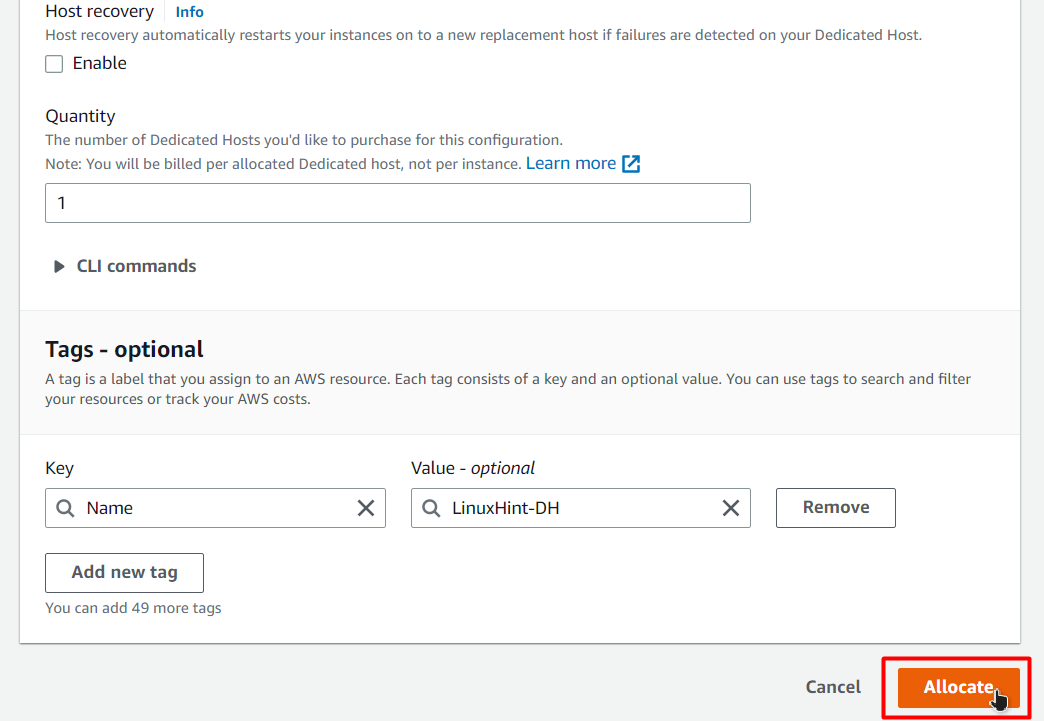
After that, you can leave all the other options as default, and then at the end, simply click on the button “Allocate” at the bottom of the page:
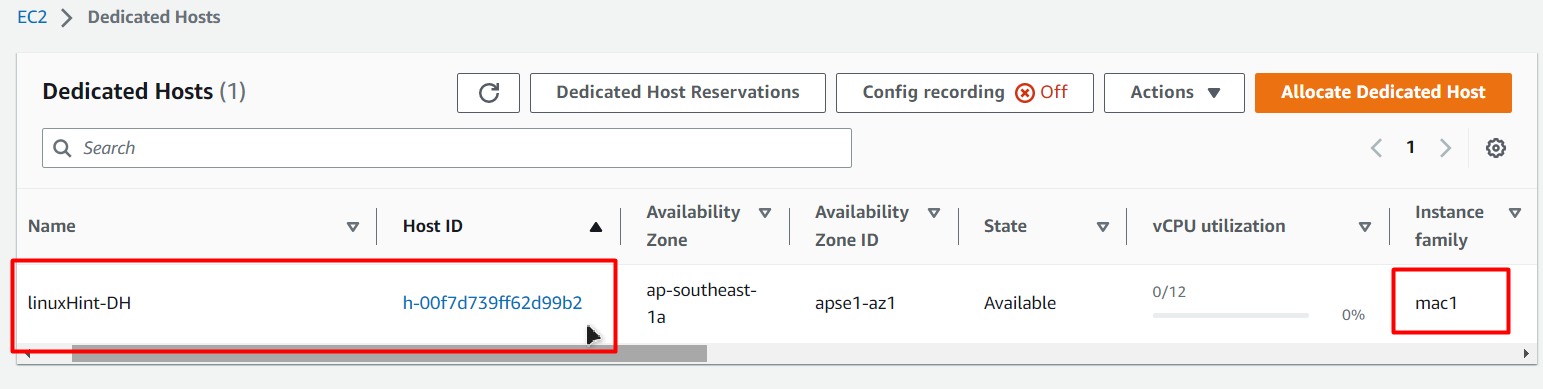
After that, you will be directed to the Dedicated Hosts page, where you can see the newly created dedicated host and its ID:
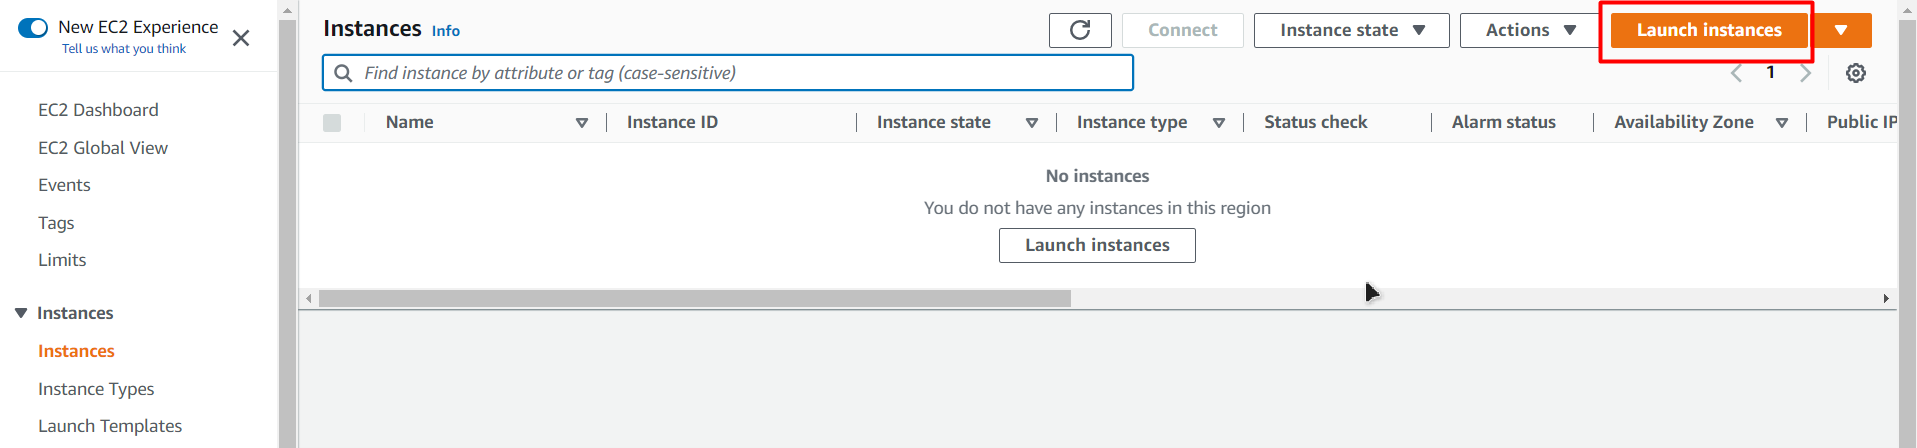
Now that we have created a dedicated host, we can move on to creating the EC2 instance on this dedicated host. Head over to EC2 Dashboard and click on the “Instances” tab from the left-side navigation panel, and then click on the button that says “Launch Instance”:
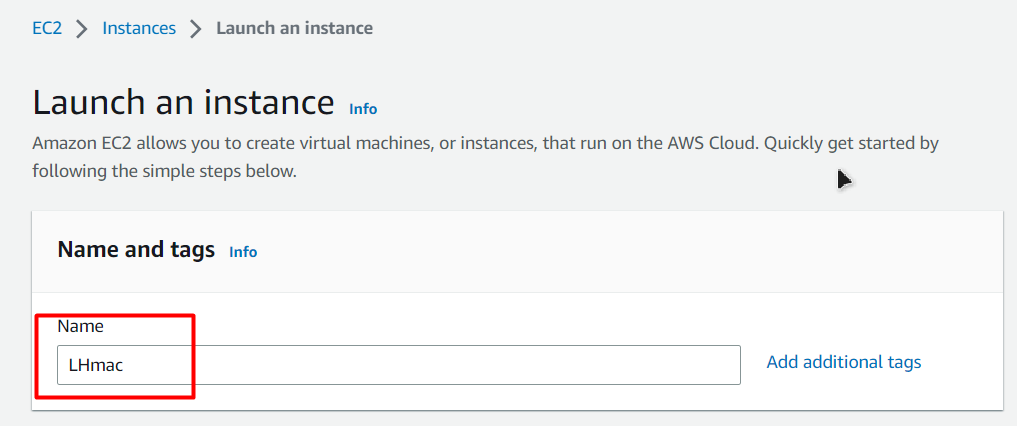
Then you will be brought to the EC2 creation wizard, from where give your VM a name:
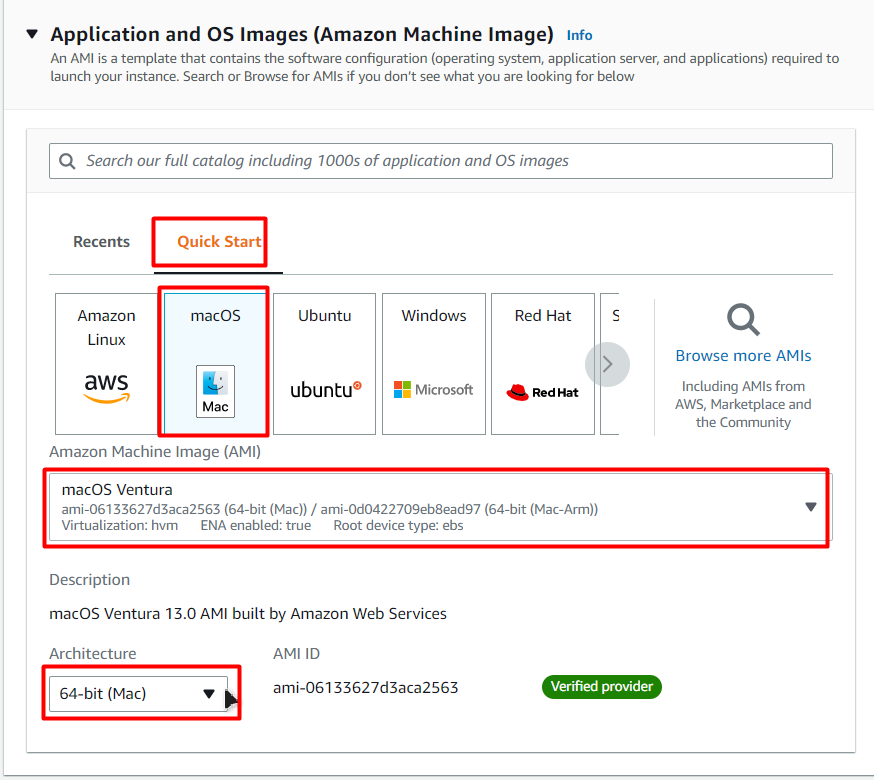
After that, for the AMI (Amazon Machine Image), from the Quick Start tab, simply choose “macOS” and then choose the version of macOS that you want to deploy and the architecture:
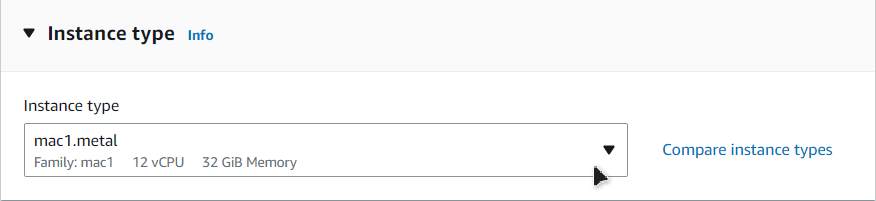
After that, set the instance type to what you had set in the creation of the dedicated host (mac1.metal):
After that, choose a key pair or create a new one:
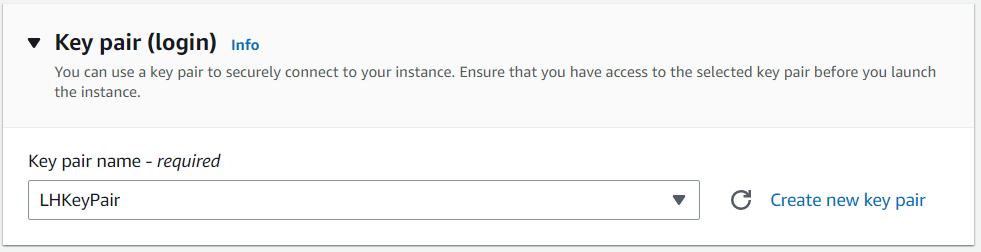
This is the key pair that you will be using to connect to your macOS EC2 instance. After that, you only need to change one thing from this configuration page: “tenancy”. Set tenancy equal to “Dedicated Host”:

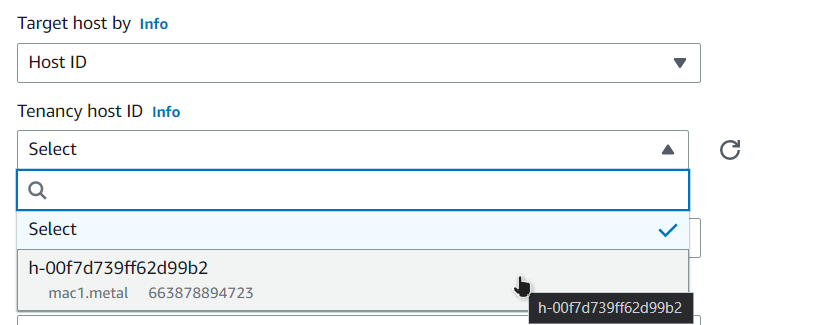
After that, “Target Host by” to “Host ID” and then “Tenancy Host ID” to the ID of the Host that you have created:
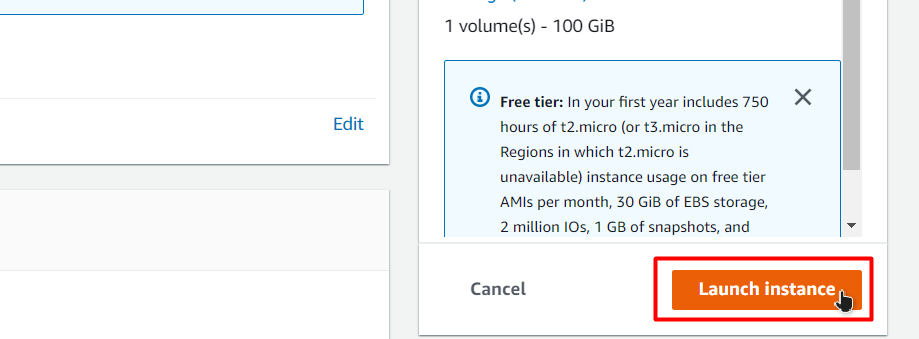
After that, simply click on the button on the bottom right that says “Launch Instance”:
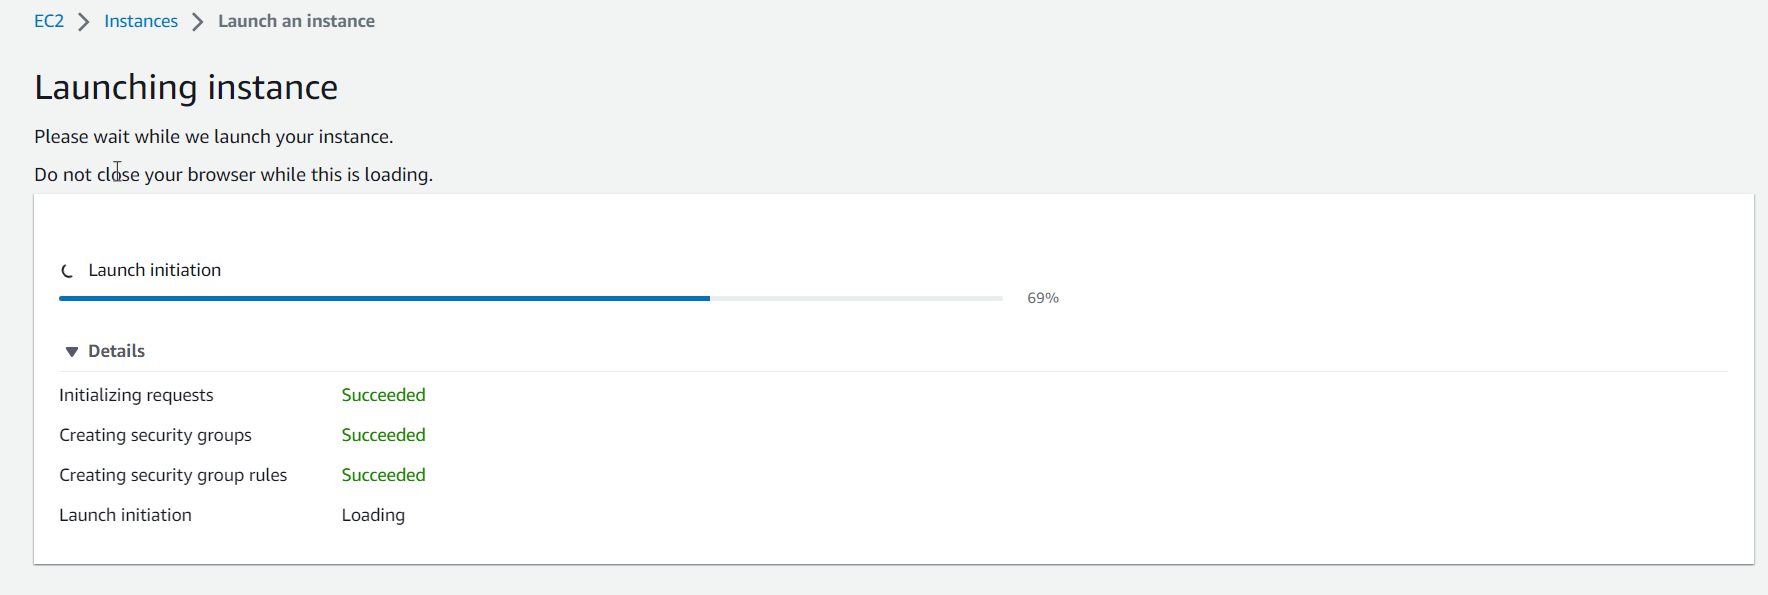
After that wait for the launching process to fully complete:
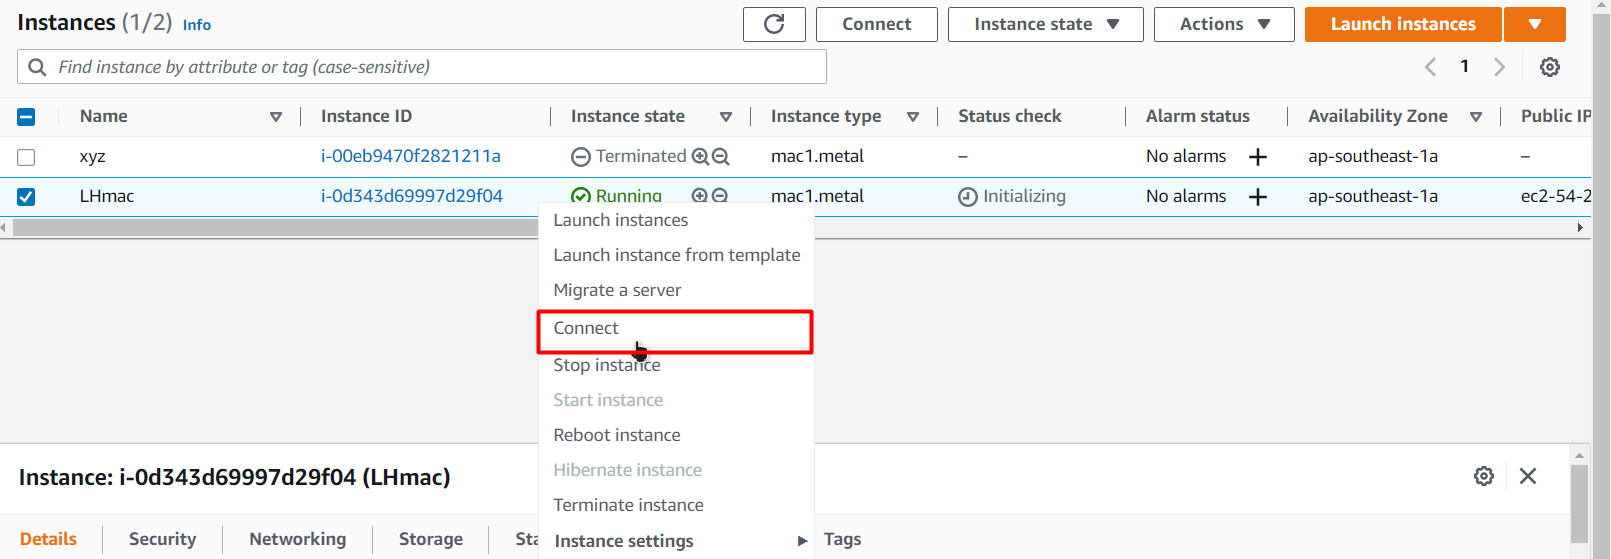
Once the instance has been launched successfully, you can see it under the EC2 list on the EC2 instance dashboard:

To connect to this EC2 instance, right-click on it and head over to the connect page:
From this page, find the last command under the SSH Client tab and copy it:
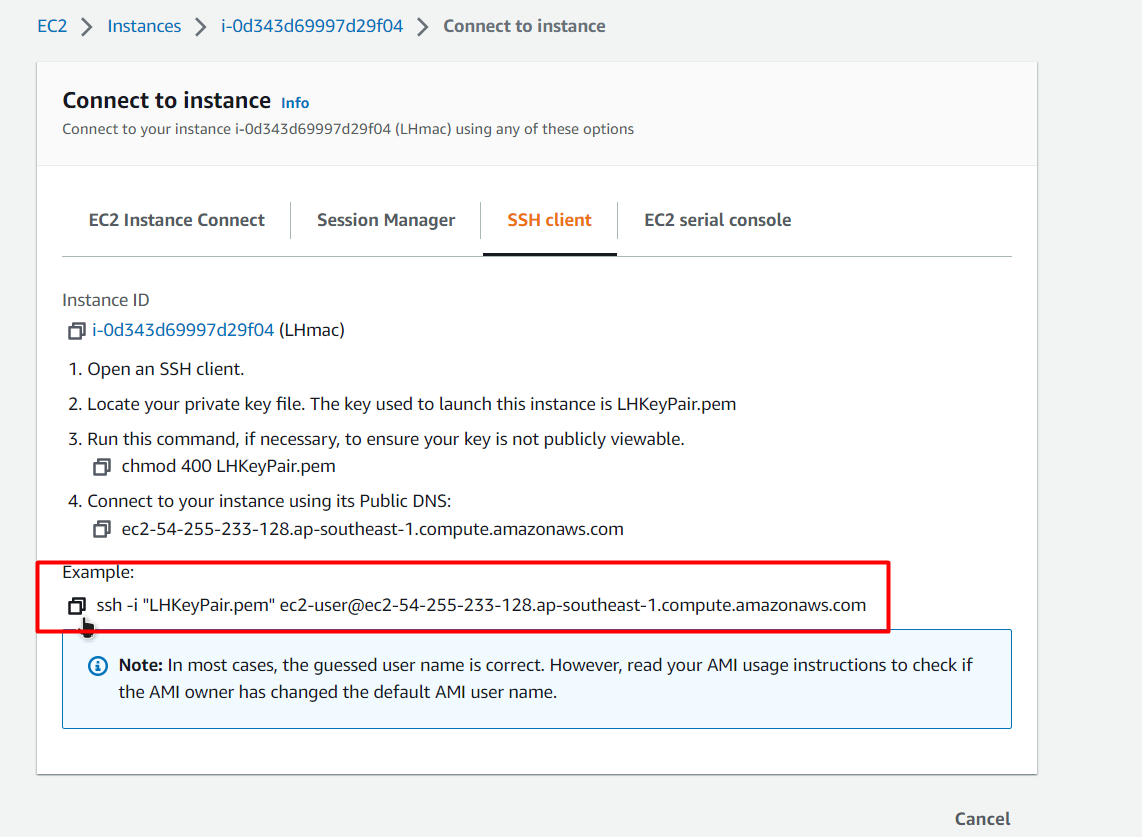
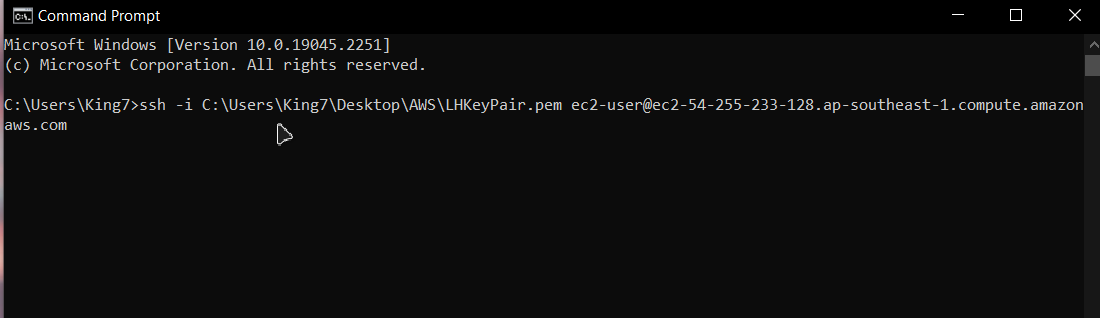
Open up a command prompt or a PowerShell, paste in the command and replace the path of the key pair for the path where you have placed your key pair:
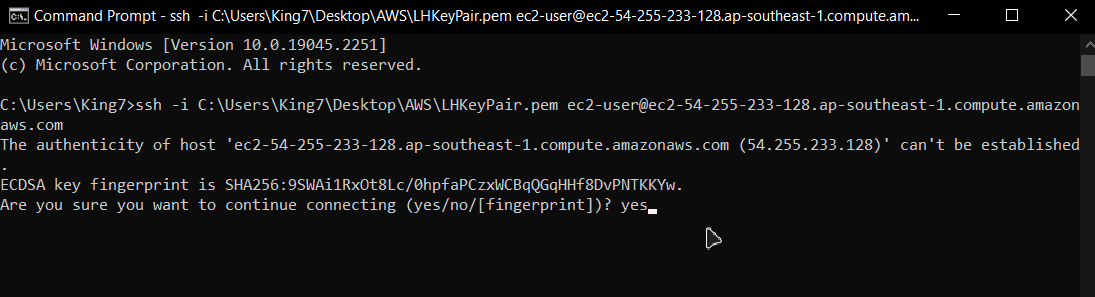
After that, hit enter and type “yes” for confirmation and hit enter once more:
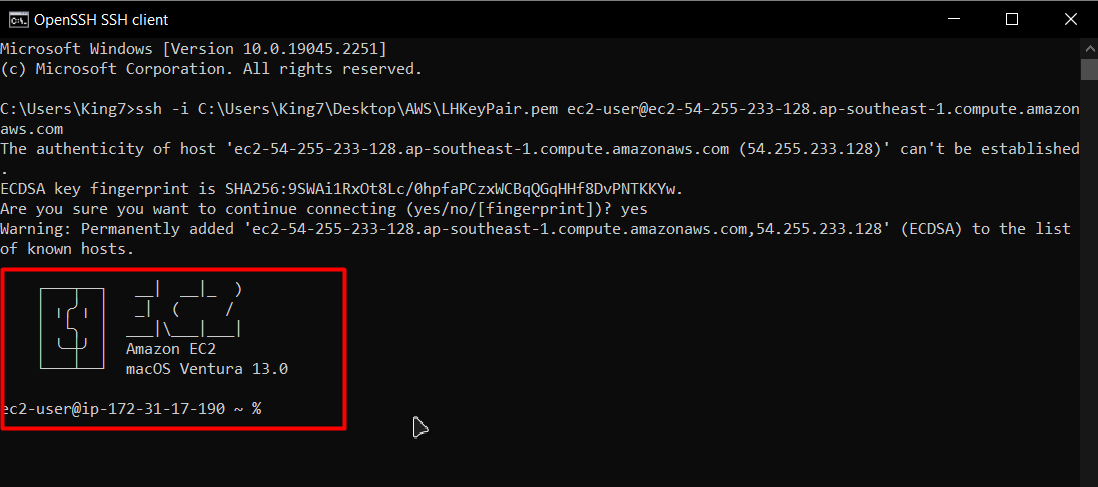
After that, you would be connected to your macOS EC2 instance:
That’s it for this post.
Conclusion
You can easily create the AWS EC2 VM instance running a macOS, and for that, you simply need first to create a dedicated host. And then, launch the macOS EC2 instance on that host, and once the launching process is done, all you have to do is to connect with that instance. This post taught you how to run macOS on AWS EC2 Instance.