Thanks to their ARM architecture, M1-based Macs are extremely power-efficient and offer better performance than many comparable PCs. There’s just one major problem with them: they don’t exactly make it easy to run Linux.
Fortunately, running Linux on an M1-based Mac isn’t impossible either, and we explain how to do just that in this article.
What Are My Options for Running Linux on M1 Macs?

M1-based Macs use a different instruction set (ARM) than their Intel-based siblings (x86-64). Basically, they speak a different language, which is why Apple developed a dynamic binary translator called Rosetta.
Using this translator, it’s possible to run apps that were developed for Intel-based Macs on M1-based Macs without any extra work. Unfortunately, you can’t use Rosetta to run your favorite Linux distributions alongside macOS. Instead, you have the following three main options:
- Virtualization: Using software, virtualization creates an abstraction layer over physical hardware. This abstraction layer makes it possible to create virtual versions of real physical resources, such as the CPU and storage. These virtual versions can then be utilized as if they were real by an operating system like Linux. Virtualization using software like Parallels is a great way to run ARM Linux distributions, but this technology can’t be used to run x86-64 Linux distributions.
- Emulation: If you would like to run an x86-64 Linux distribution on an M1-based Mac, then emulation is the way to go. Using software like QEMU, you can emulate a different hardware architecture and make your Linux distribution of choice think that it’s actually running on completely different hardware. Because emulation is extremely computationally expensive, it’s not suitable for regular use, but it works fine for testing purposes.
- Booting Linux natively: The holy grail for running Linux on M1-based Macs is booting the Linux kernel natively. Apple made it possible to do just that with the release of macOS 11.2 beta 2, and open-source software developers have since then made quite a bit of progress toward the goal of porting Linux to Apple silicon Macs. Still, a lot more work needs to be done before booting Linux natively on M1-based Macs becomes a viable way to get things done.
Now that you know which options are available and are familiar with their pros and cons, let’s go through each of them step by step.
Method 1: Use Parallels Virtualization Software
Parallels is a popular virtualization software application for macOS. The latest version (Parallels Desktop 17) provides a simple way to run any ARM Linux distribution with just a few clicks.
While Parallels is a commercial software application that requires you to purchase a license, there’s a free trial version that works without any limitations for 14 days since installation.
To run Linux on an M1-based Mac using Parallels:
1. Download the free trial version of Parallels from its official website and install it just like you would any other third-party Mac app.
2. Launch Parallels and complete the setup process.
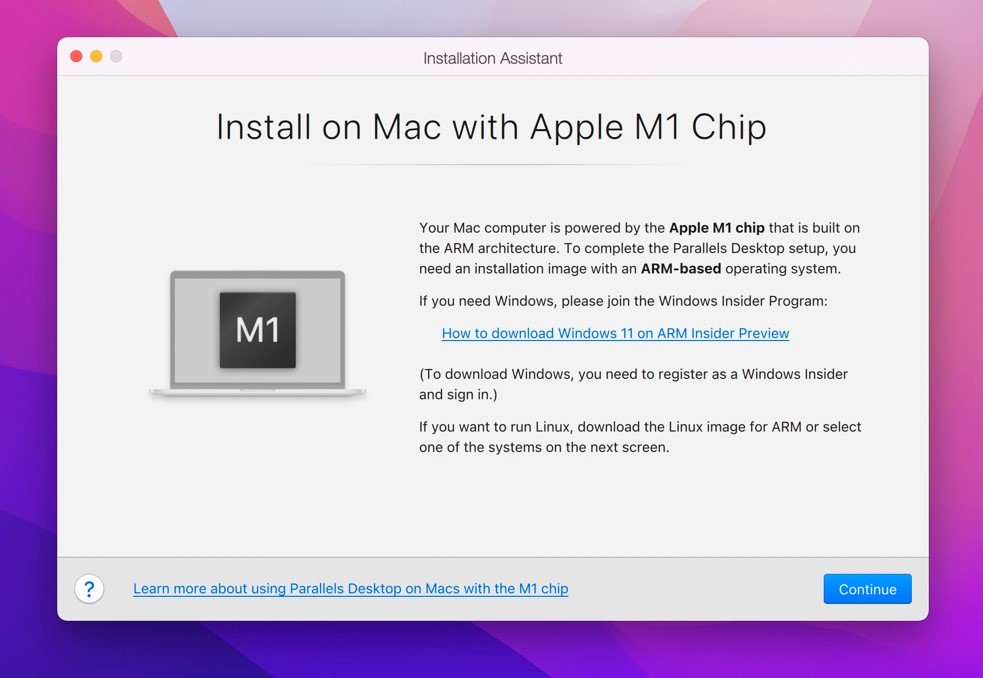
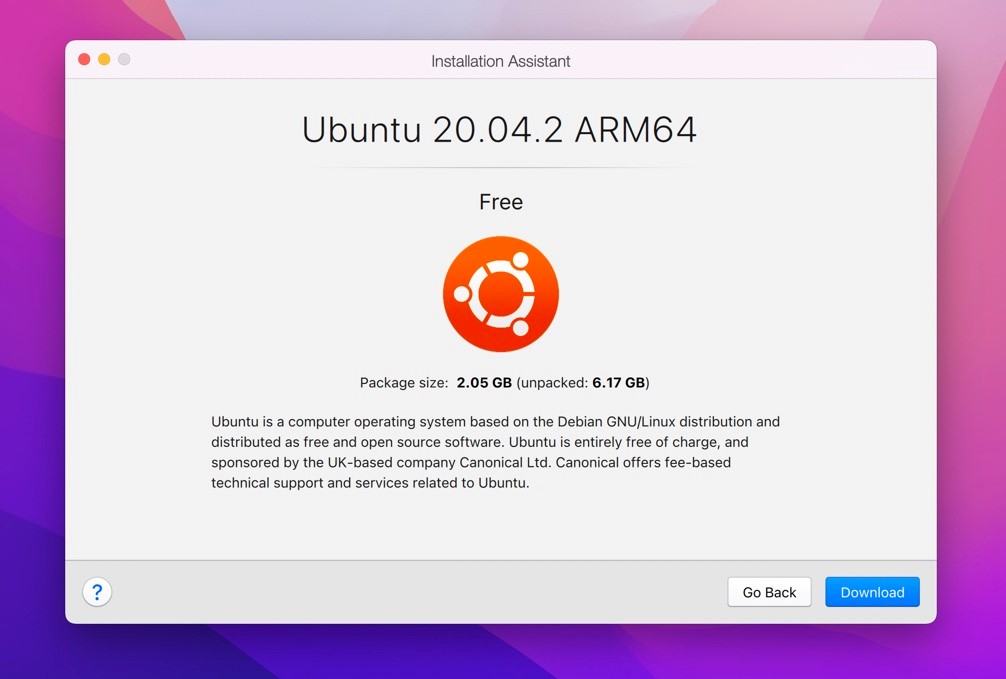
3. You will be asked to create a new virtual machine and presented with two options: install it from an image file or set it up automatically using the provided templates. Since we wanted to install Ubuntu anyway, we selected the Download Ubuntu Linux option and clicked Continue.

4. Confirm that you want to download the selected Linux distribution or enter the required information if you’ve decided to install from an image file.
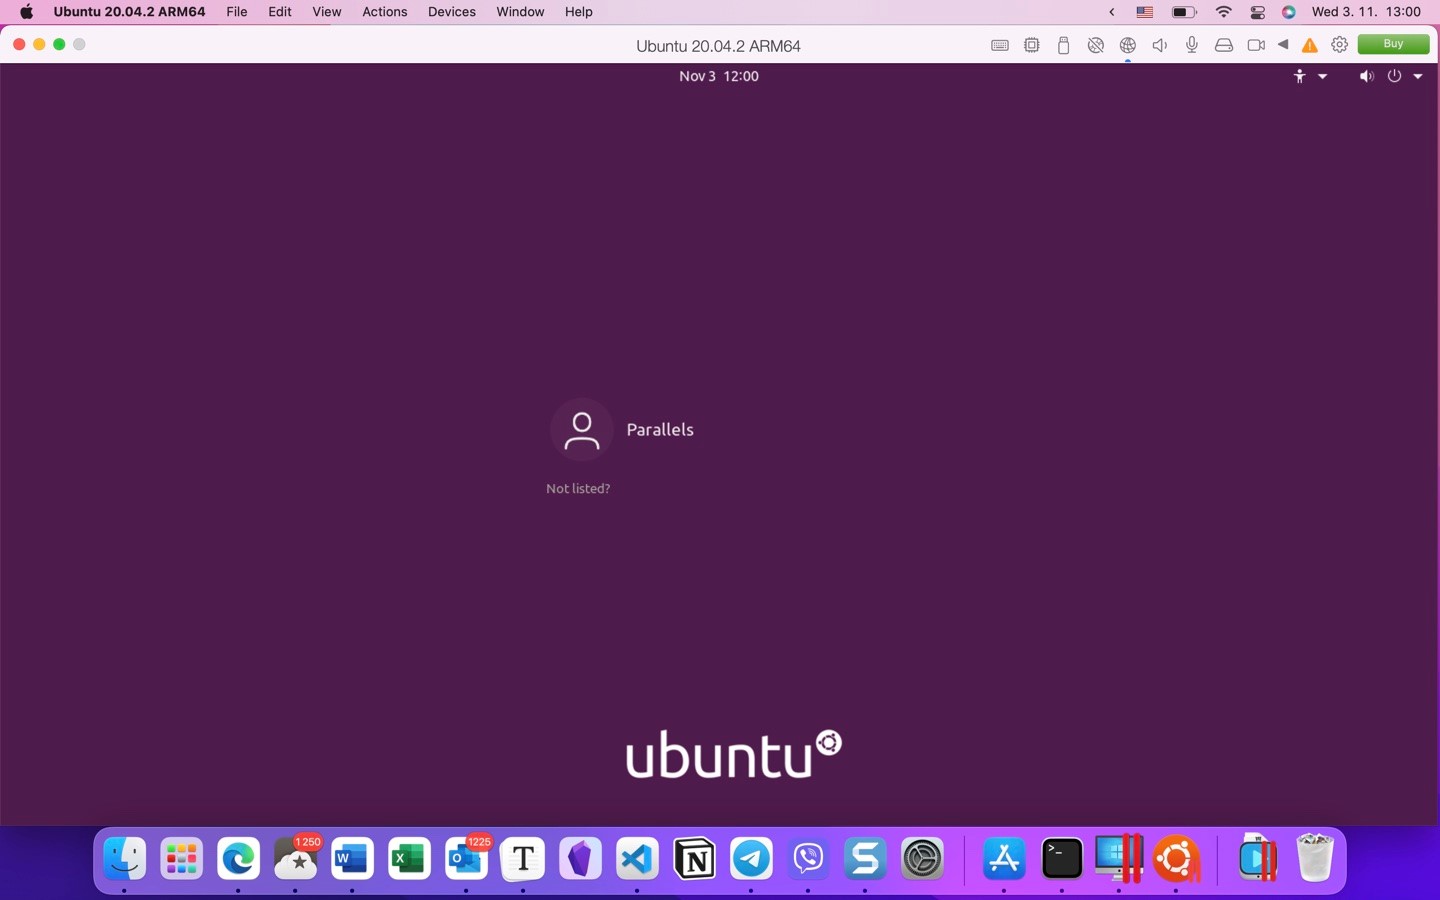
5. Give Parallels some time to create your virtual machine. Once created, the virtual machine should launch automatically, taking you directly into your Ubuntu desktop.
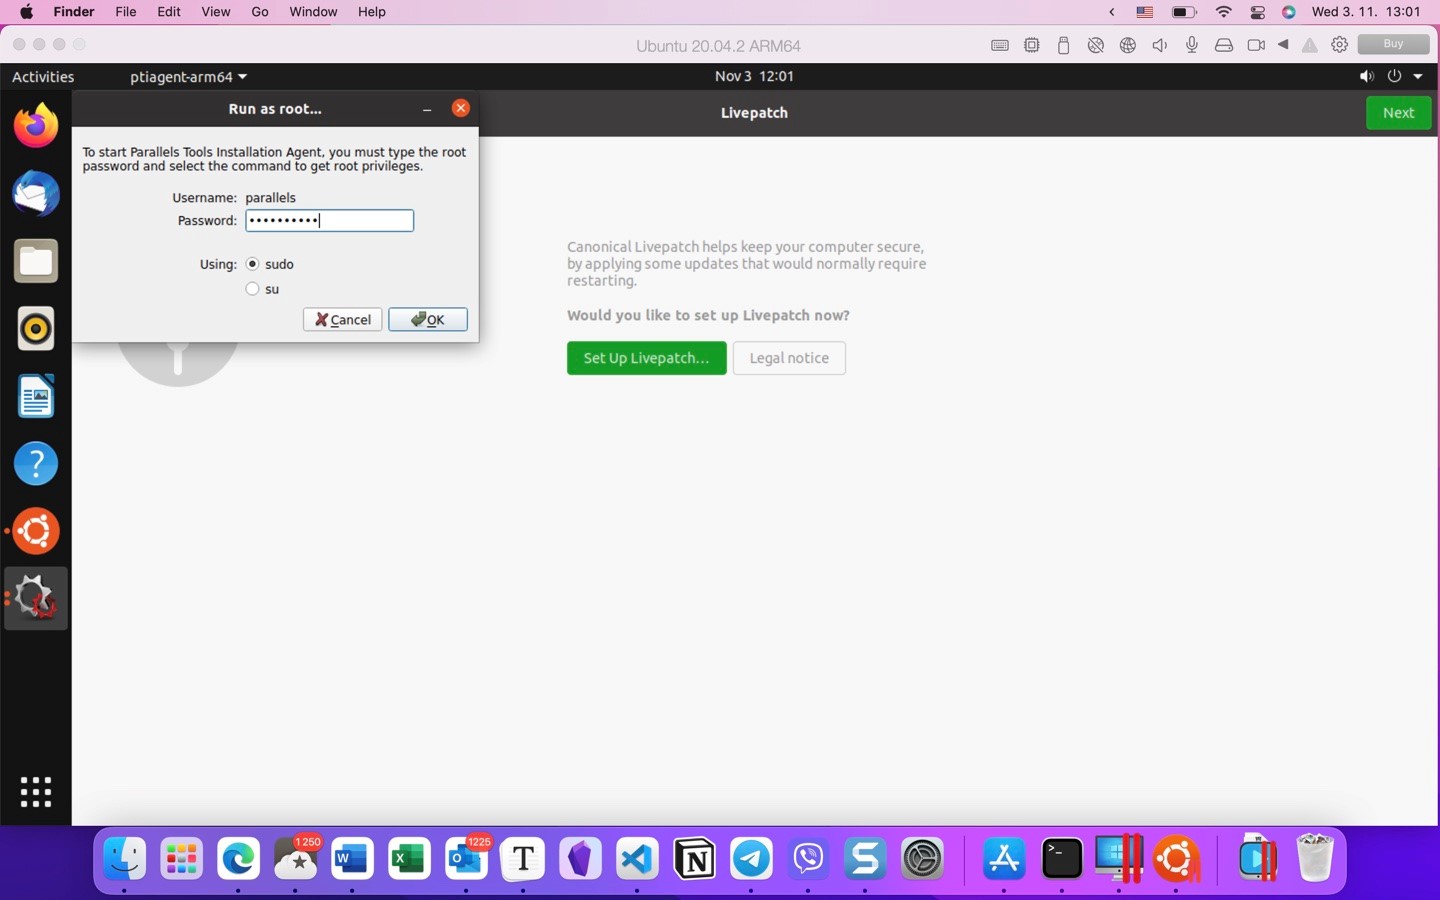
6. You will be prompted to install Parallels Tools, a set of drivers for the guest OS that helps you use your virtual machine in the most comfortable and efficient way. All you need to do is enter the root password.
You now have a fully working virtualized installation of your favorite ARM Linux distribution running on an M1 Mac. Pretty neat, huh?
While you may run into a few hiccups here and there, the overall performance and usability should both be decent enough for all basic tasks.
Method 2: Virtualize or Emulate Linux Using UTM
UTM is an easy-to-use open-source software app that can virtualize Linux and Windows at near-native speeds using Apple’s Hypervisor virtualization framework. It can also emulate different architectures using QEMU, a generic machine emulator and virtualizer that makes it possible to run operating systems for any machine on any supported architecture.
Unlike QEMU, UTM has an intuitive graphical user interface, and its online operating system gallery contains many pre-configured images that you can download with a simple click. It also contains useful installation and configuration instructions, so make sure to check it out if you plan on doing something more exotic, such as installing Windows XP.
This time, however, we decided to create our own virtual machine by following the steps below:
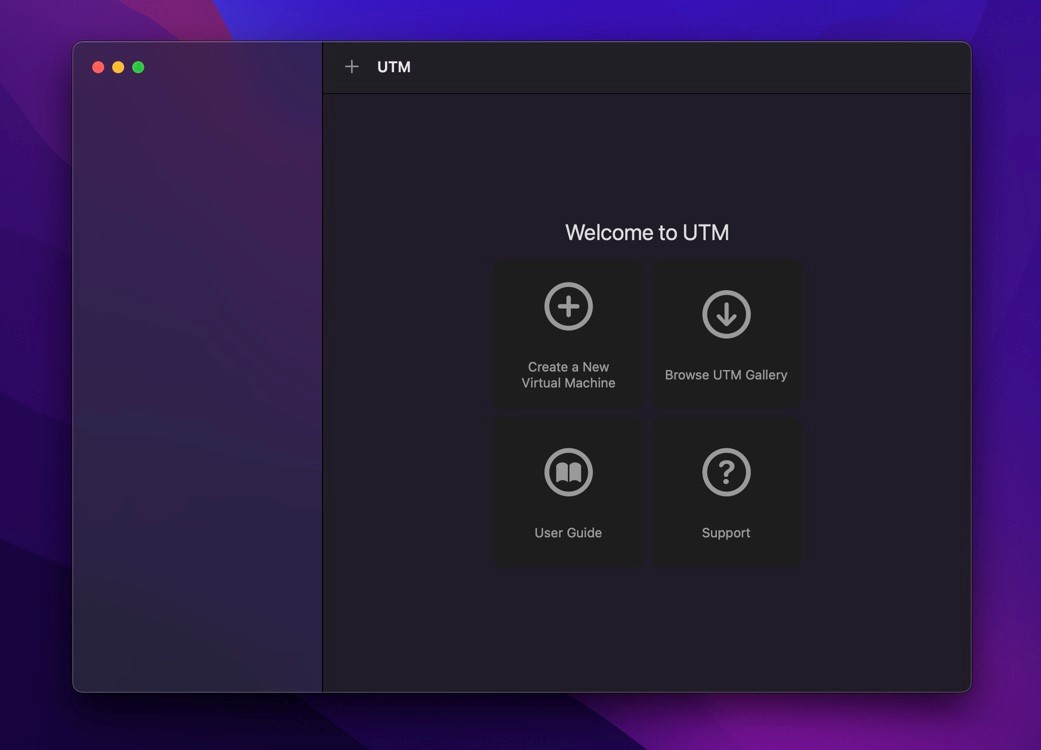
1. Download, install, and launch UTM.
2. Click Create a New Virtual Machine.
3. Pick an appropriate name for the new virtual machine and choose a suitable icon.

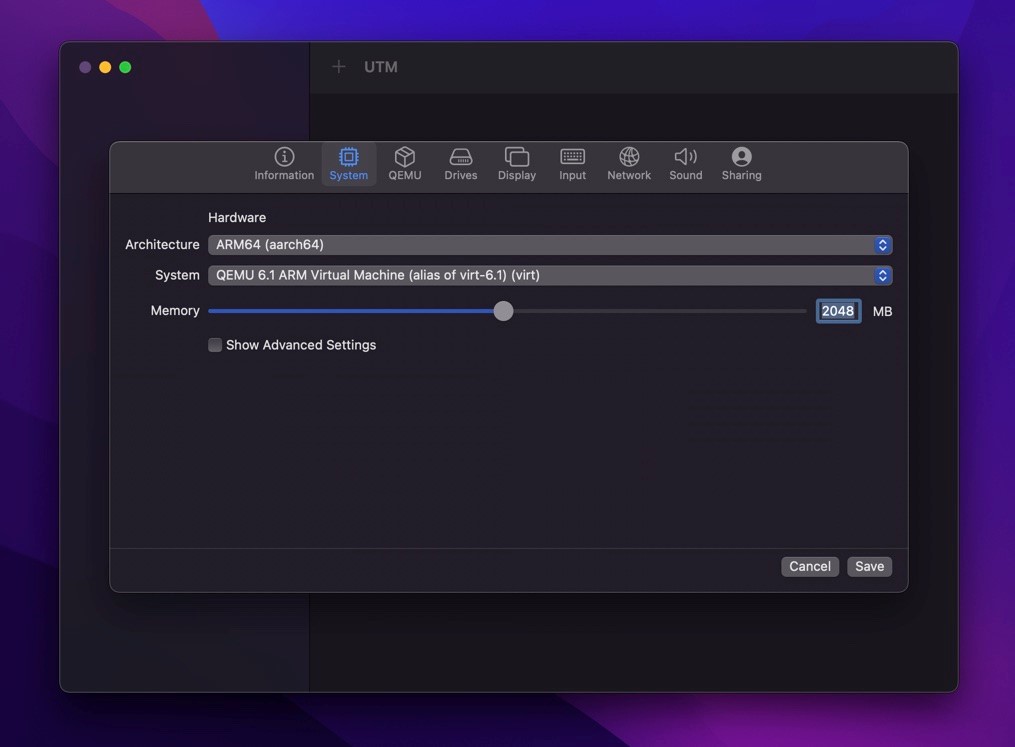
4. Go to the System tab and select the ARM64 (aarch64) architecture when installing an ARM Linux distribution. You can, of course, select any other available architecture if you would like to go the emulation route.
5. Give the virtual machine more memory if you want to improve its performance.
6. Go to the Drives tab and click New Drive to create a new hard drive for the virtual machine.
7. Create a new virtual drive with at least 10 GB of storage space.
8. You also need to create a removable installation drive. To do that, click New Drive again and check the Removable checkbox.
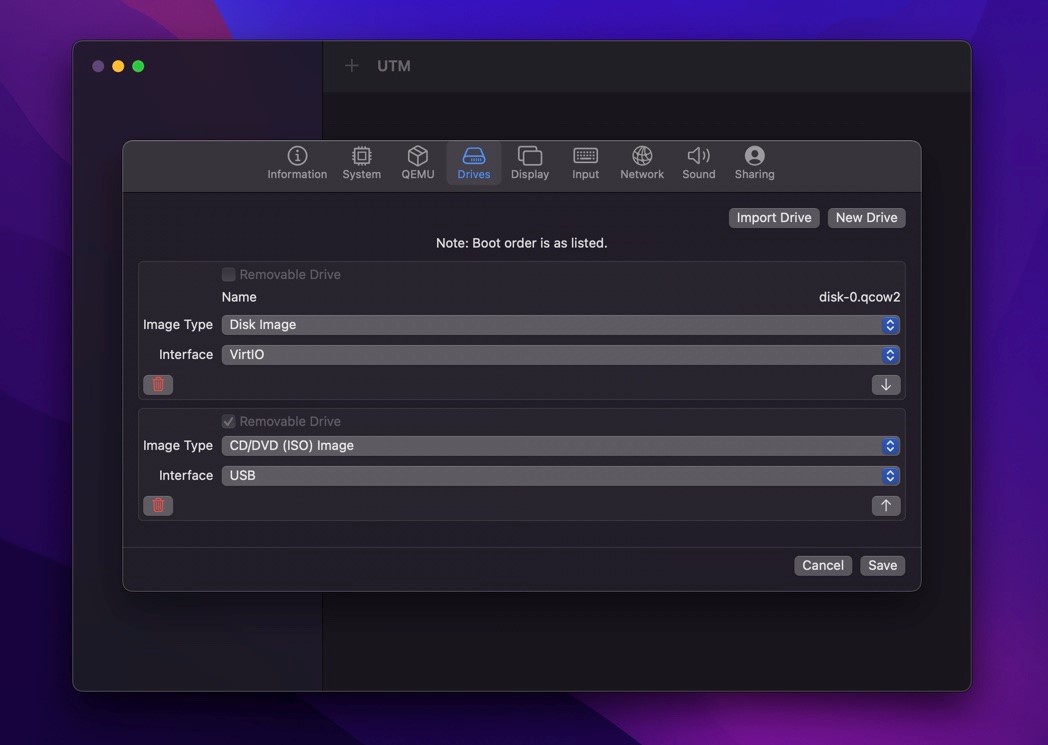
9. Click Save to save your settings.
10. Before you launch the virtual machine, you need to insert an image of the Linux distribution you want to install.
11. Click the virtual machine to select it and then click the CD/DVD dropdown.
12. Click Browse and open the image file.
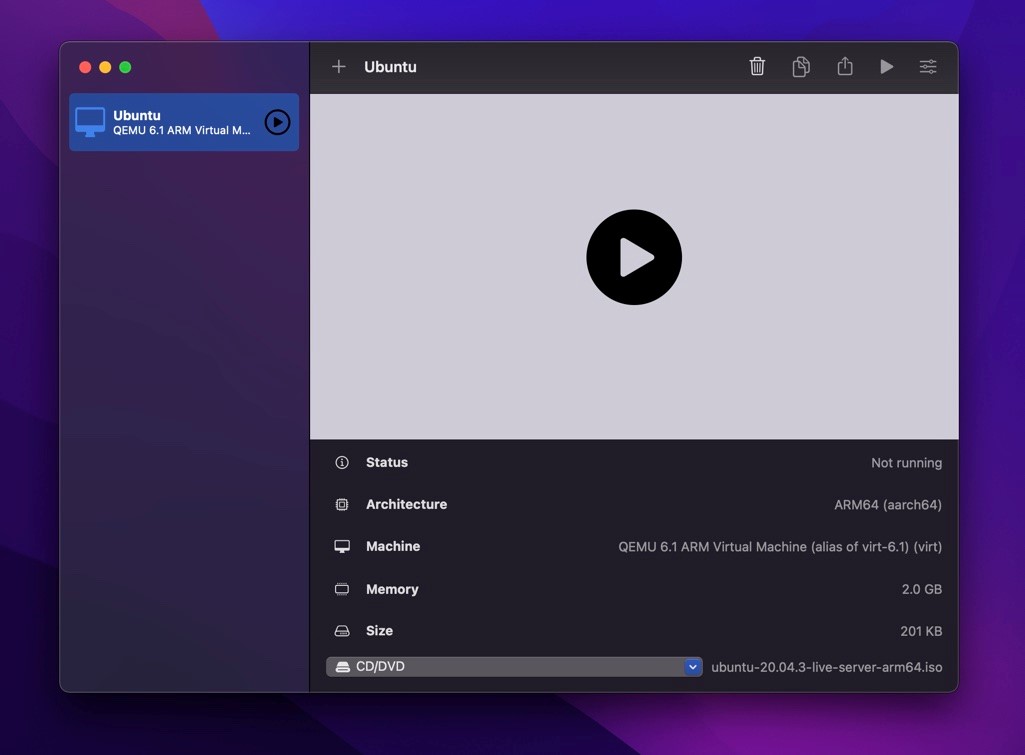
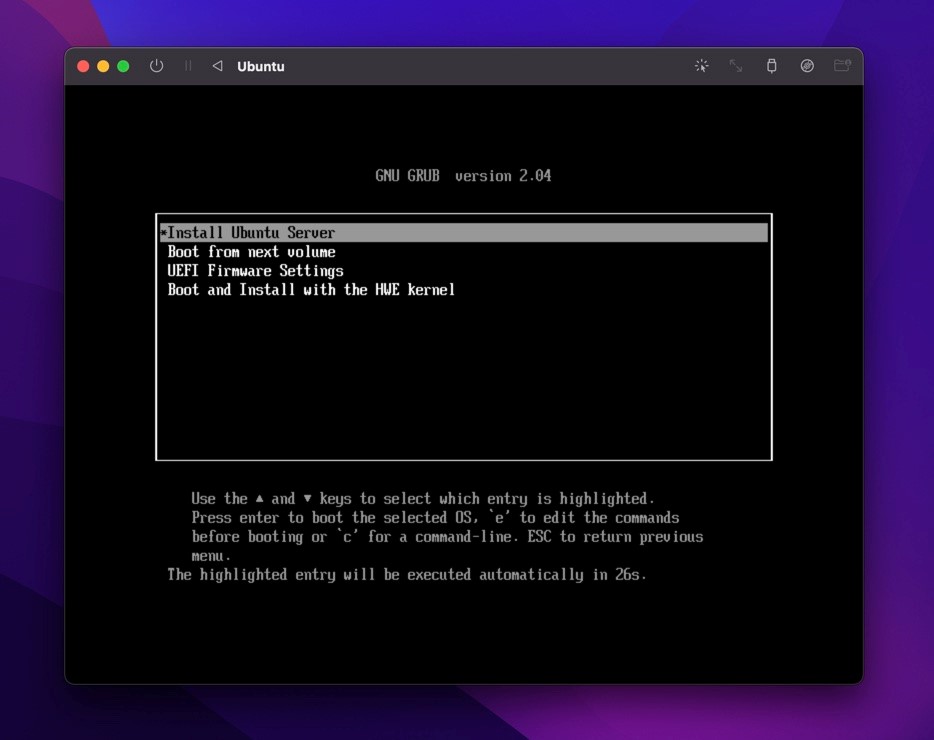
13. You can finally run the virtual machine and install your Linux distribution of choice on the virtual hard drive just like you would normally.
UTM doesn’t have as many bells and whistles as Parallels, but it’s completely free, supported by the App Store version of the software, which is completely identical to the one you can download from the web except for its price.
Method 3: Boot Linux Natively
If you were looking forward to booting Linux natively on an M1-based Mac, then we have bad news for you: describing the process from start to finish would be beyond the scope of this article, and the results would most likely disappoint you.
It’s true that official support for M1 Macs was introduced with the release of Linux Kernel 5.13, but the support is still very basic. For example, there are no accelerated graphics, USB connectivity, or networking.
Fortunately, a bunch of talented people are trying to make Linux on M1 Macs usable, and they’ve formed the Asahi Linux project.
“Our goal is not just to make Linux run on these machines but to polish it to the point where it can be used as a daily OS,” states the Asahi Linux website. “Doing this requires a tremendous amount of work, as Apple Silicon is an entirely undocumented platform.”
If you would like to get yourself up to speed with project, we recommend you read the Developer Quick Start Guide. Just know the guide is meant for developers—not end-users.
It’s also worth mentioning that Corellium, a provider of virtual iPhone environments for security testing, released its own M1-compatible Linux Kernel back in January 2021, but the company never contributed its work upstream, and the project has been dead since then.