It’s a powerful utility that can serve in lots of situations. In this article, I’ll showcase how to get started with rsync with a demonstration. The demonstration will be performed on Ubuntu 18.04.
Rsync
Rsync stands for the term remote sync. Despite the name, it can handle file synchronization remotely and locally. The term rsync is also used to refer to the rsync protocol that rsync uses for syncing. In this article, rsync will always denote the tool, not the protocol.
Because of its sheer popularity, rsync is available on almost every single Linux and UNIX-like system. There’s a good chance that it comes pre-installed. If not, do a little research on how to install rsync in your system.
Here’s a shortlist of features rsync offers.
- Directory copying
- Easy backup configuration
- Can work over SSH
- Can run as daemon/server
- File permission retention
Rsync usage
Before jumping into rsync, we need some dummy files to work with. Let’s create a dummy directory first.
Once created, it’s time to create a handful of dummy files. To create a file, I’ll be using the touch command. Learn more about the touch command.
Voila! We’re now ready to use rsync to perform actions using these dummy files.
Rsync Command structure
Rsync uses the following command structure.
Sync local directories
Now, it’s time to use rsync for syncing files across multiple destinations. In this example, we’ll be syncing the contents of dir_primary to dir_target.
Tell rsync to sync the contents of both the directories.
Here, we’ve used two different arguments.
-v: Tells rsync to run into verbose mode
-r: Recursive, required for directory syncing.
In this next example, we’ll be using a different flag.
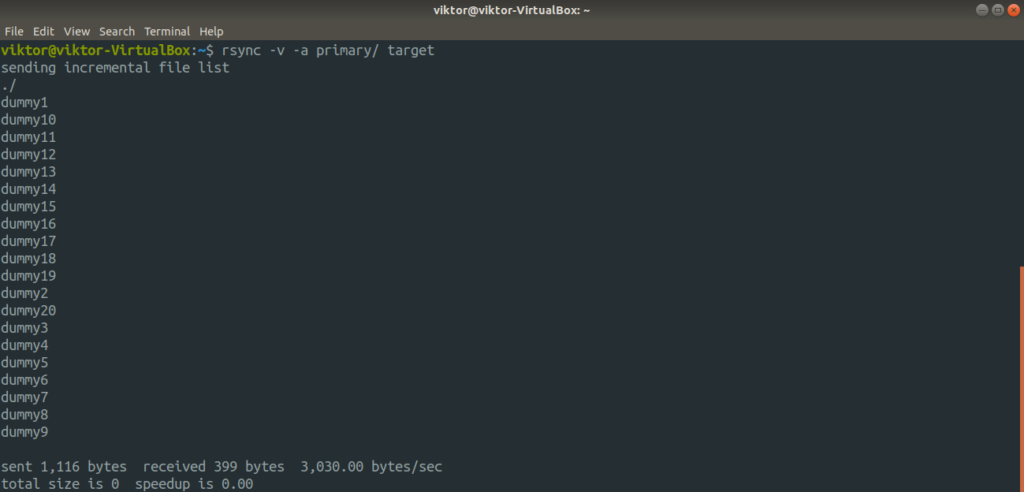
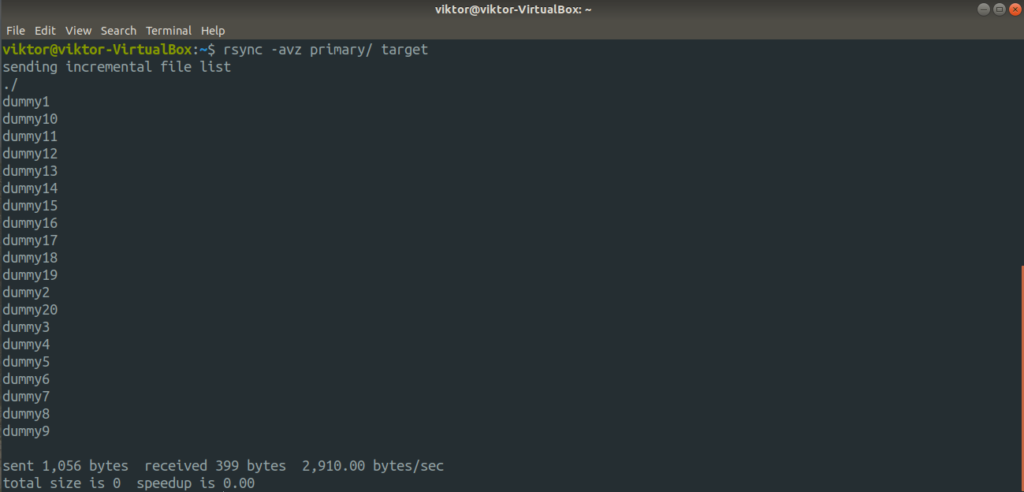
-a: A combination flag that stands for “archive”.
Using this flag, rsync will sync the contents recursively while preserving any symbolic, special/device files, modification times, file permissions, group, owner, etc. It’s more commonly used than the “-r” flag. For archival, this is a more recommended method.
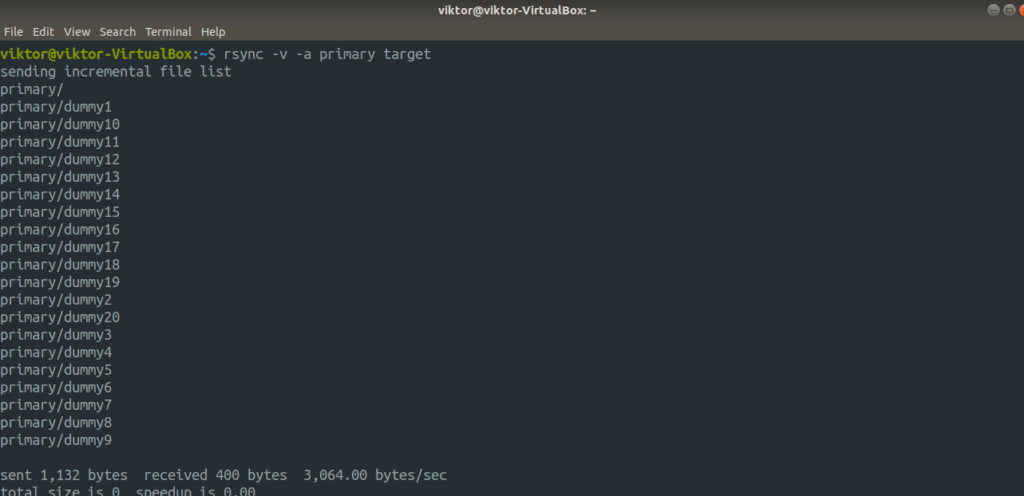
Did you notice that in all the commands we’ve run so far, in the case of source, we always retain the “/” after the name of the directory? This is to tell rsync that the source is all the contents of the source directory. If the “/” at the end of the source directory isn’t used, rsync will simply create a copy of the source directory instead of its contents.
Let’s check it out with an example.
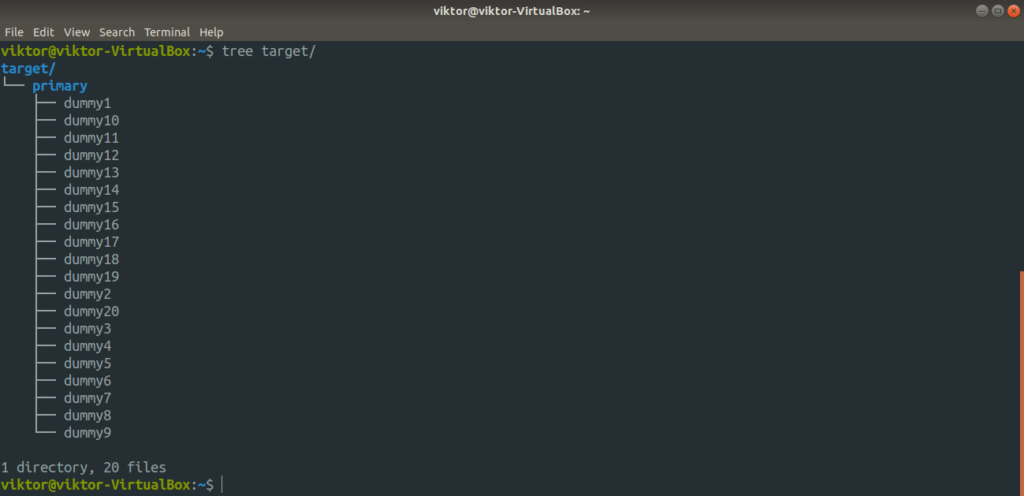
Check the output result.
Most of the time, this is not something we need. However, depending on the situation, it might come in handy.
Rsync test run
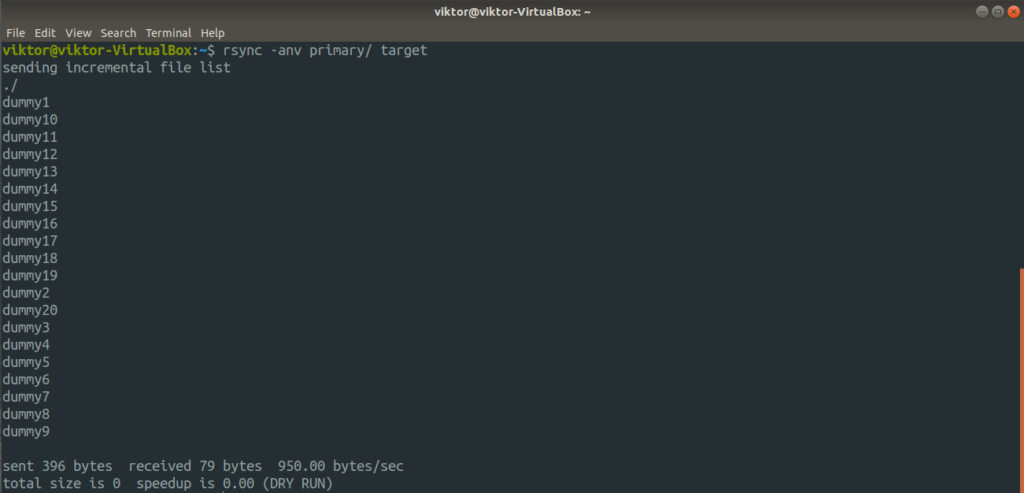
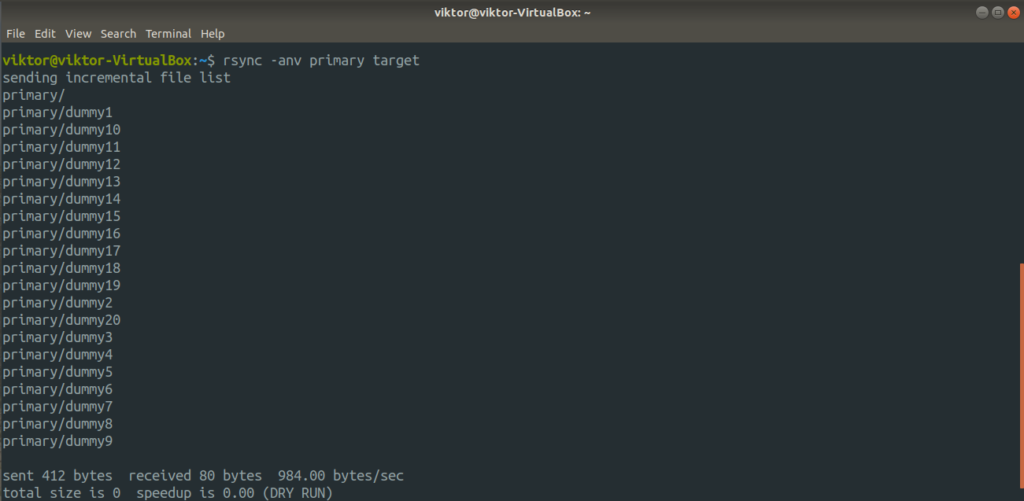
Before running a rsync command, it’s always important to verify that the command will perform the action as expected. If you want to test the rsync action for a certain command, use the “-n” or “-dry-run” flag.
Here, the output shows what rsync would perform if the command was actually run. Whenever you’re testing, don’t forget to use the “-v” flag to get an accurate representation of what’s happening.
Rsync over a remote connection
This is another interesting feature rsync supports. If your backup location is somewhere remote, you can easily configure rsync to perform backup on the remote location through SSH. However, both the machines must have rsync installed. Moreover, both systems also need to have SSH keys set.
Ready? Let’s get started. At first, it’s the archive syncing.
destination_dir>
Here, this operation is called a “push” because it pushes a directory from the local system to a remote system. The opposite is known as “pull”.
Rsync treats the first argument as the source, the second as the destination.
Useful rsync options
Rsync supports a ton of options. All of them serve their own purpose. However, for the most part, only a handful of them are used most of the time. In this section, let’s have a look at some useful rsync options.
Most of the time, the file(s) you’re about to sync aren’t compressed. Using compression, you can save both time and bandwidth at the cost of a little bit extra processing power. Rsync offers compression by default. To perform compressed sync, use the “-z” flag.
This interesting flag combines the function of both “-progress” and “-partial” flag. The first one is to show a progress bar of the transfer and the second one is to enable resuming interrupted transfer. Both of these features are combined into the “-P” flag.
Now, let’s check out how rsync handles file syncing intelligently. Run the previous command again.
Here, rsync didn’t re-upload all the files. Instead, it skipped those that didn’t change at all. In this example, it skipped all the files as all of them are present in the destination directory.
What if you deleted a file from the source directory? By default, rsync won’t delete anything from the destination directory. To force rsync delete files, use the “–delete” flag. However, use the dry run to test if the command works as you want.
By default, rsync will sync every single file/directory from the source to the destination directory. In certain situations, you may want to include/exclude certain files from syncing. Rsync offers handy options like “–exclude” and “–include” to exclude/include certain files. Pass the file pattern as the value for these arguments.
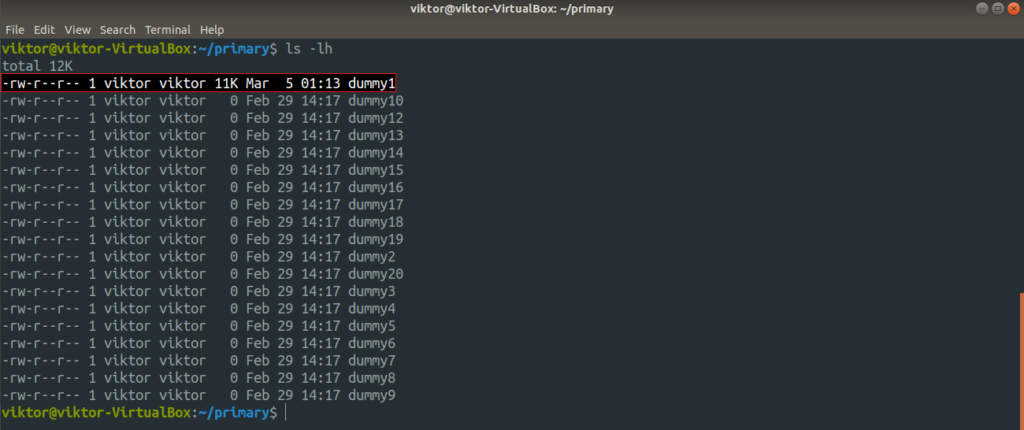
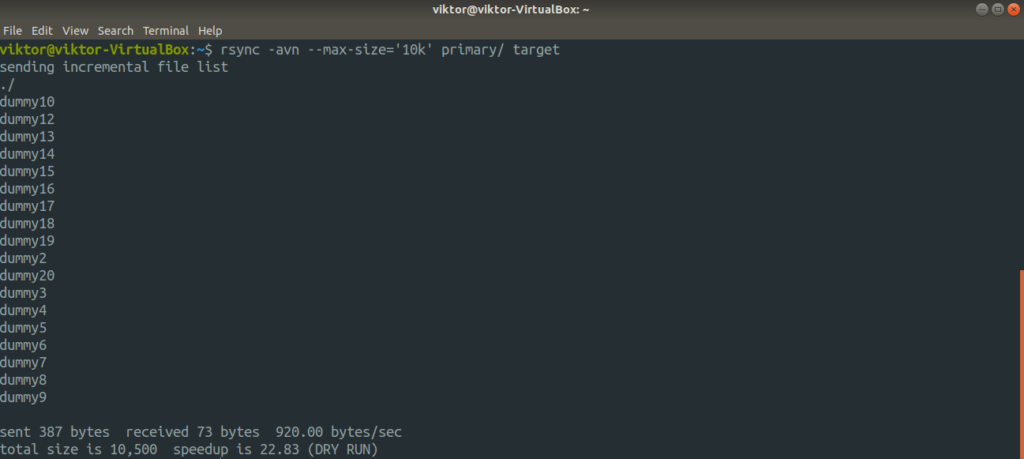
You can also define the largest file size that rsync should sync. To do that, use the “–max-size” flag followed by the file size.
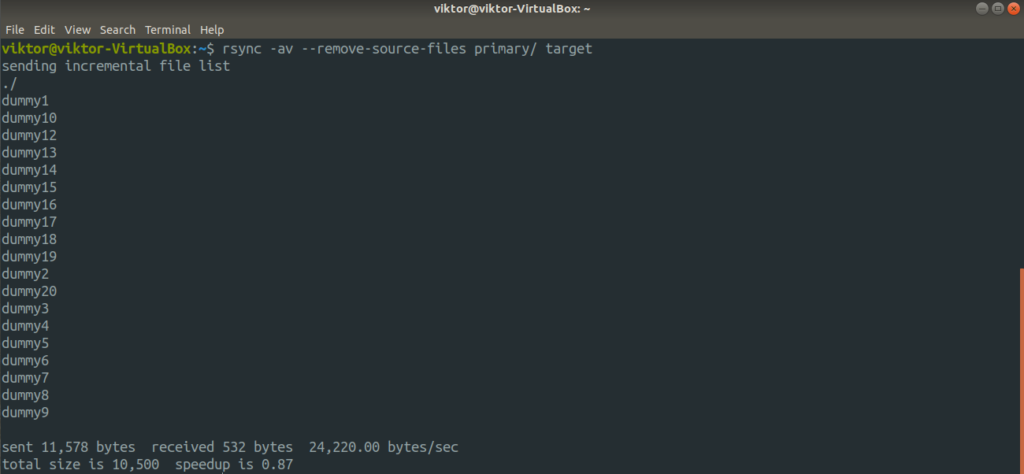
Rsync has another interesting feature in its sleeve. No longer need the source file after syncing? Rsync can do that, no problem. However, make sure that you’re not running rsync with “-delete” flag. Otherwise, rsync will delete the synced files from the destination!
Final thoughts
These are just some common and simple scenario of rsync usage. It offers much more than that. It’s possible to automate rsync operations using either rsync daemon or other scripting. Hopefully, this guide was helpful in getting started with rsync.
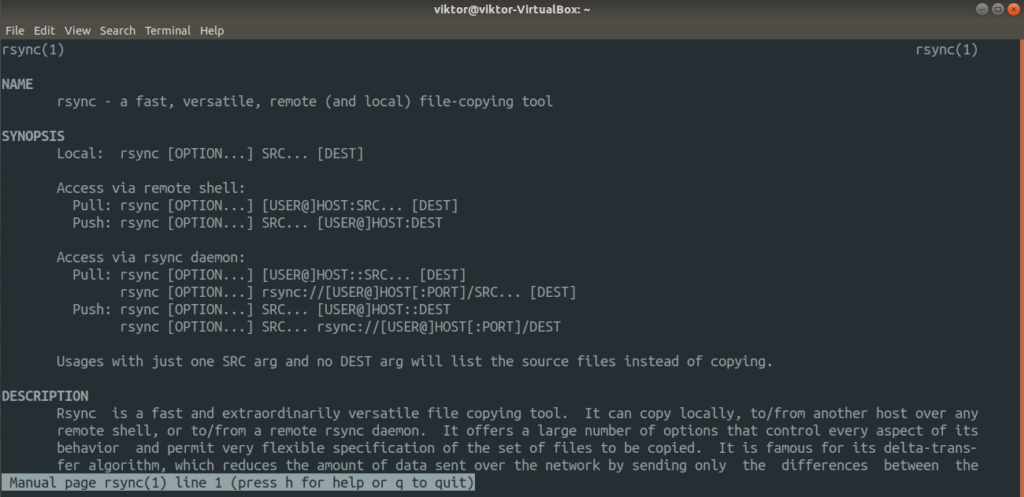
Interested in more rsync? Well, you can use rsync as a file copier. It’s more efficient and intelligent than cp. More in-depth features and usage can be found in rsync man page.
Enjoy!


