This steady growth has allowed the video game industry to become one of the largest in the world, with the market reaching a net worth of $90 Billion in the year 2020.
Different games are available on different platforms. These platforms compete with each other by offering video game titles that are exclusive to their console only. While this allows for market growth and competition, not everyone has the chance to purchase every console.
Furthermore, some consoles and video game titles are no longer in production and it would mean that one would lose the chance to play these titles. This is where emulators come in.
RetroArch: The Emulator for All
Emulators are software that allow the user to emulate different consoles on their system. While there are many emulators, such as Citra and Dolphin, one of the best options is RetroArch.
RetroArch serves as a frontend for all kinds of emulators. It allows you to download the cores for different emulators and acts as the all-in-one option. Additional features, such as online support, customizable interface, and support for Netplay make RetroArch the robust emulator it is today.
Features like these make RetroArch a must-have for those willing to play different video game titles from a different platform on their system.
This guide is meant to teach you how to install RetroArch on Linux. Although this guide uses Ubuntu 20.04 LTS, the installation method shouldn’t differ for other Linux distributions.
Now, let’s take a look at the methods.
Method 1: Installing RetroArch Using Aptitude
The first method to install RetroArch makes use of the Command Terminal. By using the Command Terminal, installing RetroArch can be achieved in a few steps.
It should be noted that RetroArch comes in two different versions, and the command differs for both. So, make sure you’re aware of the version that you’re trying to install.
To install RetroArch on Linux, start by opening the Command Terminal. The shortcut for the Terminal is Ctrl + Alt + T.
Once the Terminal is open, type the following command:
This will update the repositories and packages to the latest available versions.
Next, type the following:
The available versions are “stable” and “testing”. To install the repositories for the stable version, type:
Once the process is finished, type the following command to install RetroArch on your system:
Bear in mind that these commands are for Ubuntu. If you’re using a different distribution, the difference should only be in syntax.
If you followed the steps in this guide correctly, you should have RetroArch installed on your system. If the Terminal method doesn’t work out for you, then you can try using the method provided below.
Method 2: Installing RetroArch Using Flatpak
If the $apt install command doesn’t work out for you, you can try installing RetroArch using the Flatpak repository. Follow these steps to install RetroArch using Flatpak.
First, open the Command Terminal. Now, type the following command to update the repositories:
Once that’s done, check if Flatpak is available by typing the following:
If Flatpak isn’t available, install it by typing the following:
Once the installation is complete, type the following commands to install RetroArch using flatpack.
$ flatpak install --user flathub org.libretro.RetroArch
If you wish to update RetroArch to the latest stable version that’s available, type the following:
If you followed the steps correctly, then congratulations! You now have RetroArch installed on your system. All that’s left is to learn how to use it.
Getting Started With RetroArch
Once you’ve installed RetroArch on your system, it’s time to configure it.
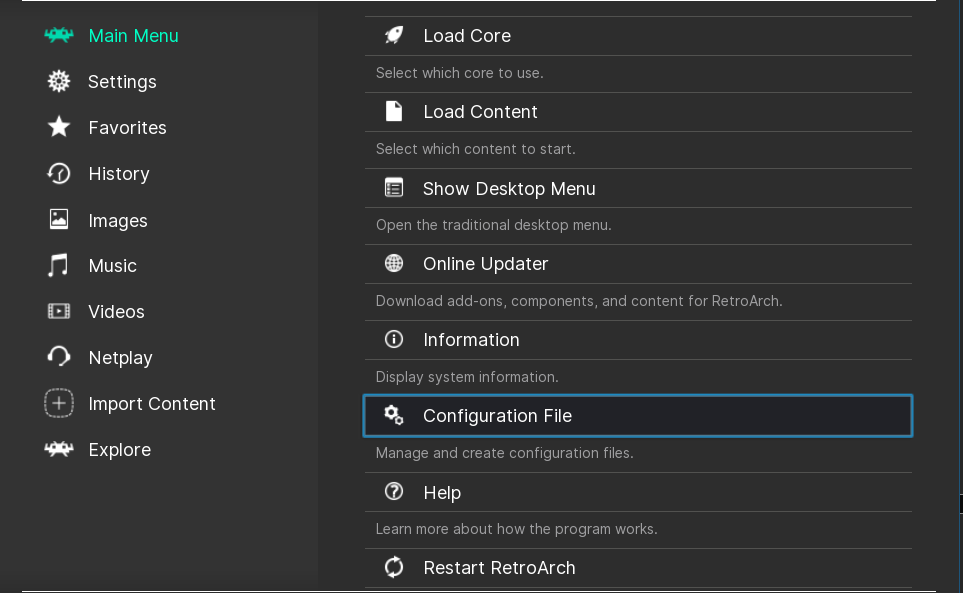
When you open RetroArch for the first time, you should be prompted with a screen that looks similar to the one in the following image:
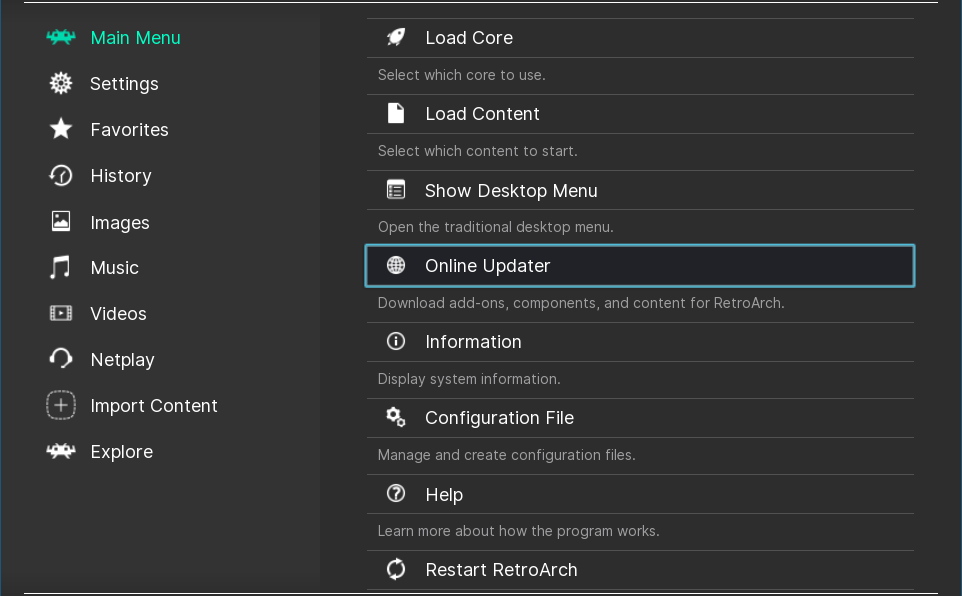
To start using RetroArch, start by installing the core of your choice. In the Main Menu tab, click on “Online Updater”. Once you’re there, click on “Core Downloader” and select the core of your choice.
For this guide, we’ll be installing Arcade (MAME 2010). Click on the core to start the download. The installation process is automatic, so sit back and relax while things progress as needed.
Once installed, you should see a teal marker [#] next to the emulator name:
With this, you can proceed to the next step.
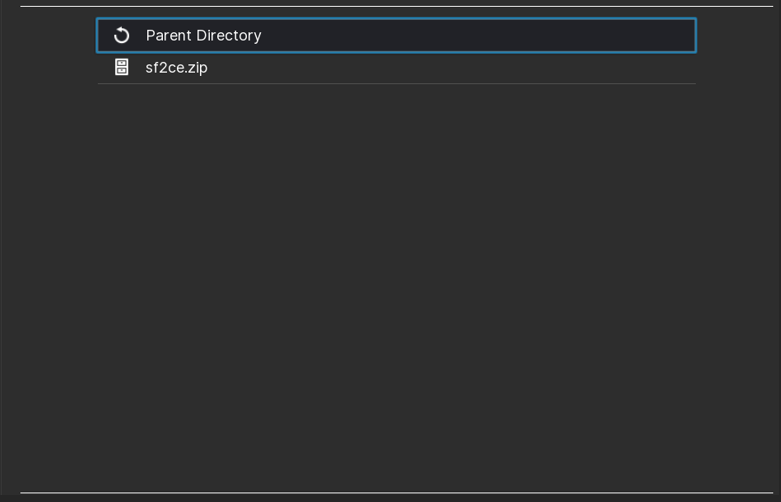
Navigate back to the Main Menu and click on the search directory. From there, navigate to where your games file is located. Click on the game file to load it:
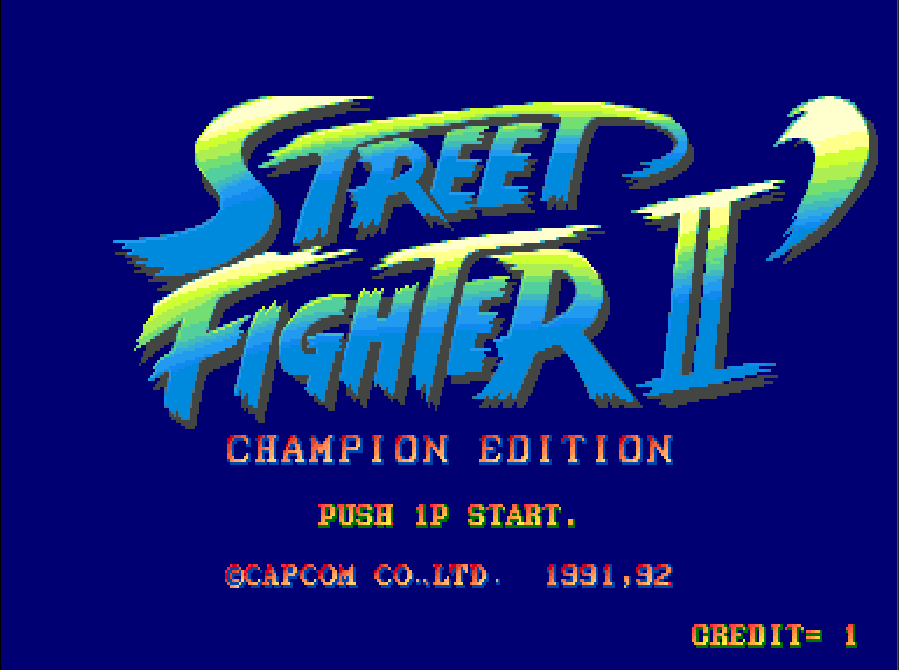
This will open a new window with the game running in it.
You can close the game by pressing the Esc key twice.
Additionally, there are other available settings with RetroArch that can prove to be useful. One of these settings is button mapping. Rebinding the keys to your choice will give you more control in your desired games.
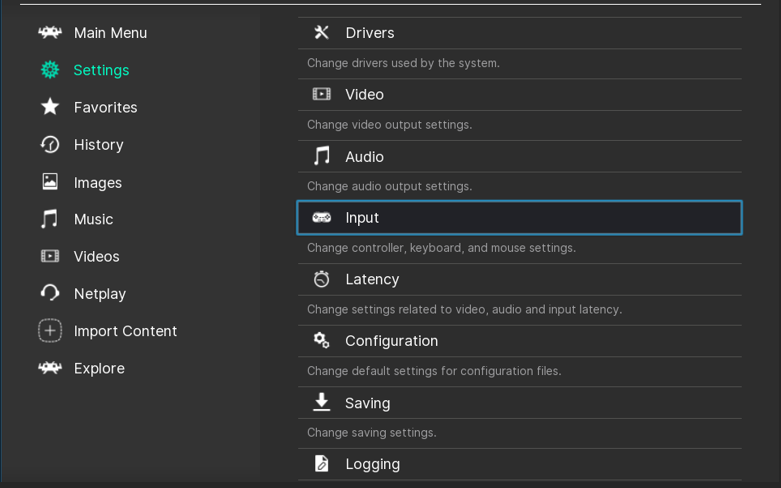
To change the button mapping, go to the Settings tab and navigate to the Input option. Click on it to open a new window.
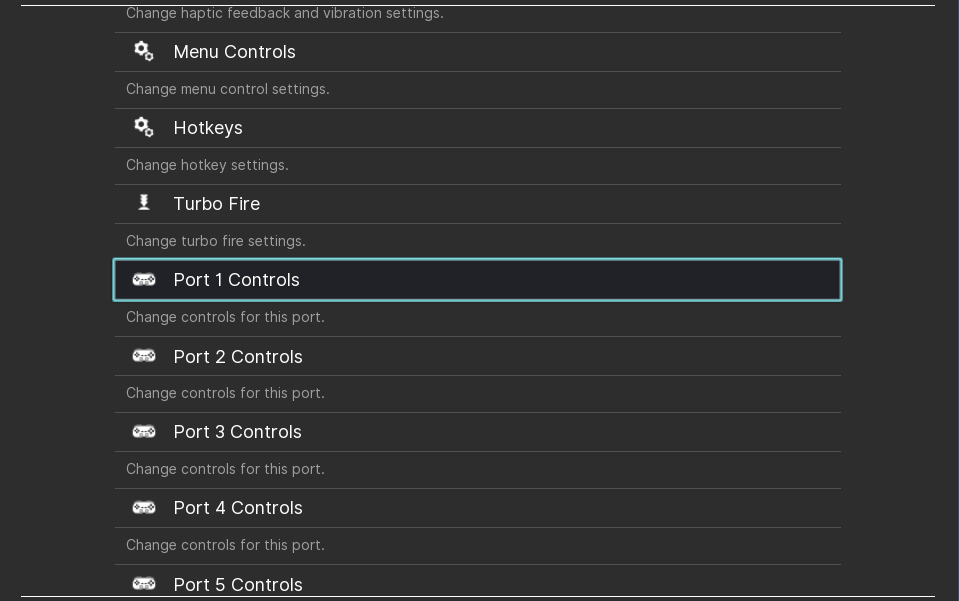
Once opened, navigate to Port 1 Controller (If you’re on PC, it’s the keyboard by default) and click on it. This will open a menu with all key binds. If you wish to change any, just click on the button and press the key you wish to map.
With this, you should be ready to play your favorite titles on RetroArch.
Conclusion
We hope this guide helped you install RetroArch on your system. This guide also covered how to configure RetroArch, along with some basic settings that’ll be useful. With this, we hope that you have a splendid experience in using this gem of an emulator on your system. Check out other Linux Hint articles for more tips and tutorials. Enjoy!


