What is Amazon RDS?
Amazon RDS is a relational database and a web-based service. What makes it different from traditional databases is that it is very simple to set up, manage and most importantly, it is scalable and provides high availability. Amazon provides you multiple options of database engine to use RDS, e.g., one can choose from Amazon Aurora, PostgreSQL, MySQL, MariaDB, Oracle, and SQL Server databases. This is good for people thinking of migrating to the cloud with their original applications. Amazon RDS is designed to give the same work environment on the cloud as you have on your on-premise environment. This means if you have an application running MySQL on-premise software, the same application will run smoothly once you migrate it to an RDS-based MySQL database.
Types of AWS RDS
Amazon has different types of DB instances or database instances for running RDS. The RDS database running on these DB instances, as mentioned earlier, is backed by database engines like PostgreSQL, MySQL, MariaDB etc. One can use the AWS Management Console, Amazon RDS APIs or AWS CLI version to create an RDS instance. For now, we will be using the command line approach for creating an RDS instance.
What will we explore here?
This guide will show you how to restore a MySQL RDS db instance snapshot using AWS CLI. We are using the AWS CLI approach from the IAM user’s perspective; however, we have used the management console of the root user account on AWS to create the IAM user and assign it the required policies. We will use this IAM user account with limited privileges. The same tutorial can also be performed using the management console. Let us now move forward with the AWS IAM user.
Creating an IAM User
Cloud service providers usually offer an IAM or Identity and Access Management feature to give extra security to a user root account. In a work environment giving each user access to a root account or managing services directly from the root, the account is vulnerable to security threats. Instead, we can create users with specific permissions to avoid privilege escalation problems. This is similar to creating users in Linux with limited access to system files and other resources. So in this hands-on lab, we will create an IAM user with minimal access rights required for performing RDS database operations. The user will be able to perform the below operations:
1. Create and delete db snapshot
2. Restore db snapshot
For creating the IAM user for the above operations, follow the instructions below:
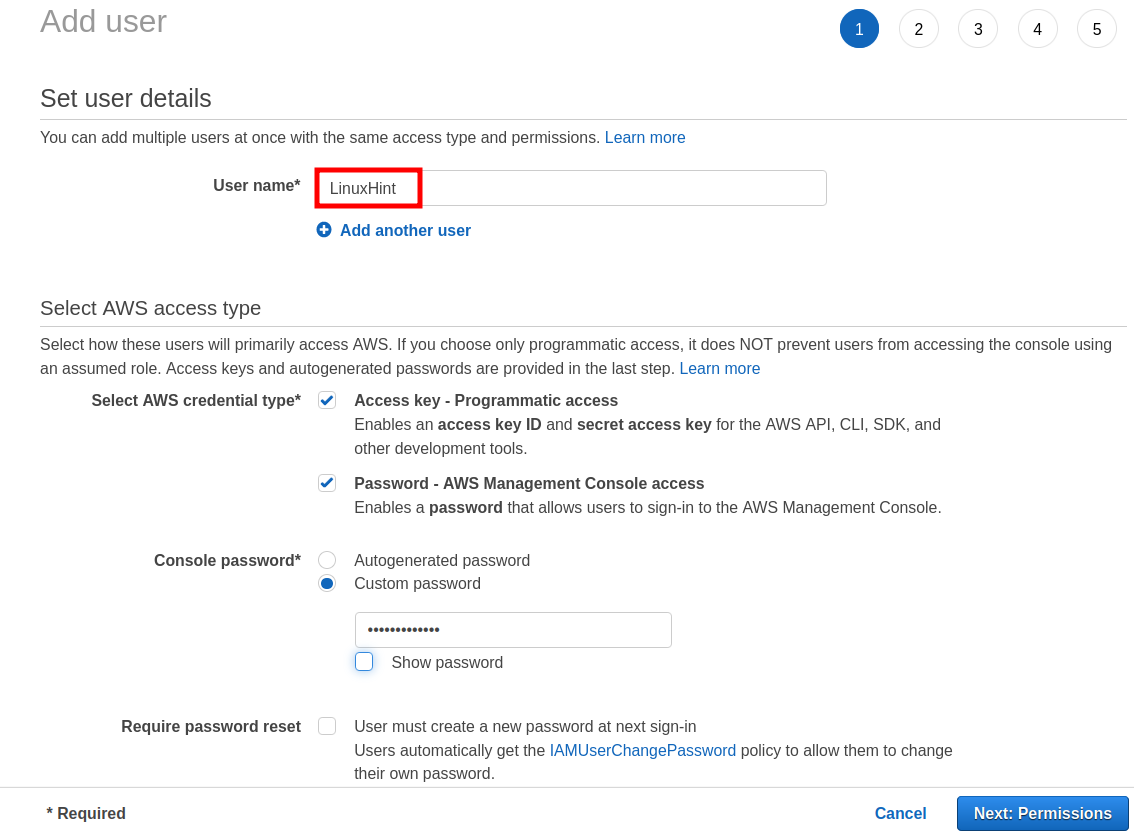
Step 1. Go to the AWS IAM console and click the ‘Add Users’ button.
Step 2. Give a suitable name to your user and assign a password. Since we are interacting with the user using AWS CLI, we have checked the ‘Access Key’ tick box. Additionally, we have also given management console access to this user.
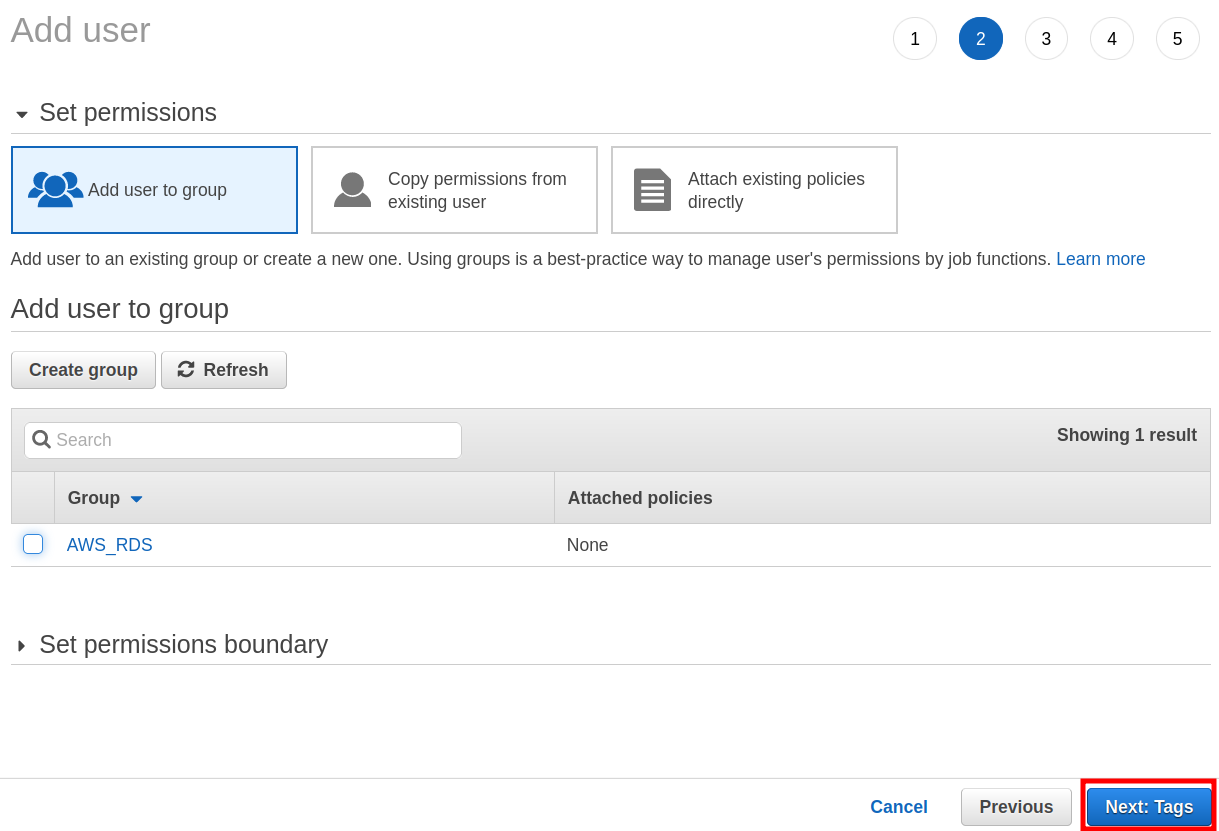
Step 3. In the further steps, we can also add this user to a group, but we have skipped this for now. Now click ‘Next:Tags’ to continue:
Step 4. (Optional), we can add tags (Key-value pair) to organize our user.
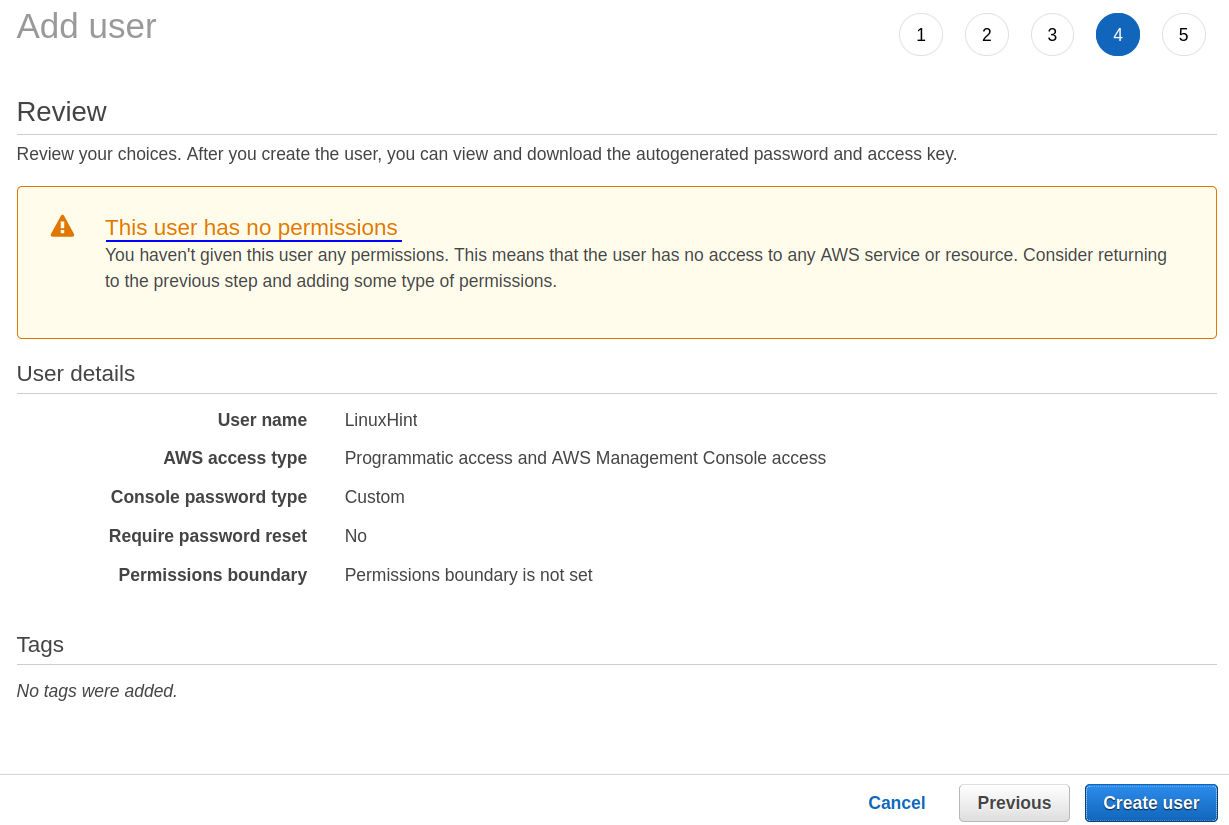
Step 5. On the next screen, review the settings for your user:
Step 6. When you click the ‘Create user’ button, you will be asked to download your access keys. Keep these keys secret and put them in some safe place as they are available to download only once. Your user will now be available in the IAM users section:
Step 7. Now we will add an inline policy for this user through which it will perform the above-specified database operations. In the IAM users section, click on your user name. On the new screen, click the ‘Add inline policy’ label under the ‘Permissions’ tab:
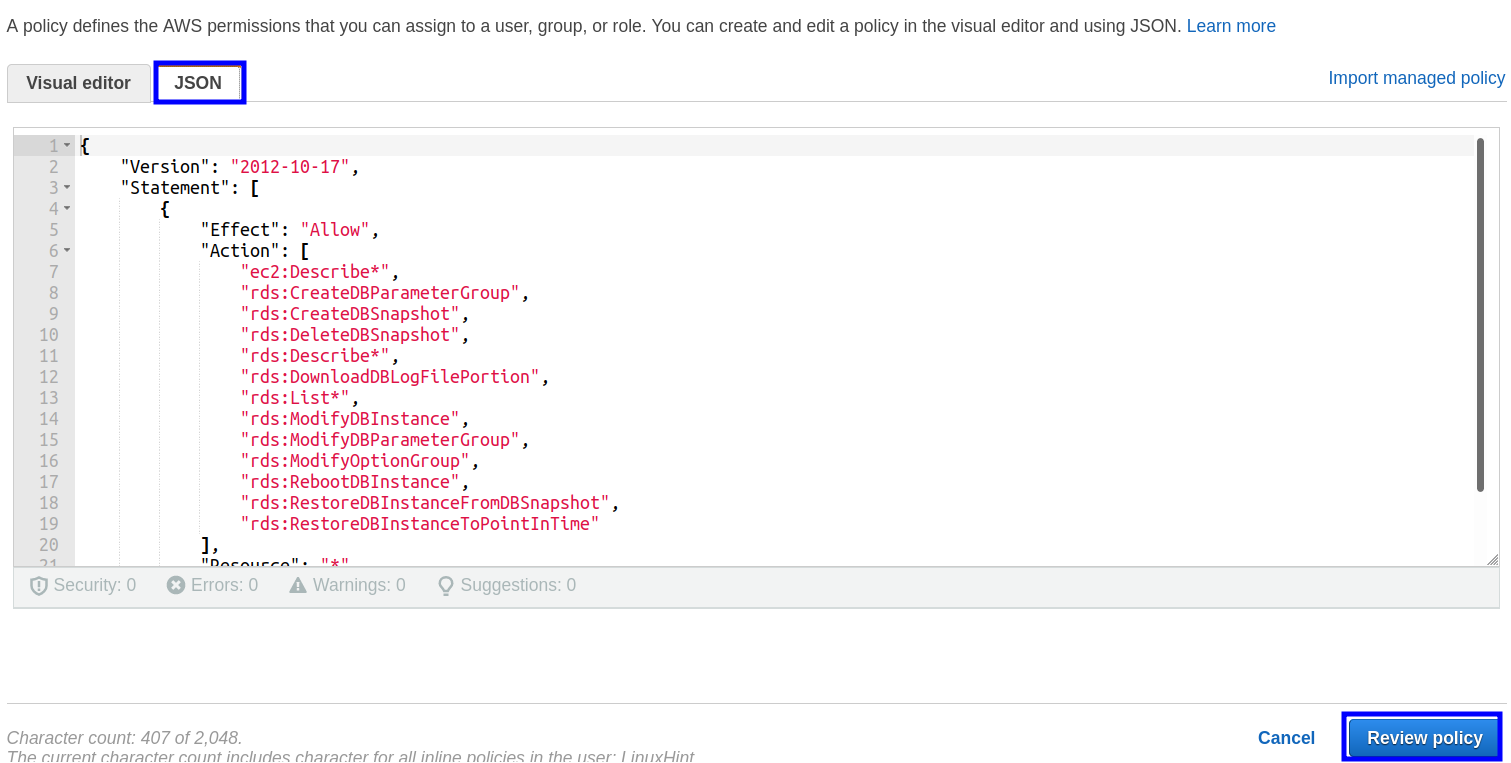
A new wizard named as ‘Create policy’ will appear where you have to select the JSON tab and paste the below code there:
"Version": "2012-10-17",
"Statement": [
{
"Effect": "Allow",
"Action": [
"ec2:Describe*",
"rds:CreateDBParameterGroup",
"rds:CreateDBSnapshot",
"rds:DeleteDBSnapshot",
"rds:Describe*",
"rds:DownloadDBLogFilePortion",
"rds:List*",
"rds:ModifyDBInstance",
"rds:ModifyDBParameterGroup",
"rds:ModifyOptionGroup",
"rds:RebootDBInstance",
"rds:RestoreDBInstanceFromDBSnapshot",
"rds:RestoreDBInstanceToPointInTime"
],
"Resource": "*"
}
]
}
Note: You can modify this policy to allow the user to perform other RDS based operations.
Step 8. Now click the ‘Review policy’ button at the bottom:
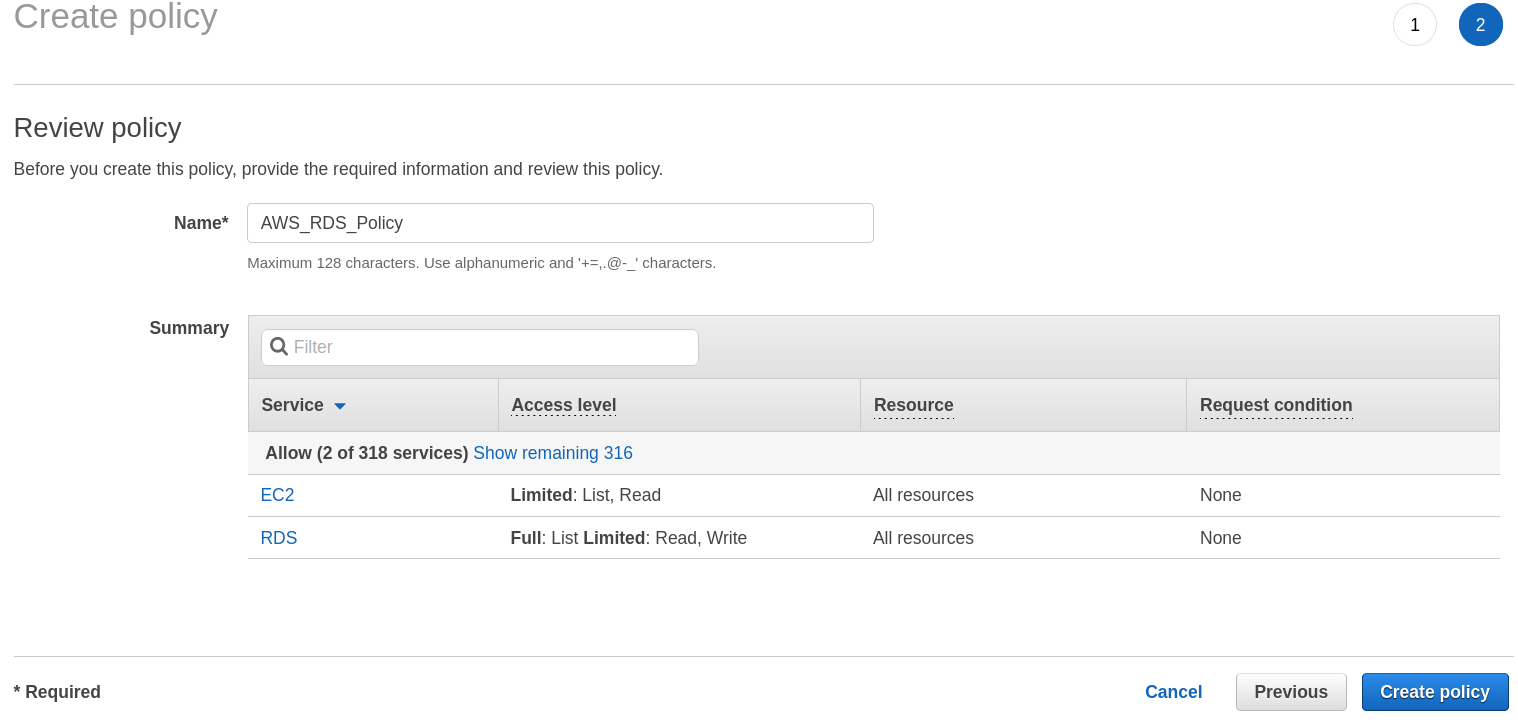
Step 9. Give a suitable name to your policy and click the “Create policy’ button:
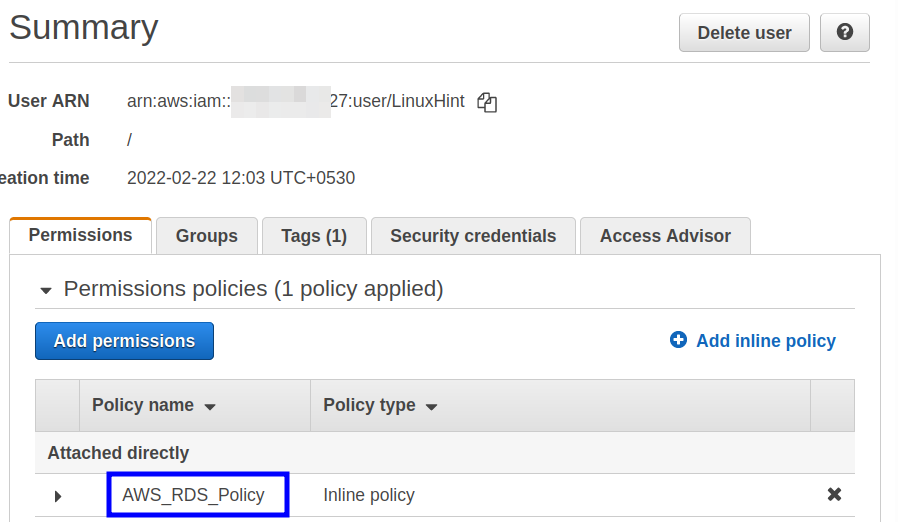
The above inline policy can now be seen on the IAM user console:
Getting started with AWS CLI
Now that we have created an IAM user, we can continue with the AWS CLI. The AWS CLI interface can be installed on your local computer. We have installed AWS CLI on our Ubuntu 20.04 machine. We will now connect to our AWS IAM account using the user credentials we downloaded earlier while creating that user. The credentials file, named as ‘new_user_credentials.csv’, contains the ‘Access key ID’, ‘Secret access key’, ‘Console login link’ as shown below:
Now we will configure our local machine terminal for using it with aws. Open a new terminal and type:
It will ask for the access key ID, secret access key, name of your preferred region and the output format (json, yaml, text or table). Enter your credentials and preferences here. In the picture below, you can see what values we have selected for these parameters:
That’s all configuring AWS CLI for our IAM user.
We a database instances with the following configuration:
db-instance-identifier= db-linuxhint
db-instance-class= db.t2.micro
allocated-storage= 20
master-username= demo
master-user-password= 12345678
backup-retention-period= 0
Once the db instance shows an available status in the IAM user’s management console:
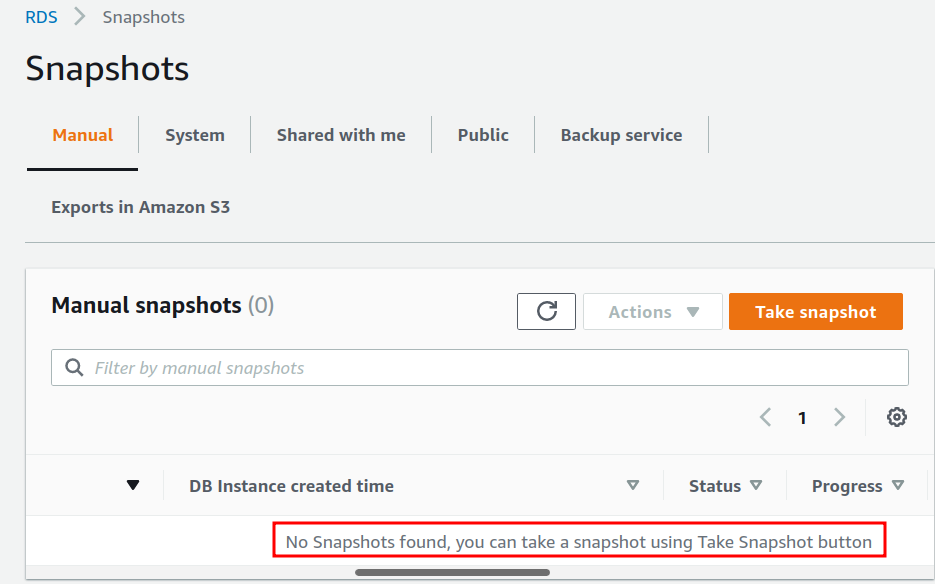
To demonstrate this guide, we first need a snapshot before restoring it. Presently we do not have any snapshot for our database instance:
Let us create a snapshot of our db instance using AWS CLI:
The ‘–db-instance-identifier’ option specifies the name of our db instance. The ‘–db-snapshot-identifier’ option specifies the name of the snapshot to be created (here it is ‘db-snappy’).
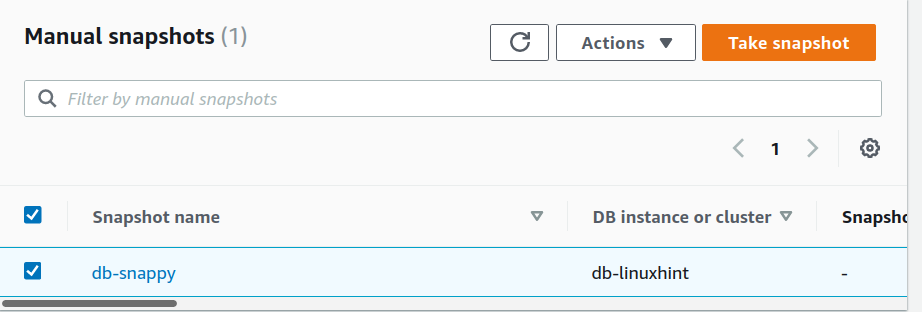
Inside the RDS Snapshots section, the snapshot will now be available:
Restoring RDS Database Snapshot
We can choose to delete the actual db instance and restore it from the snapshot we created in the above steps or create a new database instance using this snapshot. Let us move with the later approach. On your AWS CLI, run the command:
--db-instance-identifier db-snap-restored \
--db-snapshot-identifier db-snappy \
--db-instance-class db.t2.micro \
--no-publicly-accessible
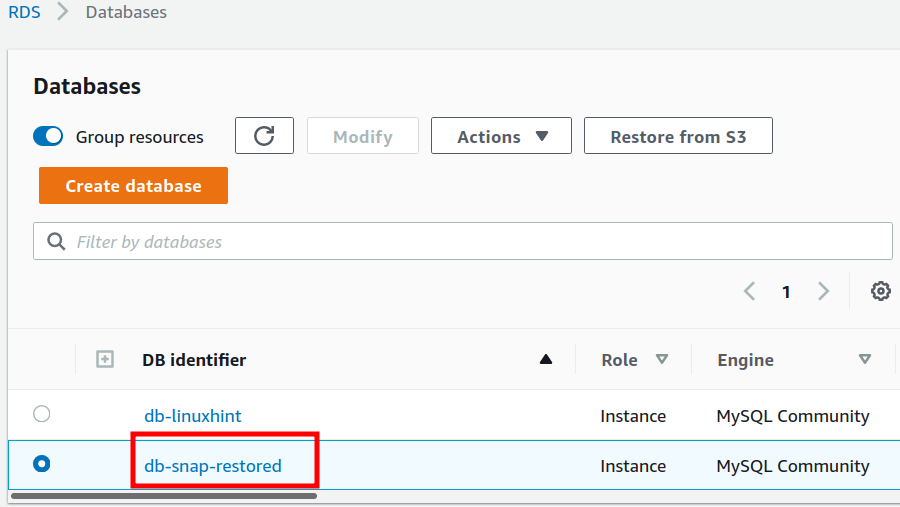
Here, ‘–db-instance-identifier’ specifies the name( db-snap-restored) of the new DB instance restored from the snapshot. ‘–db-snapshot-identifier’ specifies the name (db-snappy) of the snapshot used to restore the db instance. From the IAM user’s management console, we can see the new db instance we restored from the snapshot:
Final Note: Do not forget to clean up the resources not in use to avoid unexpected charges.
Conclusion
That’s all for now. We have successfully restored a mysql RDS db instance using the AWS CLI. Many people and tutorials online use the root user account for managing the aws resources like RDS, EC2 etc. But we have not used the root account; instead, we have used an IAM user account to work with this db instance, which is a fairly good practice from a security point of view. Additionally, we have provided this IAM user with the minimum permissions required for a user to perform the basic RDS operations.


