This tutorial will show a smart trick to restore removed files with a single command.
How to Restore Deleted Files in a Git repository?
Sometimes users remove a file from their Git repository or delete multiple files accidentally and commit the changes to update the repository for other team members. Then, they find the need to restore the single or multiple files that were deleted earlier.
To implement this scenario, first, navigate to the Git local repository folder and list the content. After that, remove the file using two commands, such as “$ rm <file-name>” and “$ git rm <file-name>” commands. Next, reset these deleted files by executing the “$ git reset HEAD — <file-name>”, and lastly, restore them utilizing the “$ git checkout — <file-name>” command.
Now, let’s implement the stated concept for a better understanding!
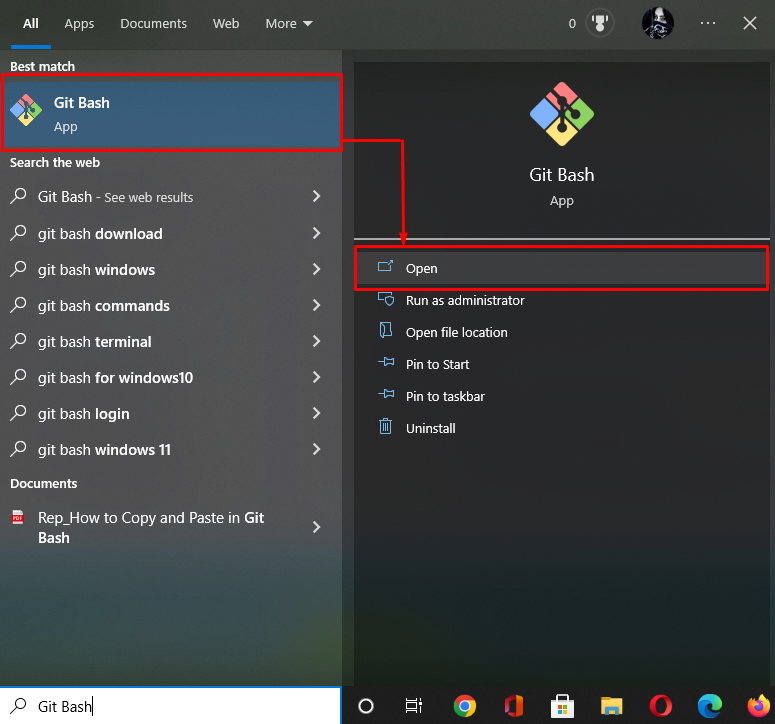
Step 1: Launch Git Bash
First, open up the Git terminal using the “Startup” menu:
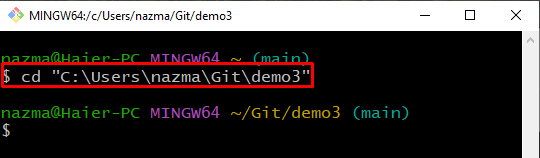
Step 2: Move to Git Repository
Navigate to the Git local repository using the “cd” command:
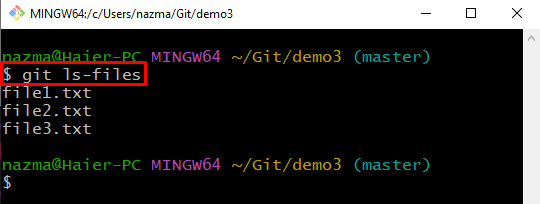
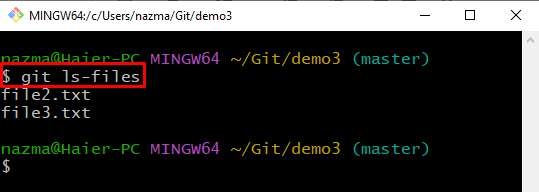
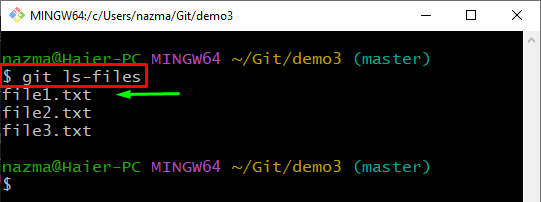
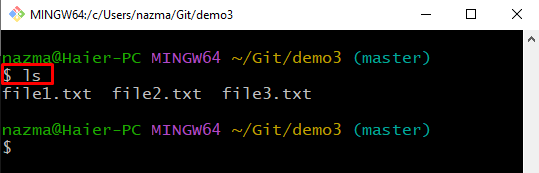
Step 3: List Repository Content
Now, execute the “git ls-files“ command to list the existing files of repository:
It can be seen that our repository contains three files:
Note: The above-provided steps are performed for understanding the process of restoring deleted files. Move to the next section to remove a file from the Git repository using the “$ git rm” command and restore it.
Method 1: How to Delete File Using git rm Command?
When the user removes or deletes the files from the Git repository using the “$ git rm” command, it means that the file is deleted from the Git repository and the local file system.
Follow the provided steps to perform this operation.
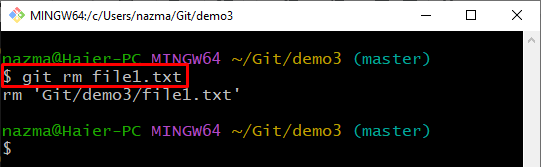
Step 1: Remove File
To remove a selected file, execute the “git rm” command:
It can be seen that our specified file is deleted from the Git repository and local file system successfully:
Step 2: List Content
List the content of the current working repository utilizing the provided command:
As you can see, the “file1.txt” file is deleted from the Git repository:
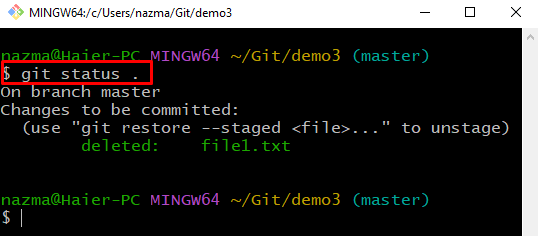
Step 3: Check Status
Next, run the “git status .” command to review the status of Git repository:
The below output indicates that the delete changes are automatically staged:
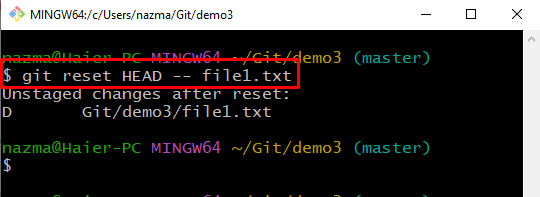
Step 4: Unstage Changes
Before restoring a file, first, we will unstage the deletion with the help of the “git reset” command:
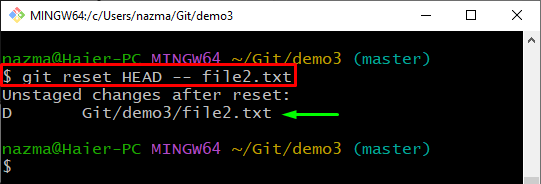
Here, the file is unstaged successfully, and restored the index to the state of the “HEAD” of all files that match the “file1.txt”:
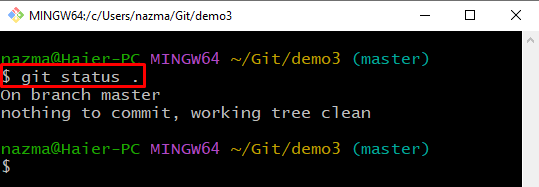
Step 5: Check Status
To verify the unstaged changes, execute the “git status .” command:

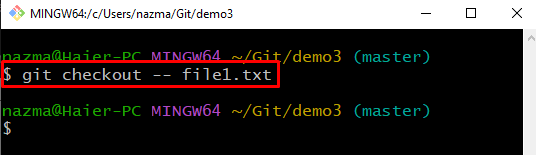
Step 6: Restore Deleted Files
Next, run the “git checkout” command to restore the removed file in the working area:
Step 7: Check Status
Again, check the Git repository status using the “git status .” command:
As you can see, no changes are left to commit:
Step 8: Check Repository List
Lastly, execute the provided command to display the Git repository content list:
According to the below output, the deleted “file1.txt” is successfully restored:
Now, check out the next section to restore the deleted local file through the “$ rm” command.
Method 2: How to Delete a File Using rm Command?
If you want to remove the file only from the file system rather than from the Git repository, the “$ rm” command is useful for this purpose. Let’s check out the below procedure to understand the working of the “rm” command.
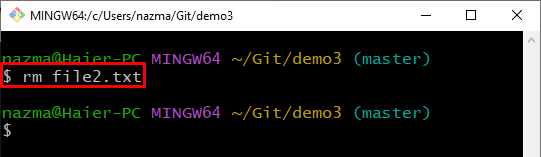
Step 1: Delete File
First, execute the below-given command to remove the selected file:
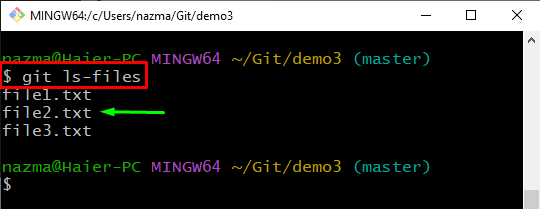
Step 2: Check Repository Content
Now, execute the “git ls-files” command to display the list files of the repository:
As you can see, the above-removed file still exists in the Git repository:
After that, execute the provided command to verify the deleted file from the file system:
According to below output, the “file2.txt” not exists in the local file system:

Step 3: Unstaged Changes
Now, unstaged the deleted file using “git reset” command:
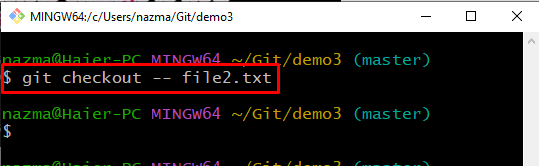
Step 4: Restore Removed File
Lastly, execute the provided command to restore the removed file in the Git working area:
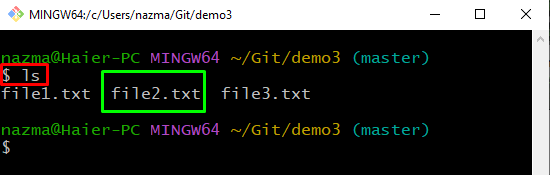
Step 5: Check List of Content
To verify the above-performed operation, run the “ls” command:
Here, the deleted file is restored successfully in the Git repository:
How to Delete and Restore Multiple Files in Git?
Sometimes users need to delete multiple files simultaneously, and after a while, they may think of restoring it. To do so, follow the below-provided steps.
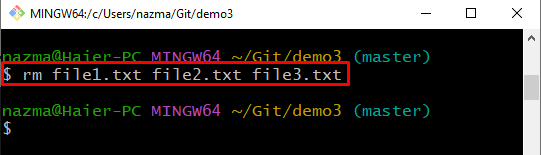
Step 1: Delete Multiple Files
Execute the “rm” command and specify the files which need to be removed:
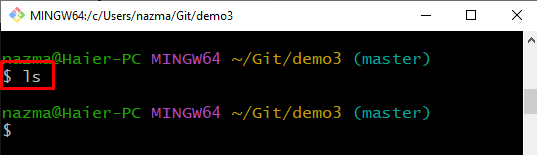
Step 2: Check Content List
Now, check the content list using the “ls” command:
As you can see, the file system is empty and contains no longer files:
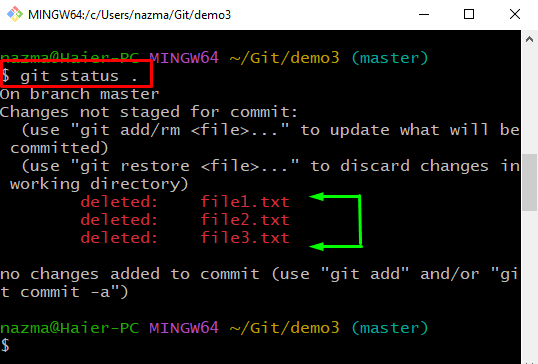
Step 3: Check Status
To check the current status of the Git directory, run the following command:
The below output indicates that the files are unstaged and deleted successfully:
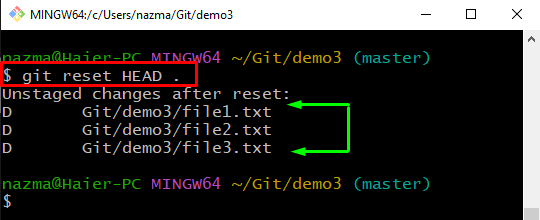
Step 4: Reset HEAD
Next, execute the “git reset HEAD .” command to restore the HEAD index for all files:
Here, deleted files are reset and ready to restore:
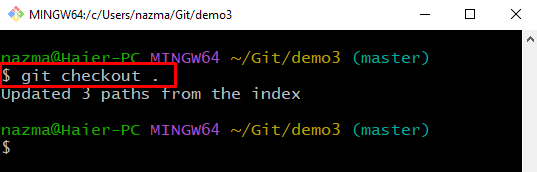
Step 5: Restore Deleted Files
Lastly, execute the below-given command to restore all deleted files in Git:
The below-given output shows that our deleted three files are restored successfully:
Step 6: Verify Restored Files
Now, run the “ls” command to view the list of content:
As you see, deleted files are restored and placed in the file system:
Note: If you have deleted multiple files with the help of the “$ git rm” command, the restoring procedure will be the same as provided above for the “$ rm” command.
That’s it! We have elaborated on the method of restoring removed files in a Git repository.
Conclusion
To restore the deleted files, first, move to the Git repository and check the list of content. Then, to reset the HEAD index, run the “$ git reset HEAD <file-name>”. Lastly, restore the deleted file using the “$ git checkout — <file-name>” command. This article explained the procedure of restoring deleted files in a Git repository.