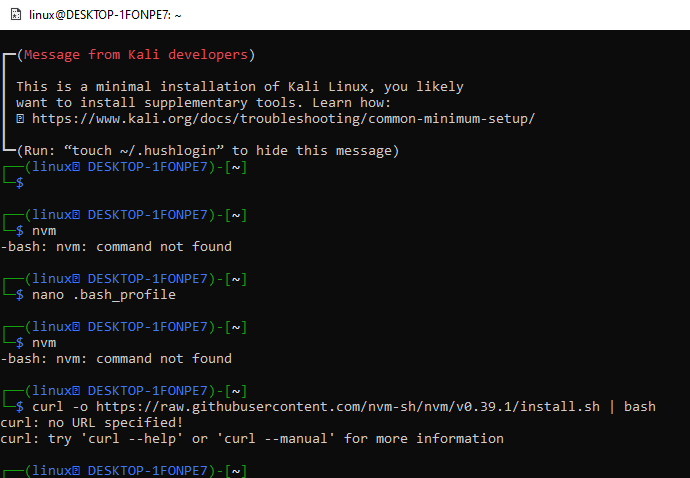
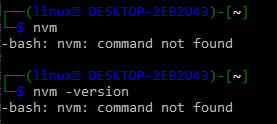
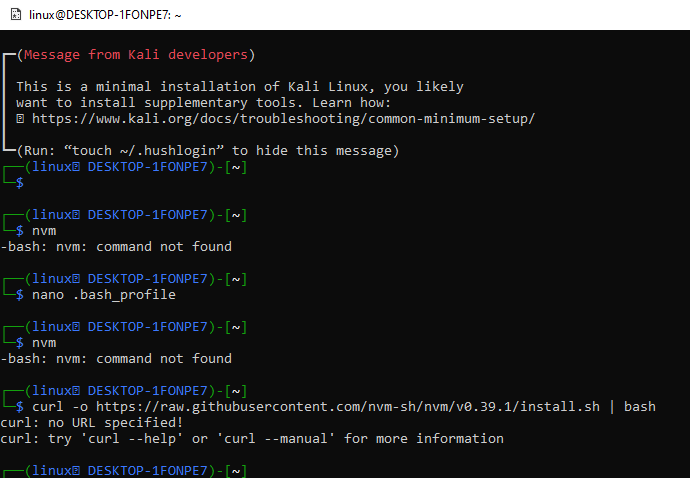
Now, we will be taking a look at an instruction to check whether the nvm tool is already installed on our system or not. You need to use the simple keyword “nvm” in the shell and execute it by pressing the Enter key. The output of this command shows an error. This means that the nvm has not been installed on your system. If you are not satisfied with this checking, try using the version command. So, we have tried the “nvm” version instruction at the Kali Linux shell and got the same result, i.e., not installed.
To install Nvm, we need to add some configurations and set the path to the NV4M directory within our Linux bash file first before downloading and installing the nvm tool on our Kali Linux system. So, use the “Gnu Nano” editor to open the “.bash_profile” file at your end. Make use of “nano” instruction for this, as shown below.
The empty “bash_profile” bash file has been generated or opened in the shell screen. We need to create the path for the Nvm directory in this file and export it using the environment variable “export”. For this, use the keyword “export” followed by the variable name, i.e., “NVM_DIR” and the path to the nvm hidden directory within the current home directory of the system. After this, we need to source the nvm bash file from the “nvm” folder using the “source” keyword after the use of the nvm directory variable, i.e., “NVM_DIR”. Save the updates added within the bash_profile file using the Ctrl+S and quit it via the Ctrl+X shortcut.
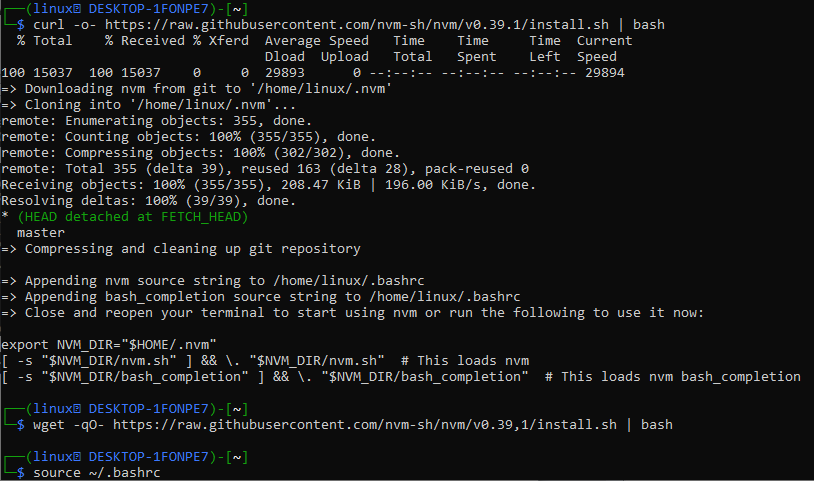
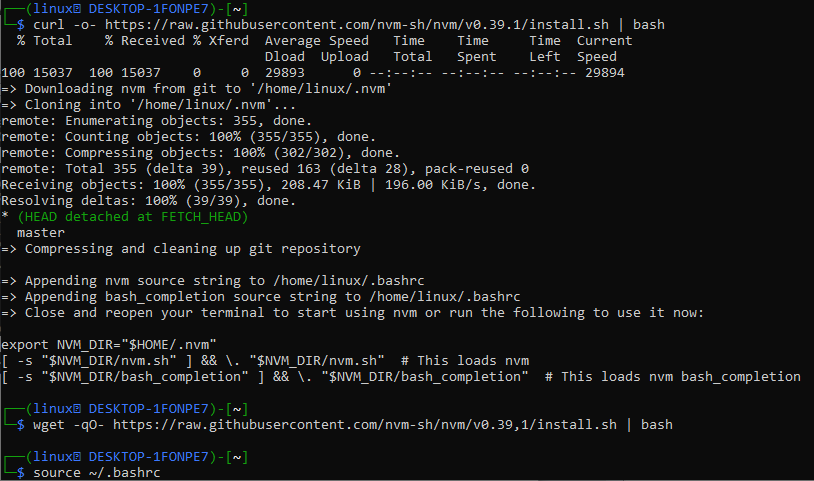
Now, we are back in the Kali Linux shell. It’s time to download and install the NVM through the GitHub remote repository within our Kali Linux system. To do that, you need to provide the path to the nvm bash file residing in the remote GitHub repository within the Linux command. We will be using the “curl” instruction followed by the “-o-“ option and the path to the GitHub repository holding the nvm executable file. Also, you need to merge the “bash” keyword within the same command separated by the “|” operator in this command.
After executing this command on the Kali Linux shell, it started to download the file in kilobytes. The line “Downloading nvm from git to ‘/home/linux/.nvm’” shows that the download has been successful. After that, it has made the cloning of the nvm folder to our local folder “nvm” within the home directory. After doing so, it will display the total count number of object data received in kilobytes per second enumerated, as shown below. The last line shows how the nvm file has been extracted within the nvm folder in our local current home directory using its path via the “NVM_DIR” variable. Now, the Nvm has been successfully loaded.
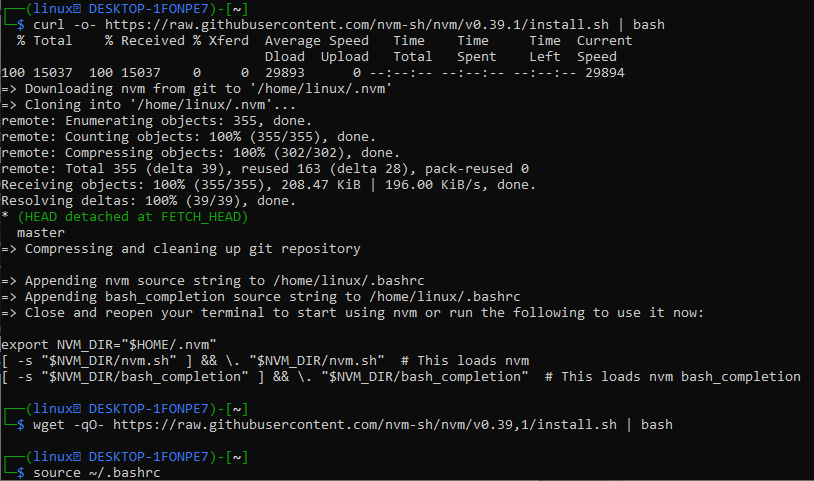
If the curl package is not already configured at your end and you are unable to install and load nvm at your local Linux system due to some unknown reasons, then you can try using the “wget” package with the same path to the GitHub repository. Make sure to have the curl or wget package installed already. The wget instruction to load nvm in the local Linux system has been displayed in the image attached below.
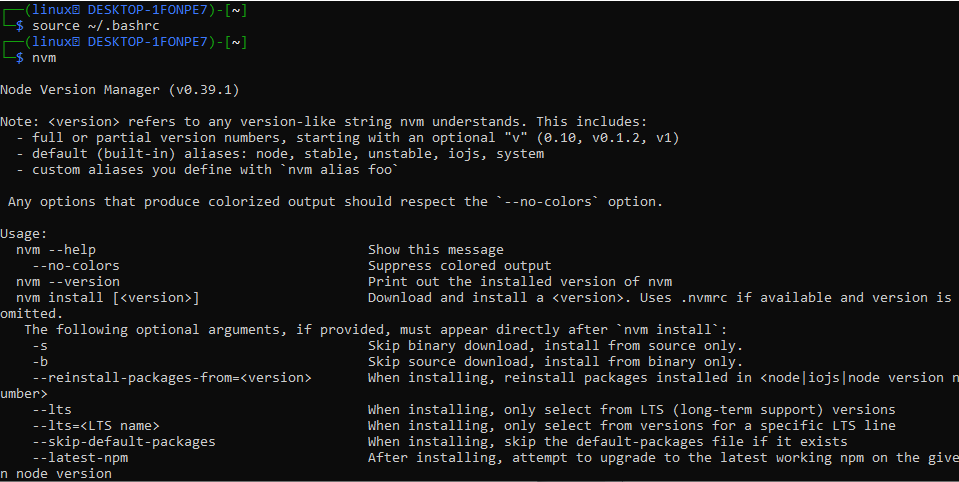
Now, we need to apply the changes done by installing nvm in the just created folder. We need to utilize the source instruction followed by the “bashrc” file path held within the current working directory. The bashrc file is the main configuration file that holds all the system settings in it and makes updates. After using it, our system will be updated properly.
Now, our system has NVM installed and configured successfully. To make sure, we have been using the “nvm” instruction at the shell as below. It displayed that the Node Version Manager version 0.39.1 has been installed successfully, along with the information regarding its options.
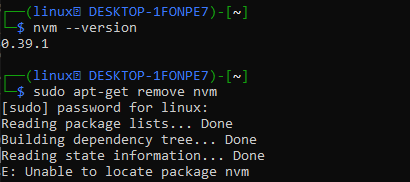
You can also check for the installed version of nvm in your system using the shown-below instruction.
Let’s check for the current working directory files and hidden folders using the “ls –a” instruction as displayed in the attached photo. It shows the folder “.nvm” within the list along with the other directories and files of the Kali Linux system.
Let’s move within the “nvm” folder by using the “cd instruction as shown below. Listing the contents of the “nvm” folder with the “ls” instruction, we have got to know that all the nvm packages along with their “install.sh”, and “nvm-exe” executable files are loaded in it.
Conclusion
This is all about using simple commands to resolve the bash error: Nvm Not found within the Kali Linux system. We have installed and loaded the nvm module within the new “nvm” folder of our Linux system using the path in the bash file.

