PyTorch is a well-known deep-learning framework that offers various tools and modules for working with numerous images. It also provides a “torchvision.transforms” module that has a set of classes and functions to perform various transformations on images, such as cropping, resizing, rotating, flipping, scaling, and many more. Users can use the “Resize()” method and specify the size i.e., height and width to resize any desired image. This method returns a new resized image of the specified size.
This blog will demonstrate the method of resizing an image to a specific size in PyTorch.
How to Resize an Image to a Specific Size in PyTorch?
To change the dimensions of an image and resize it to a specific size in PyTorch, follow the below-listed steps:
- Upload an image to Google Colab
- Import required libraries
- Read input image
- Compute and print input image size
- Create a transform
- Apply transform on the specified image
- Display the resized image and its size
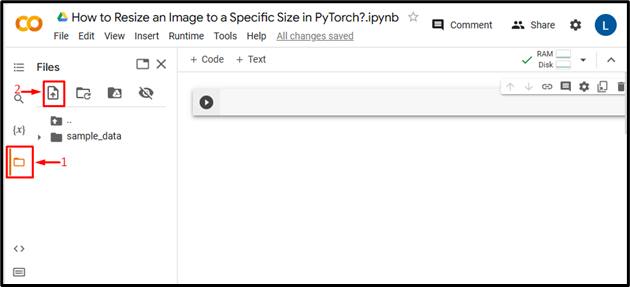
Step 1: Upload an Image to Google Colab
First, open Google Colab and click on the below-highlighted icons. Then, choose the specific image from the computer and upload it:
Subsequently, the image will be uploaded to Google Colab:
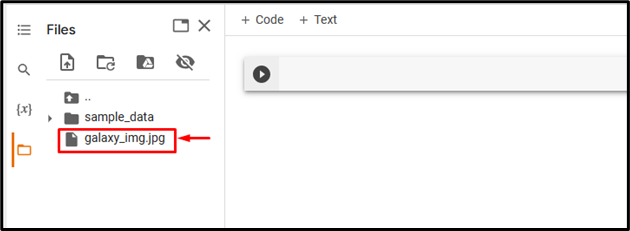
Here, we have uploaded the following image and we will resize it to a specific size:

Step 2: Import Required Library
Next, import the necessary libraries. For instance, we have imported the following libraries:
import torchvision.transforms as Transform
from PIL import Image
import matplotlib.pyplot as plt
Here:
- “import torch” imports the PyTorch library.
- “import torchvision.transforms as transforms” imports the transforms module from torchvision that is used to preprocess image data before feeding it into a neural network.
- “from PIL import Image” opens and saves different image file formats.
- “import matplotlib.pyplot as plt” imports the “pyplot” module that is used to create visualizations and plots:

Step 3: Read the Input Image
After that, read the input image from the computer. Here, we are reading the “galaxy_img.jpg” and storing it in the “input_img” variable:

Step 4: Compute and Print Input Image Size
Then, compute the size of the input image i.e., width and height, and print it:
print("Size of original (input) image:", size)
It can be observed that the width of the input image is “384” and the height of the image is “576”:

Step 5: Create a Transform
Next, define a transform to resize the input image. Users need to specify the new size i.e., height and width for the new image. Here, we have specified height “200” and width “400”:

Step 6: Apply the Transform on Input Image
Now, apply above transform on the specified input image to change its dimension:

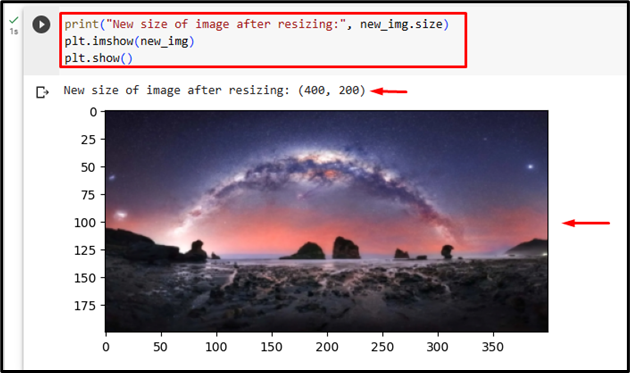
Step 7: Display Resized Image and Its Size
Finally, view the resized image by displaying it and verify its size:
plt.imshow(new_img)
plt.show()
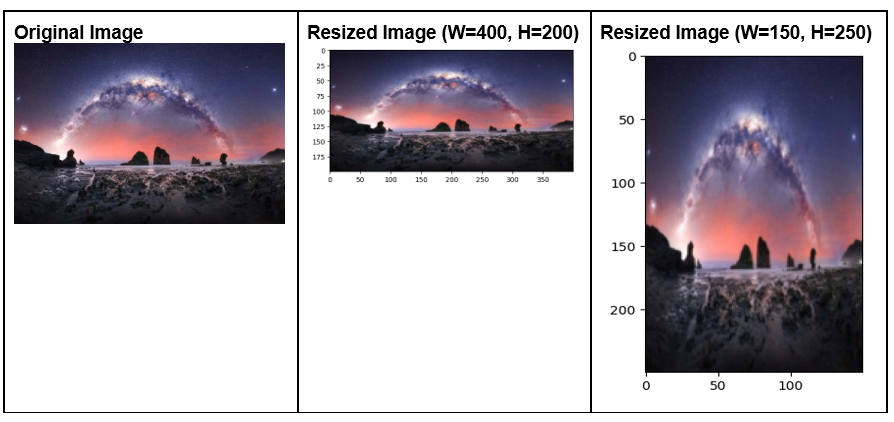
The below output indicates that the input image has been resized successfully. Now, its width is “400” and its height is “200”:
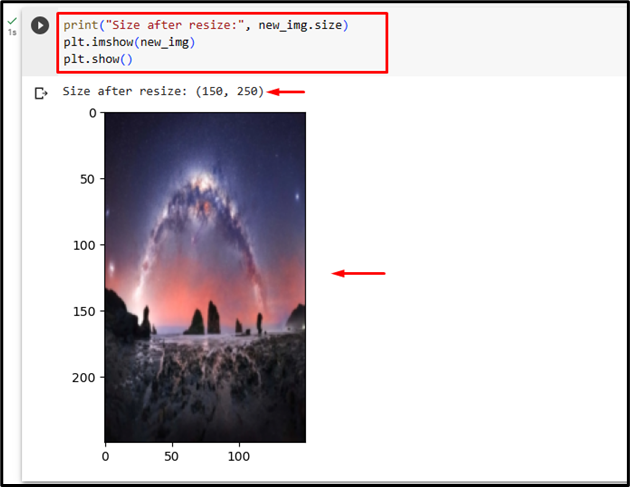
Similarly, users can specify any other size to resize the image. Here, we will resize the same input image with another size i.e., height “250” and width “150”:

This will resize the image to new dimensions:
Comparison
The comparison between the original image and the resized images with different dimensions can be seen below:
Note: You can access our Google Colab Notebook at this link.
We have efficiently explained the method to resize an image to a desired size in PyTorch.
Conclusion
To resize the desired image to a specific size in PyTorch, first, upload the desired image to Google Colab. Then, import the necessary libraries and read the input image. Next, compute and print the size of the input image. After that, use the “Resize()” method to define and apply the transform on the desired input image. Finally, display the new resized image and its size. This blog has demonstrated the method to resize the desired image to a specific size in PyTorch.