Do not worry if you are not sure how to restore a remote repository to a specific commit, as this post will demonstrate the method for resetting the remote to a certain commit.
How to Reset Remote to a Certain Commit?
To reset the remote to a certain commit, first, reset or revert the commit in the Git repository using the “git reset” command. After that, push the commit to the remote using the “git push -f <remote-name> <branch-name>” command.
Check out the provided procedure for the practical demonstration.
Step 1: Launch Git Terminal
First, open the Git terminal from the Windows Start menu:

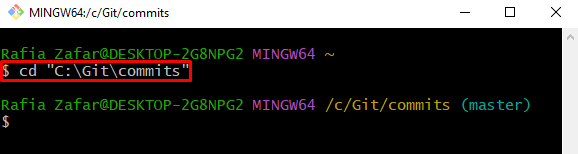
Step 2: Go to Git Working Repository
Utilize the “cd” command and navigate to the Git working repository:
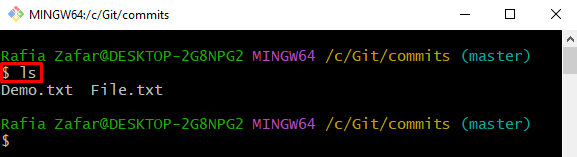
Next, view all files and repositories of the current working repository using the “ls” command:
Step 3: Make Modification in Git File
Make some modifications in the Git file. For this purpose, we have modified the content of the “File.txt” file:

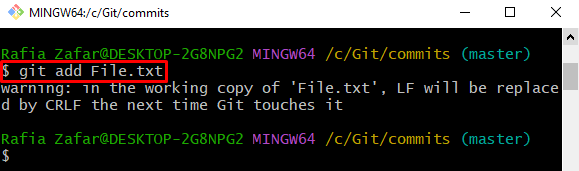
Step 4: Add File to Staging Index
Next, add the modified file to the tracking index (staging area) using the mentioned command:
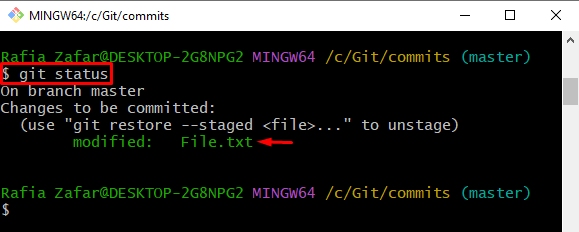
View the Git repository state to confirm if the modified file is added to the tracking index or not:
You can see that we have successfully added the file to the tracking index:
Step 5: Commit New Modification
Commit the new changes with the “git commit” command while specifying the message with the “-m” option:

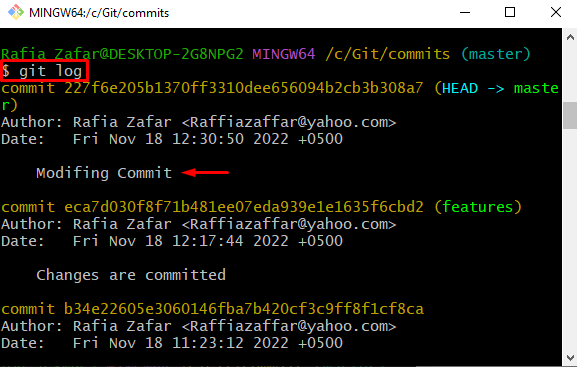
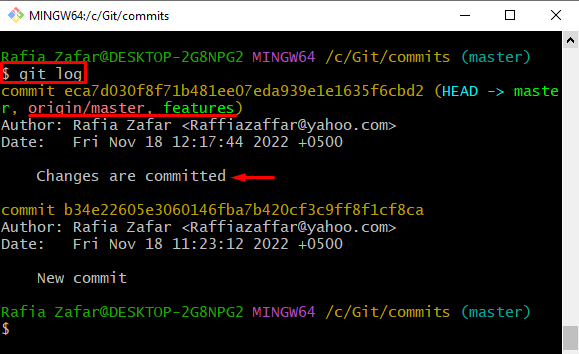
Check the Git log to verify if the changes are committed or not:
Here, you can see the changes are successfully committed and added to Git local repository:
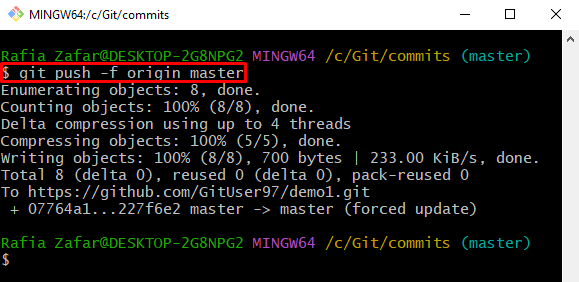
Step 6: Push Changes to Remote
After that, push the changes to the remote repository using the “git push <remote-name> <branch>” command. Here, the “-f” flag is used to push changes to the remote forcefully:
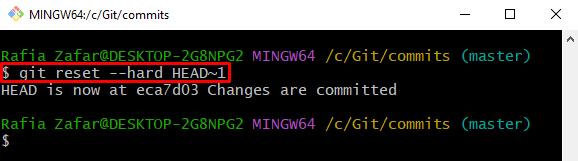
Step 7: Reset Remote to a Certain Commit
Now, reset the remote to the previous or recent commit. For that purpose, first, roll back to a specific commit or certain commit either using HEAD position or commit id:
Step 8: Push Changes to Remote
After reverting to a certain or previous commit, push the local commits to the remote repository:
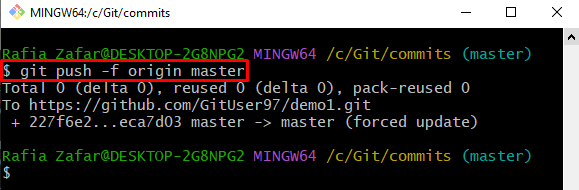
View the repository log to check if the remote is reset to a certain commit or not:
It can be observed that we have successfully performed the required functionality:
We have taught you the method to reset the remote to a certain commit.
Conclusion
For resetting the remote to a certain Git commit, first, navigate to the Git repository and reset the changes in the local repository using the “git reset –hard HEAD~1” command. To move back to a specific commit, users can utilize the “git reset –hard <commit-id>” command. After that, push these changes to the remote repository to reset the remote to a certain commit using the “git push -f origin master” command. This post elaborated on the method for resetting the remote to a certain commit.