replace() Function
In Arduino programming replace() function replaces all instances of a certain given string with another string given in the second parameter of the function. It also allows you to replace a substring with any other strings instead of replacing it with a whole string.
Important thing to note here is it does not return a new string that contains changes, instead it replaces the substring or character in the original string.
Syntax
Str1_2 substring will replace Str_1 substring inside Test_Str. Remember Str_1 string must be present in our main test string otherwise the function will fail.
Parameters
Following are the parameters this function takes:
- Test_Str: A string type variable.
- Str_1: A substring first variable having type String.
- Str_2: A substring second variable having type String.
Returns
It returns nothing, only passes value from one variable to another.
Example Code
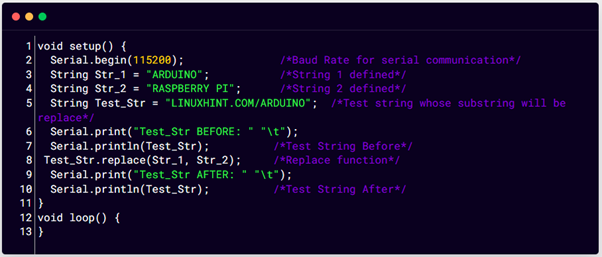
Now we will take an example code in which three strings are initialized. We will replace the Test_Str with a new substring.
Serial.begin(115200); /*Baud Rate for serial communication*/
String Str_1 = "ARDUINO"; /*String 1 defined*/
String Str_2 = "RASPBERRY PI"; /*String 2 defined*/
String Test_Str = "LINUXHINT.COM/ARDUINO"; /*Test string whose substring will be replace*/
Serial.print("Test_Str BEFORE: " "\t");
Serial.println(Test_Str); /*Test String Before*/
Test_Str.replace(Str_1, Str_2); /*Replace function*/
Serial.print("Test_Str AFTER: " "\t");
Serial.println(Test_Str); /*Test String After*/
}
void loop() {
}
In above code first we started by defining baud rate to see results on serial monitor. Next two strings “ARDUINO” and “RASPBERRY PI” are initialized. A new substring will replace the substring inside the main Test_Str.
Next using replace() function Str_2 substring will be replaced with all characters equal to Str_1 substring inside our main Test_Str. Lastly, using the Serial.print() function result is printed on the serial monitor.
Output
Output shows Test_Str before and after a substring is replaced.
Replacing Characters in a String in Arduino
In the above example we have replaced a complete substring with a new one. Now we will replace all instances of characters inside our test string with new characters. Let’s take an example.
Example Code
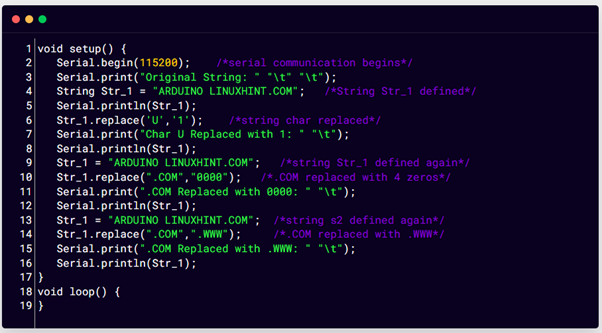
Here we have taken a string whose characters will be replaced with new one.
Serial.begin(115200); /*serial communication begins*/
Serial.print("Original String: " "\t" "\t");
String Str_1 = "ARDUINO LINUXHINT.COM"; /*String Str_1 defined*/
Serial.println(Str_1);
Str_1.replace('U','1'); /*string char replaced*/
Serial.print("Char U Replaced with 1: " "\t");
Serial.println(Str_1);
Str_1 = "ARDUINO LINUXHINT.COM"; /*string Str_1 defined again*/
Str_1.replace(".COM","0000"); /*.COM replaced with 4 zeros*/
Serial.print(".COM Replaced with 0000: " "\t");
Serial.println(Str_1);
Str_1 = "ARDUINO LINUXHINT.COM"; /*string s2 defined again*/
Str_1.replace(".COM",".WWW"); /*.COM replaced with .WWW*/
Serial.print(".COM Replaced with .WWW: " "\t");
Serial.println(Str_1);
}
void loop() {
}
Above code is similar in working like we explained earlier. A test string is initialized and its characters are replaced with some numbers and characters. In the first part all the characters equal to “U” are replaced with number 1. Next all the characters inside .COM are replaced with 0000. Lastly we have replaced .COM with .WWW. All three results are printed on the serial monitor.
Note: Once we use replace() function it will replace all the instances of a specific character inside the whole string.
Output
Test string is printed on serial monitor after three different characters replaced with new substrings.
Conclusion
This article sums up different ways of replacing a specific character or substring inside a string. Using the Arduino replace() function any of the strings can be replaced with a new one and can be printed on serial monitor and on displays like LCD and OLED.


