After installing Tmux, you will not find any icon associated with it. It will not appear as a separate application, instead we will have to invoke it from the Gnome Terminal itself. We will later see how to do this.
Note: In this ‘HowTo’, we have used the ‘Ctrl+b’ as the prefix. If you configured some other prefix then replace the command with your prefix.
What will we cover?
In this guide, we will explore how we can install Tmux and more specifically “How to rename a session in Tmux terminal”. We will use Ubuntu 20.04 as the base system for this guide. Let us first start with installing Tmux.
Installing Tmux on Ubuntu20.04
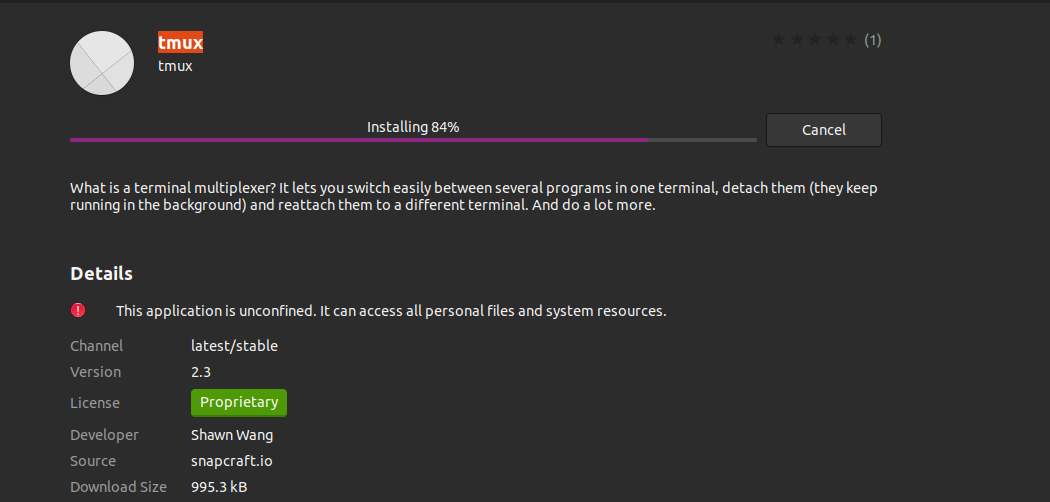
Major operating systems like Linux, MacOS and Windows Subsystem for Linux (WSL) provide Tmux software packages from their official repository. So, to install Tmux on Ubuntu 20.04, we can simply use the package manager or Software center as shown below:
1. To install Tmux using package manager, simply run the command:
2. To install Tmux using Software center, open software center and search for Tmux and click install.
Launching Tmux
Once the Tmux is installed, we will have to use the Gnome terminal to invoke it. One may encounter the following error when you run the ‘tmux’ command:
To overcome this error, type “export TERM=xterm” on the terminal and hit enter. Now again run the ‘tmux’ command, this time the error should not appear.
Another way is to use the ‘XTERM’ terminal and launch the Tmux from here. This worked on our Ubuntu 20.04 system.
How to Use Tmux
We can use three ways to send commands to a Tmux terminal.
Using the Prefix keys: Tmux uses a combination of keys called prefix key, which is by default ‘CTRL+b’. This prefix is followed by one or two more keys which will be interpreted by Tmux for a particular operation. For example, we can detach from a session by using: [Prefix+d].
Using the command mode: To send the commands directly to the Tmux terminal, we need to enter the command mode by pressing the prefix keys followed by colon (:). A command prompt will open up at the bottom of the terminal where we can enter the Tmux commands.
Using the command line: Tmux commands can also be used from the non-Tmux terminal or shell prompt. These commands are preceded by the ‘tmux’ keyword. We have illustrated this method in the below section.
Renaming a Session
Most users when starting to use Tmux forgets to name the session they are working in. But as the number of sessions increases with the workflow, it becomes a pain to remember the session you were working in and the related services that were running in them. It is therefore a good idea to always start a session with a name to avoid any confusion. But if you have forgotten to name a session while creating it, you can still give it a name or change an existing name. Today we are going to demonstrate to you how to do this. Let’s start now.
1. Renaming a Session Using the Command: ‘tmux rename-session’
To rename a session from shell prompt using Tmux ‘rename-session’ command, use the format:
To demonstrate this command, first we will create a new Tmux session with the name ‘my_session_1’:
To rename this session to something like my_session_2, use the above command format:
We can also use the Tmux command prompt. For this press ‘Prefix + :’ and type the command:
To verify the above changes, run the ‘tmux ls’ command:
2. Renaming a Session Using the Key Combination: Prefix + $.
Let us use the above session ‘my_session_2’ and rename it to ‘my_session_3’ by hitting the keys ‘Ctrl+b’ (our prefix) followed by ‘$’. To verify these changes, use the ‘tmux ls’ command:
In the below image, the bottom yellow line is asking for the new session name:
After entering the new name, the session name is changed to my_session_3.
Conclusion
In this guide, we have learned about installation of Tmux, its basics and more specifically, how to rename a session in Tmux. A more detailed explanation of various Tmux operations can be found on the Tmux Man pages or on the Github page of Tmux.


