Method 1: Using Ubuntu’s File Manager
Let us start off with a simple way to clear the trash folder. This and the next method are going to be implemented using the user interface, so people who do not feel comfortable using the terminal often should go this one.
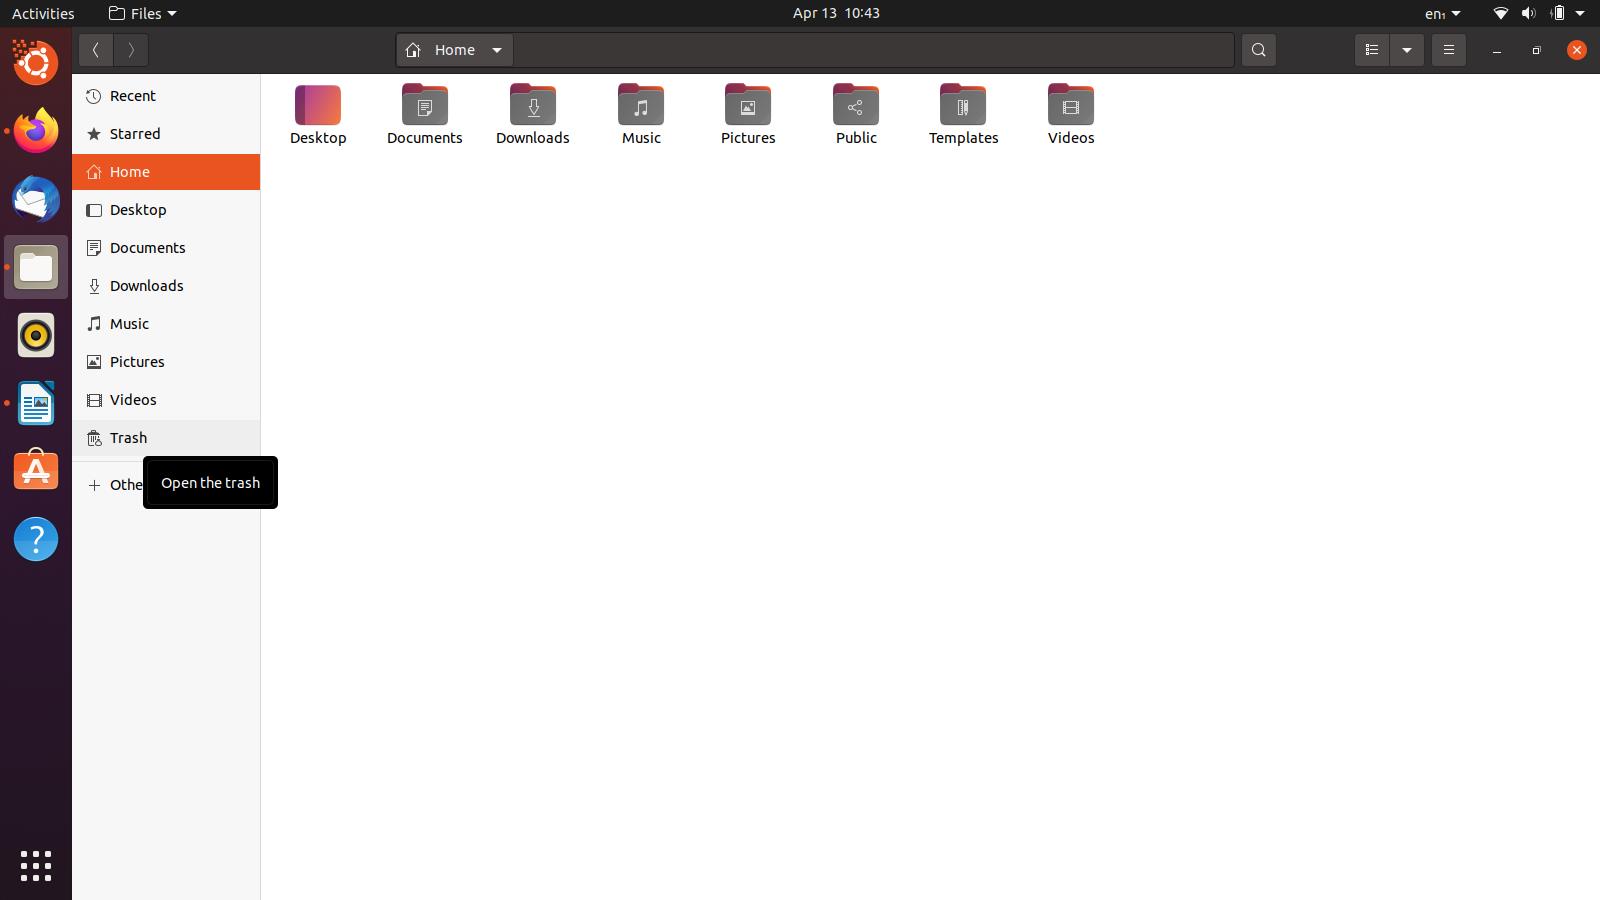
First, open Ubuntu’s file manager through the sidebar. On the left side, you will see a list of accessible directories. Click on the one that says “Trash”.
Having done that, you should now be in the Trash directory. Before proceeding any further, make sure there are no important files of yours. If there are any, you can restore them through the “Restore” button on the top-right side of the window. Right next to that button, you will see a button that says “Empty”. Click on it once you are ready, and a small dialog box will appear. Select the option that says “Empty Trash”.

With that done, you have successfully emptied the Trash. Let us now move on to the next, even simpler, and shorter method.
Method 2: Using Trash Folder’s Menu
This is another user interface method you can apply to clear the Trash on Ubuntu. In fact, this might be the simplest option on the whole list as it only takes a few clicks of the mouse.
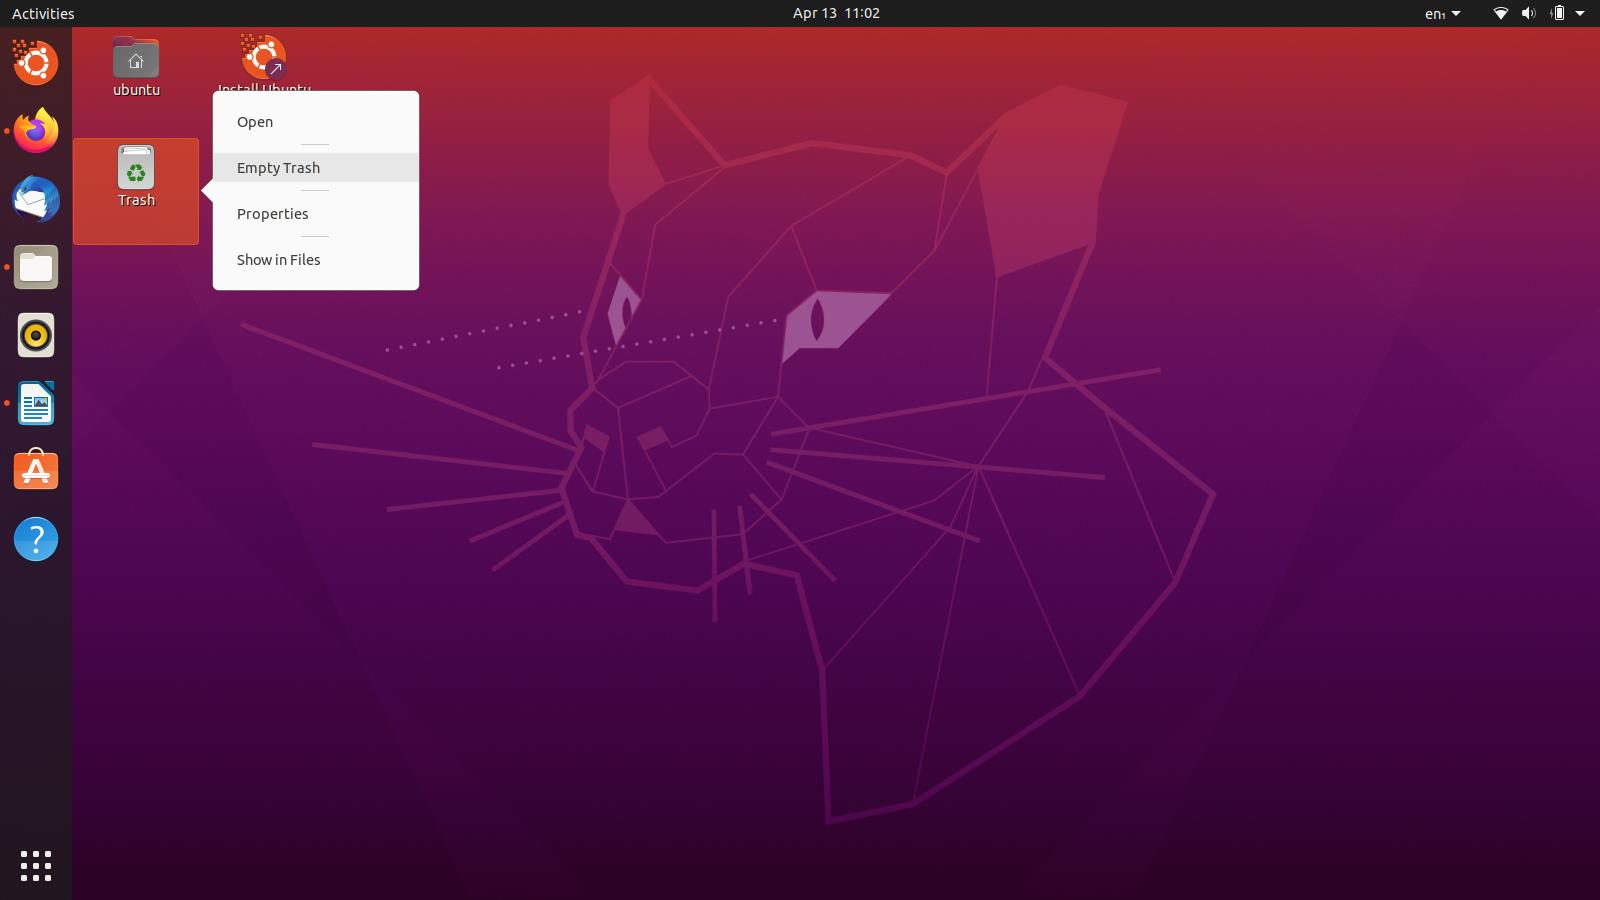
Go to your Ubuntu desktop, and there, you will find a shortcut for the Trash folder. If you do not have one, you can simply navigate to it the same way through the file manager, as we showed previously. Right-click the “Trash” icon on the desktop or the directory if you are doing it through the file manager. You will see a menu pop up, click the option that says Empty Trash.
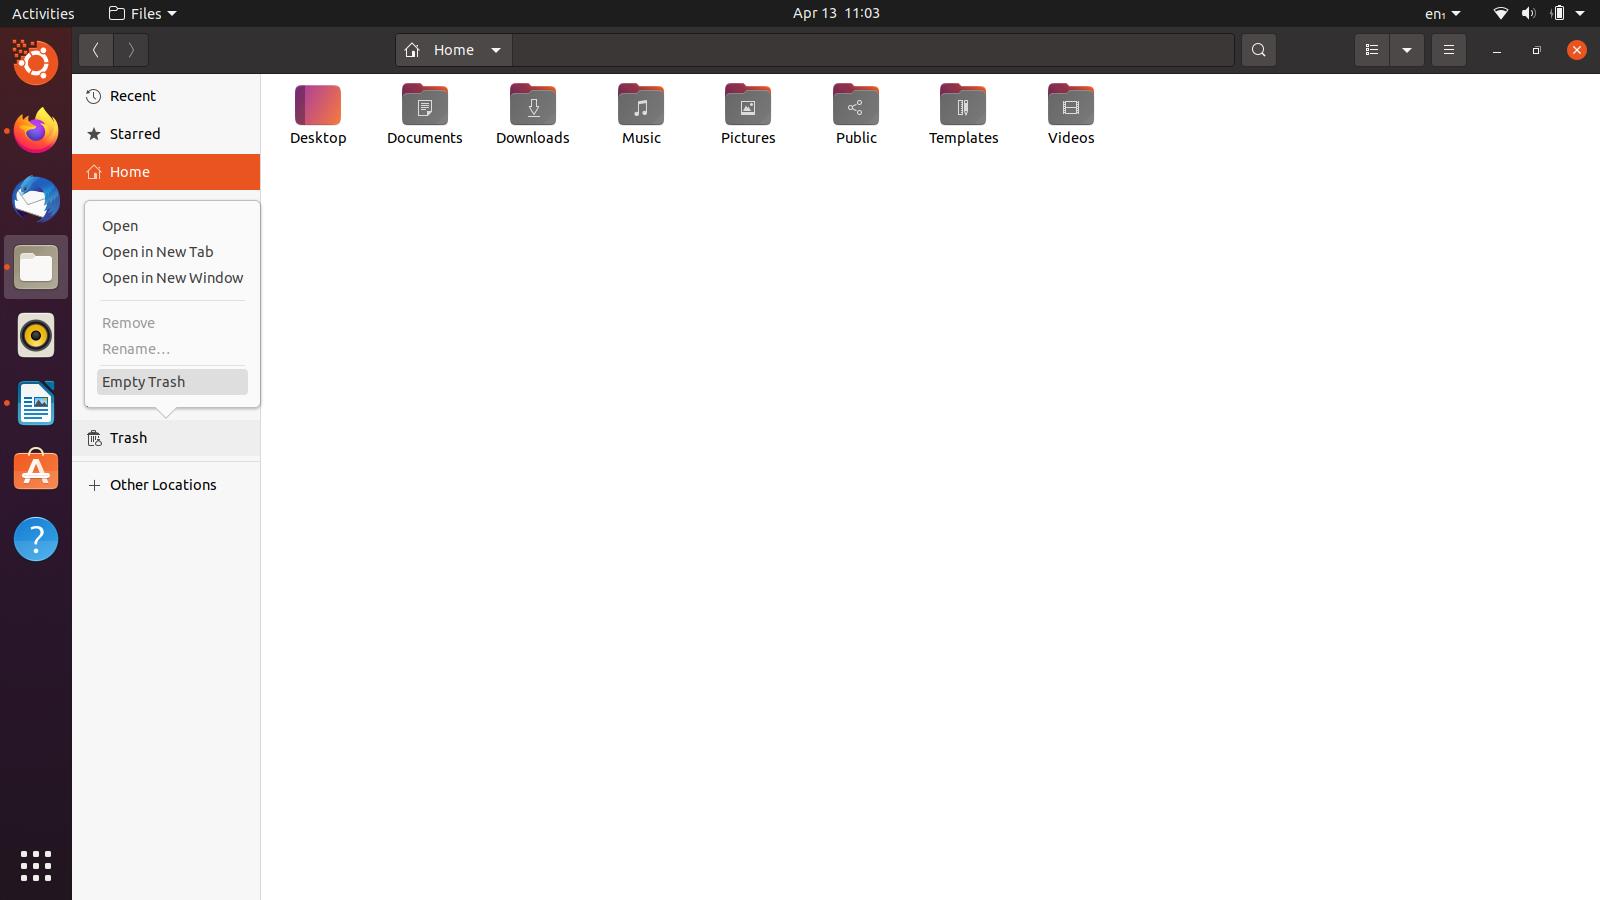
A similar dialog box will appear, as we saw in the first method, click “Empty Trash” on it and you are good to go. However, there have been some reports of the file manager freezing up and not responding when this is done. This is why we have the following solutions for you to try, as they will brute force their way through any measly errors.
Method 3: Using the “rm” Command
If the previous GUI methods have failed for you, then this ought to get the job done. We are going to run a command in the terminal that can help you with emptying the trash folder easily. No real technical ability is required to follow this method, so even if you do not consider yourself a command-line pro, you will do just fine. Let us get into it.
Hit Ctrl+Alt+T on your keyboard or open a new Terminal window from the Activities menu.
As I mentioned earlier, we expect that you know what you are about to delete. Make sure to take a second look at the files in Trash and see if anything seems important or not. Proceed when you are ready to go.
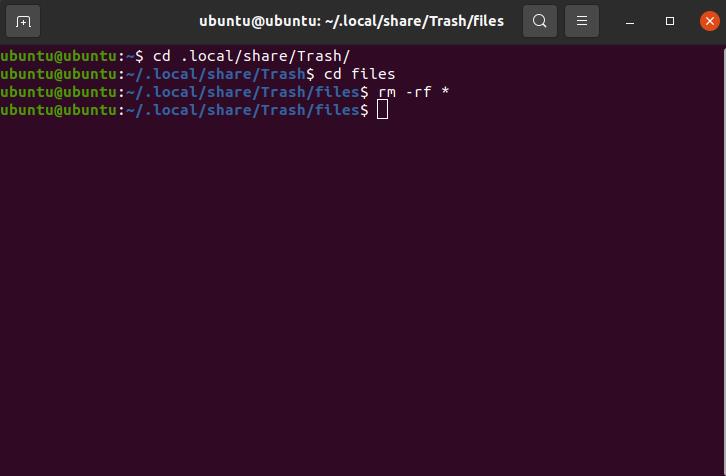
Your trash files and folders go to the address /local /share /Trash so we begin by setting the current directory to said address. Type the following command in the terminal and run it to set the appropriate directory:
Next, we go deeper by using the command below:
And now, we turn to the “rm” command to work its magic:
You will now find your Trash folder emptied with no errors. An important thing to remember is that if you start using this command to delete files casually, caution is advised, as the files deleted through this command do not go to the recycle bin. Recovering permanently lost files can be an extremely lengthy and difficult process, so better safe than sorry.
Method 4: Using a CLI Utility
If all the previous methods did not work for you for whatever reason, you can install a small command-line utility designed specially to clear the trash. We prefer our readers to try out all the “organic” methods that get the job done before suggesting external resources or utilities. If such is the case with you, then follow the instructions below.
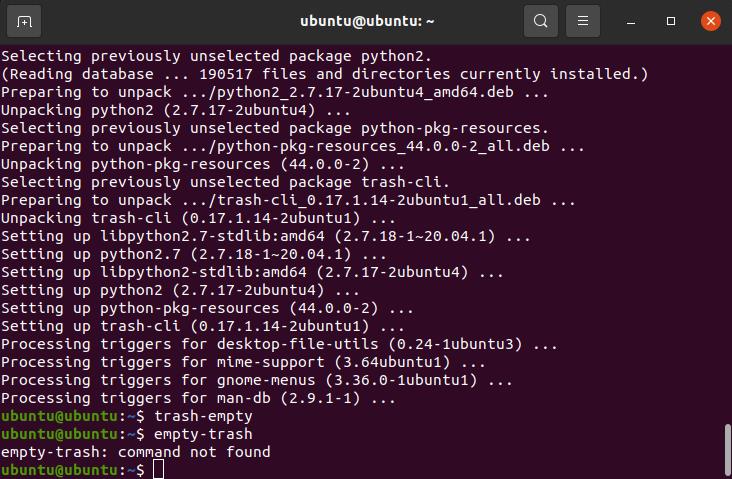
Run the following command in the Terminal as a root user to install the trash-clearing command-line utility.
You might have to enter the password as a root user. Once the correct password is entered, the installation will proceed. After the installation is finished you can run the command below to empty your Trash directory.
However, if the utility on your system has gotten obsolete, the command above will not work for you. Instead, try:
One of them must work, so you can give a shot to both until you get it right.
Method 5: Setting Permanent Configurations
In this final method, we will show you how you can set permanent settings for purging your Trash directory. Click on the “Activities” button on the top-left of your Ubuntu screen, and type in Privacy in the search box. Once you find the Privacy settings panel, click on the File History & Trash tab. You should see a screen similar to the image below.
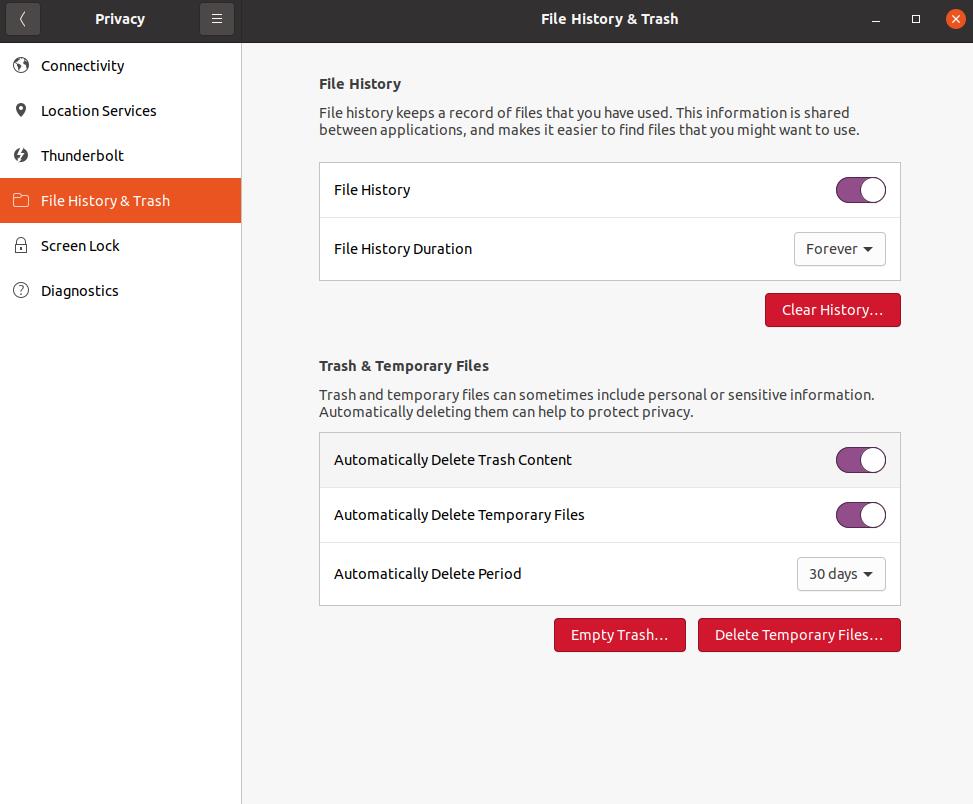
As you can see, Ubuntu, very conveniently, allows its users to set and change settings of what happens to their Trash and Temporary files. You can of course read more into the options that are shown in this panel and select whichever suits your needs the best.
Conclusion
In this article, we provided five promising methods you can use to clear your Trash in Ubuntu. Hopefully, these methods were useful for you, and got the job done! However, if you came across an issue, double-check whether you were following the steps correctly. If that doesn’t work, feel free to reach out to me to help you out.