Elasticsearch is a well-known and frequently used analytical search engine and database. It is usually utilized to manage, store and search nonstructural and semi-structural data. It is quite different from typical SQL databases and completely uses a different approach to save and analyze the stored data. It stores data in JSON format as a document and uses APIs to store, search and delete data.
This article will demonstrate how to remove Data From Index in Elasticsearch.
How to Remove Data From Index in Elasticsearch?
In Elasticsearch, data is stored in indexes instead of tables. To delete the stored data from Elasticsearch indexes, the “DELETE” API is used. For the illustration, have a look at the provided steps.
Step 1: Start Elasticsearch Engine
First, start the Elasticsearch engine. For this purpose, first launch the Command Prompt from the Start menu. Then, open Elasticsearch’s “bin” directory using the “cd” command:
After that, execute the “elasticsearch.bat” file to start the Elasticsearch engine:

Step 2: Access Elasticsearch From Command Prompt
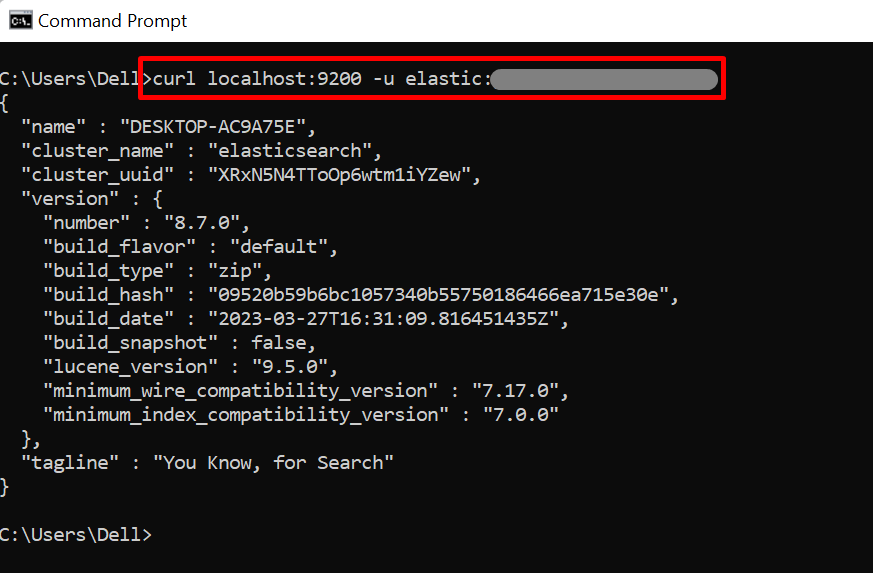
To check if Elasticsearch is started or not, navigate to the “localhost:9200” URL from the command prompt using the “curl” command. Here, the “-u” option is used to provide the Elastic user credentials such as username and password:
Step 3: Create an Index
Next, create the new index in Elasticsearch by utilizing the “PUT” index API along with Elasticsearch URL and index name. For instance, we have created a “user” index:

Step 4: Insert Data
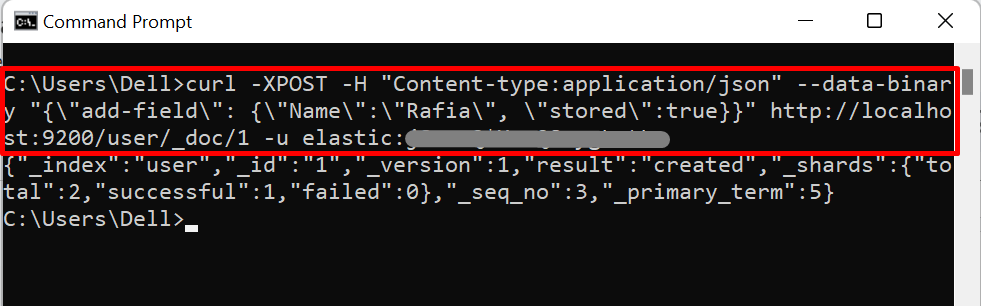
Next, insert some data in the newly created “user” index. For doing so, use the “POST” API to store data. For instance, we have stored data at “http://localhost:9200/user/_doc/1”. This means we have stored data in the “user” index, type is “_doc” and id is “1”:
Step 5: Access or Search Data
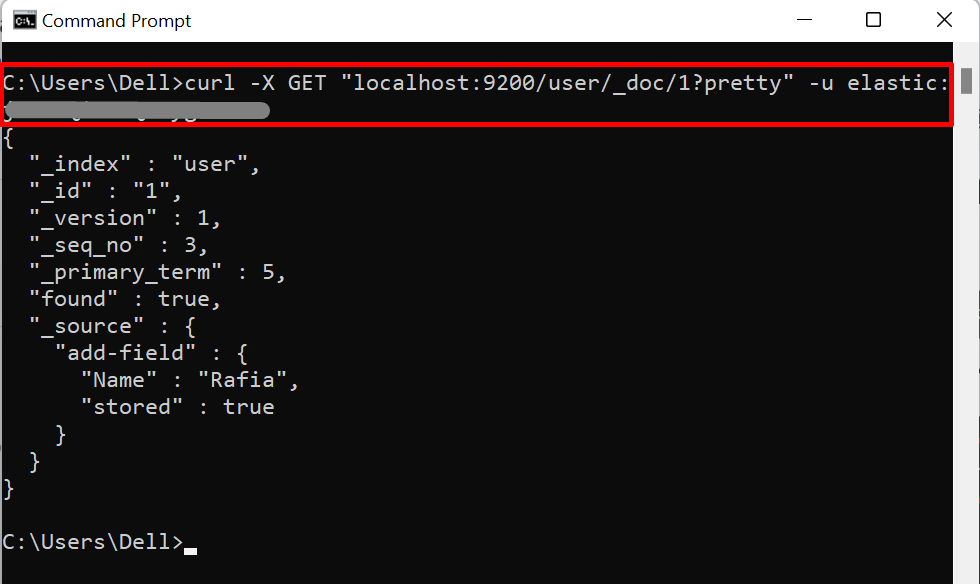
In order to access the stored data from the Elasticsearch index, utilize the “GET” API along with the index name, type, and field id. For instance, we have retrieved the data of the “user” index that has data type “_doc” and id “1”:
Step 6: Remove Data From Index
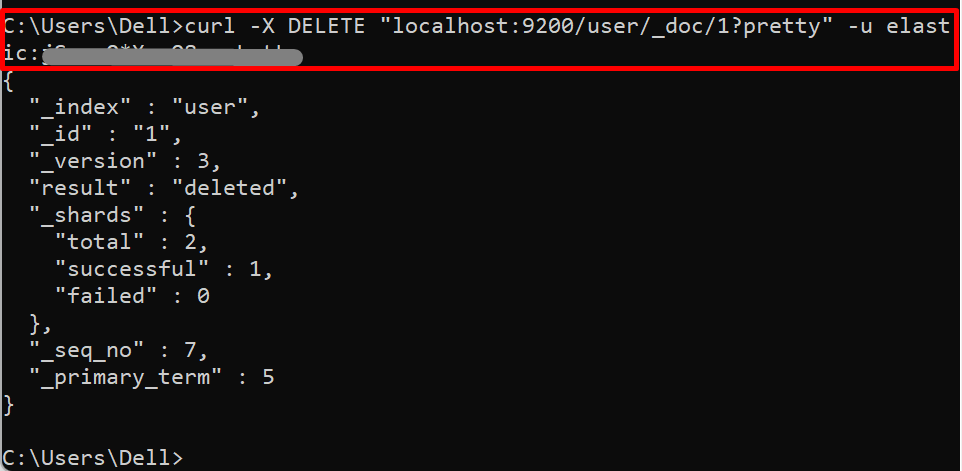
To delete the data from the Elasticsearch index, utilize the “DELETE” index API. Here, we have deleted the data from the “user” index:
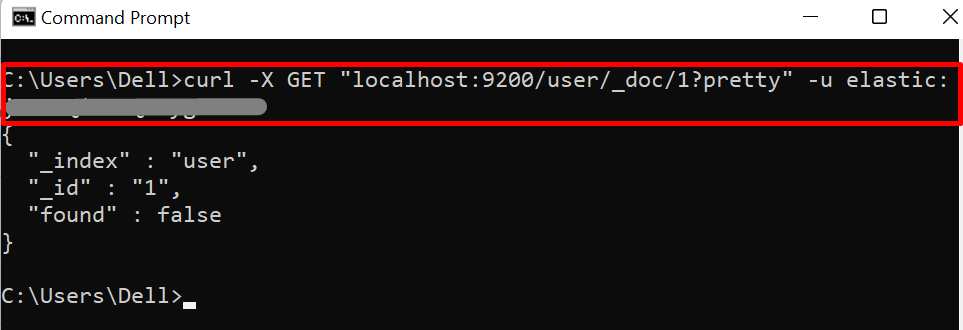
For the verification, again access the data of deleted id of the “user” index and check if the data is deleted or not:
From the output, you can see that we have successfully deleted the data from the “user” index:
That’s all about removing data from the index on Elasticsearch.
Conclusion
To remove the data from the index in Elasticsearch, first, start the Elasticsearch engine. Then, access the index you want to delete using the “GET” API to check if data exists in the index or not. After that, utilize the “DELETE” API in the curl command to delete the data from the index. This article has elaborated on how to remove data from the Elasticsearch index.