
Removing Files from Windows NTFS Drive:
I have some files in my NTFS formatted 32 GB USB thumb drive.
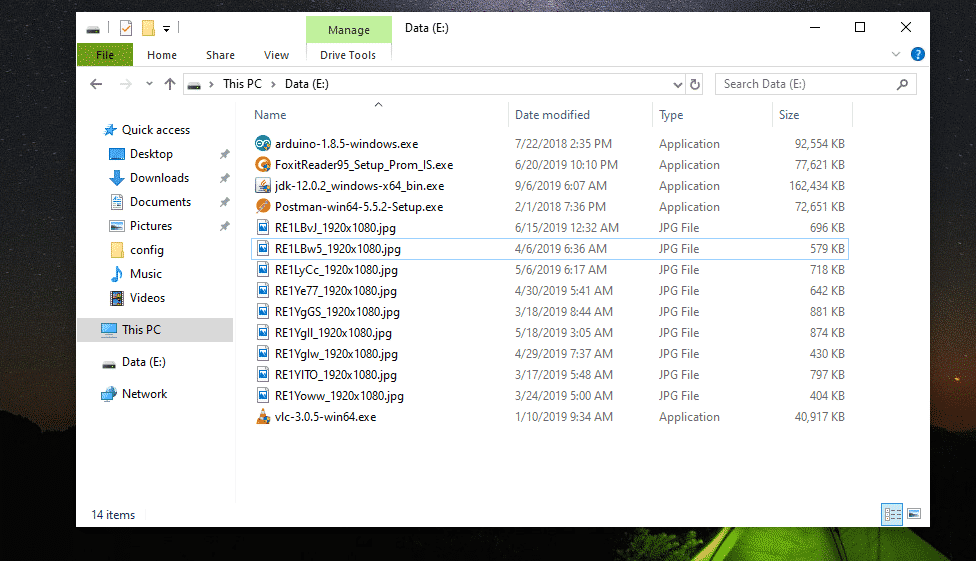
Now, I am going to remove all the JPG image files from this USB thumb drive. Let’s assume I removed them by mistake.
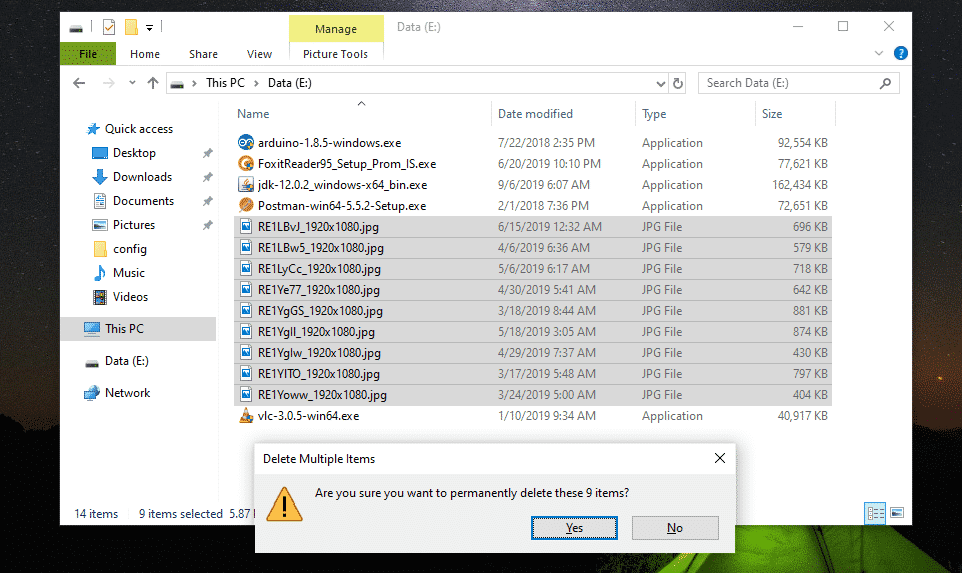
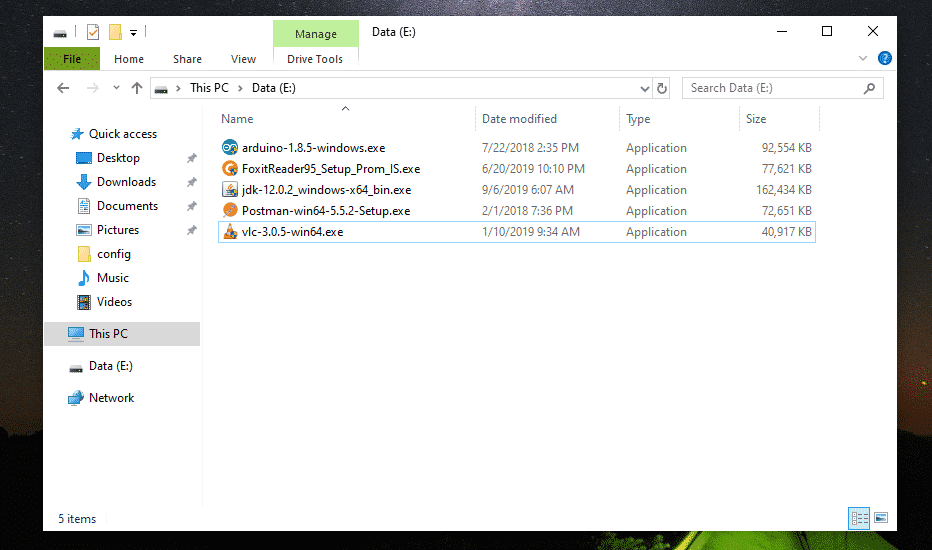
Oh no! My important files are gone.
If you remove some important files by mistake and would like to get them back, then I advise you to eject the drive as soon as possible. If you’re not able to eject the drive (if it’s an internal hard drive), then at least do not modify the contents of the drive (i.e add, remove, copy, cut files/directories from the drive). Doing so would reduce the chance of recovering these removed files.

Creating a Live Ubuntu Bootable USB:
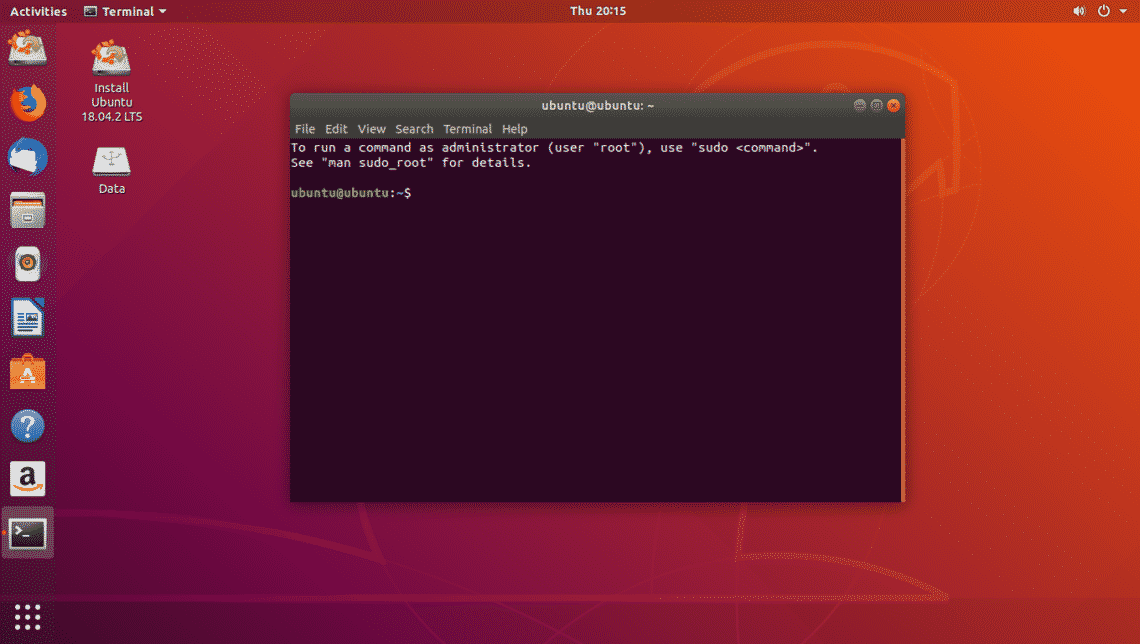
Now, read the article Rufus Bootable USB to Install Ubuntu 18.04 LTS to create a new Live Ubuntu Bootable USB thumb drive and boot from it. Once you boot from the USB thumb drive, Ubuntu should start in Live mode. Now, open the Terminal app.
Finding the NTFS Drive to Recover:
You can find the drive name with the following command:
As you can see, the 32 GB NTFS thumb drive is sdb1.

Now, unmount the NTFS drive with the following command:

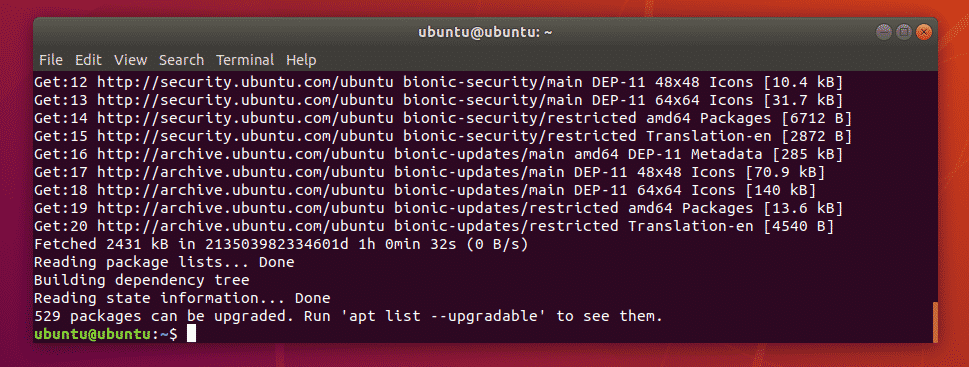
Now, install ntfs-3g with the following command:

Now, press Y and then press <Enter> to confirm the installation.

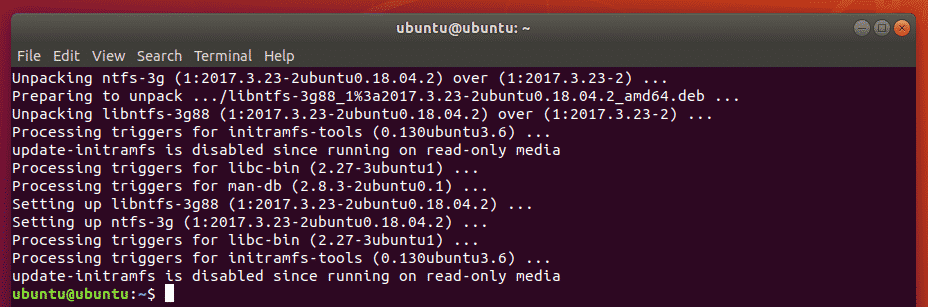
ntfs-3g should be installed.
Now, check whether ntfsundelete command is available as follows:
ntfsundelete is available in the path /sbin/ntfsundelete.

Finding Removed Files:
You can scan for removed files in the drive from where you’ve removed it as follows:

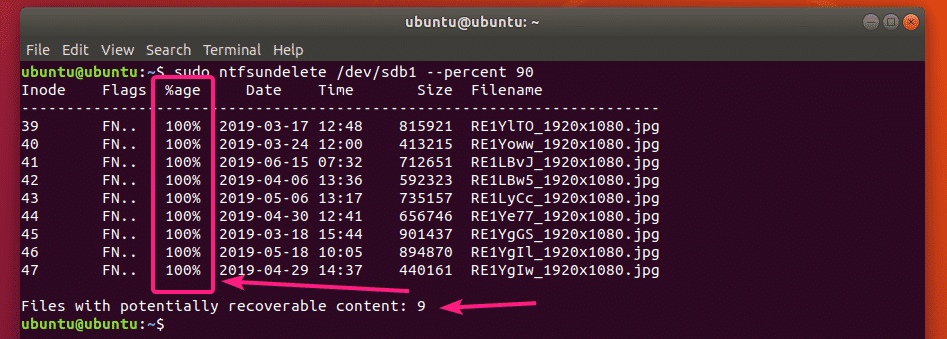
As you can see, all the removed files are listed in a tabular format. You can find the Inode number of the removed files, how much of each file is recoverable (%age), the last modified date and time of the file, the size of the file (in bytes) and the name of the file.

In the end of the output, ntfsundelete will show you how many files can be recovered. In my case, I can recover 9 files.

You can also specify the scan criteria of the removed files.
If you already know the file size of the file(s) that you’re trying to recover, then you can specify a range of file size as follows:
NOTE: k = kilobyte, M/m = megabyte, g = gigabyte, t = terabyte

As you can see, the removed files in the file size range 700 KB to 1 MB is listed.

You can also tell ntfsundelete to list the files that were last modified since the last 60 months as follows:
NOTE: d = days, w = weeks, m = months and y = years

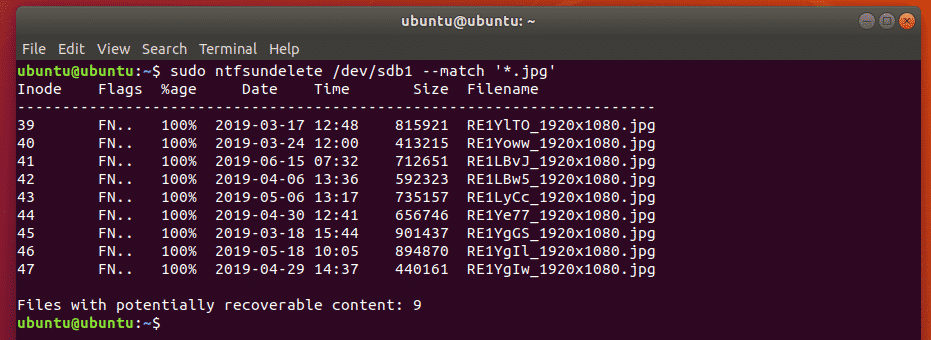
If you know part of the filename or extension of the removed files, then you can find the removed files as follows:
You can also search for files that has a certain percentage of content (let’s say 90%) you can recover as follows:
Recovering Removed Files:
Let’s say, you want to recover the file with the Inode number 39.

To do that, you can run the following command:

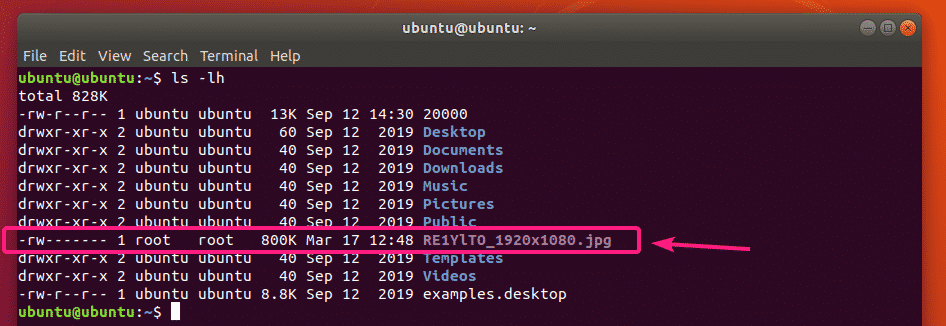
The file should be recovered and saved in the current working directory.

As you can see, the image file is saved in the current working directory.
You can also specify a range of Inodes of the files to recover as follows:
You can also mix specific Inode number, and ranges of Inodes as follows:
By default, ntfsundelete rounds the file size to nearest multiples of 512 bytes (block size). So, the file size of the recovered file will be a little bit larger.
To avoid that, you can use the –truncate option as follows:

You can also specify an output file name as follows:

As you can see, the recovered image file is saved as test.jpg.

You can also specify a filename pattern to recover all the files that match the pattern altogether as follows:

You can also save the recovered file in a specify directory.
First, create a new directory recovery/ as follows:

Now, recover the files and save them in the recovery/ directory as follows:

The files will be recovered.

Now, add read and write permissions to the recovered files as follows:

Now, you can copy these files to a safe place.

I copied the recovered files to my 32 GB USB thumb drive.

So, that’s how you recover removed files from Windows NTFS drives using Live Ubuntu DVD. Thanks for reading this article.