This article will describe the method to reapply the stashed changes in Git.
How to Reapply/Restore Stashed Changes in Git?
To reapply the stashed changes in Git, the following are the two ways:
- Method 1: Reapply Stashed Changes Utilizing “git stash pop” Command
- Method 2: Reapply Stashed Changes Utilizing “git stash apply” Command
Method 1: Reapply Stashed Changes Utilizing “git stash pop” Command
To reapply the stash changes to the working directory and remove them from the stash stack, utilize the “git stash pop” command.
Step 1: Check Git Status
First, execute the below-provided command to view the current status of the repository:
The below output indicates that the Git status is clear:
Step 2: View Stash Changes
Then, display the changes stored in the stash:
It can be seen that two files are stashed:
Step 3: Reapply Stash Changes
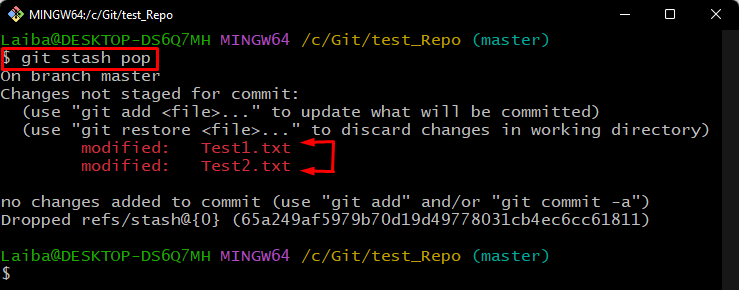
Now, run the provided command to remove the changes from the stash and re-apply them to the working directory:
As you can see, the given command has reapplied the previously stashed changes to the repository:
Method 2: Reapply Stashed Changes Utilizing “git stash apply” Command
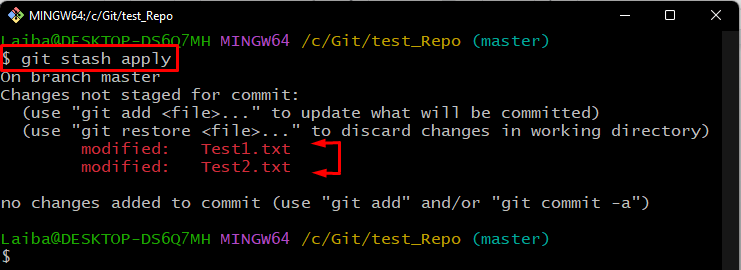
If users want to re-apply the stash changes and keep changes in the stash stack, the “git stash apply” command can be used:
We have explained the procedure of reapplying stashed changes in Git.
Conclusion
To reapply the stashed changes, two options can be utilized with the “git stash” command, such as the “apply” or “pop” options. The “git stash pop” command re-applies the stash modifications to the working directory and deletes them from the stash stack. While the “git stash apply” command re-applies the stash changes but keeps them in the stash stack. This article explained the methods to reapply stashed changes in Git.


