Brightness, contrast, saturation, and hue are the important factors in an image that can affect its appearance. PyTorch provides the “ColorJitter()” method to randomly adjust the specific image’s brightness, contrast, saturation, and hue. Users can specify the range of values for each parameter as a tuple or a single value. This method returns a newly adjusted image with randomly changed desired factors from the specified range.
This blog will illustrate the method to adjust the image’s brightness, contrast, saturation, and hue in PyTorch.
How to Randomly Adjust Image’s Brightness, Contrast, Saturation and Hue in PyTorch?
To randomly adjust an image’s brightness, contrast, saturation, and hue in PyTorch, follow the below-listed steps:
Step 1: Upload an Image to Google Colab
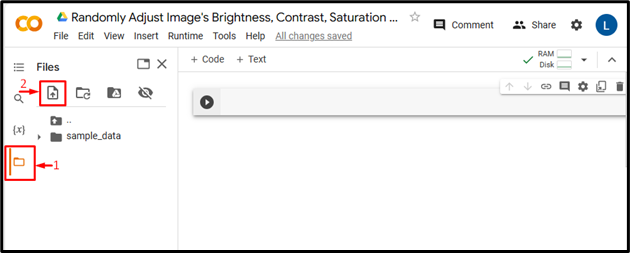
First, open Google Colab and click on the below-highlighted icons. Then, choose the specific image from the computer and upload it:
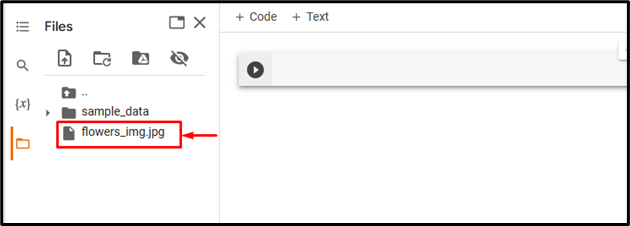
Subsequently, the image will be uploaded to Google Colab:
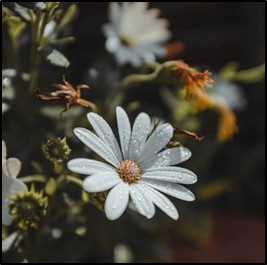
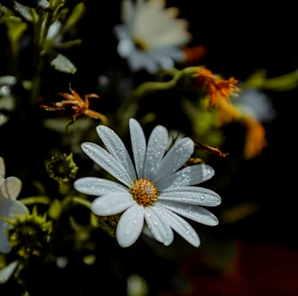
Here, we have uploaded the following image and we will randomly adjust its brightness, contrast, saturation, and hue:
Step 2: Import Necessary Library
Next, import the required libraries. For instance, we have imported the following libraries:
import torchvision.transforms as transforms
from PIL import Image
Here:
-
- “import torch” imports the PyTorch library.
- “import torchvision.transforms as transforms” imports the transforms module from torchvision that is used to preprocess image data before feeding it into a neural network.
- “from PIL import Image” is used to open and save different image file formats:

Step 3: Read the Input Image
After that, read the input image from the computer. Here, we are reading the “flowers_img.jpg” and storing it in the “input_img” variable:

Step 4: Define a Transform
Then, define a transform to adjust the above input image’s brightness, contrast, saturation, and hue. Here, we have defined the following values for these factors:

Step 5: Apply the Transform on the Image
Now, apply the above transform on the desired input image to adjust its desired factors:

Step 6: Display the Adjusted Image
Finally, view the adjusted image by displaying it:
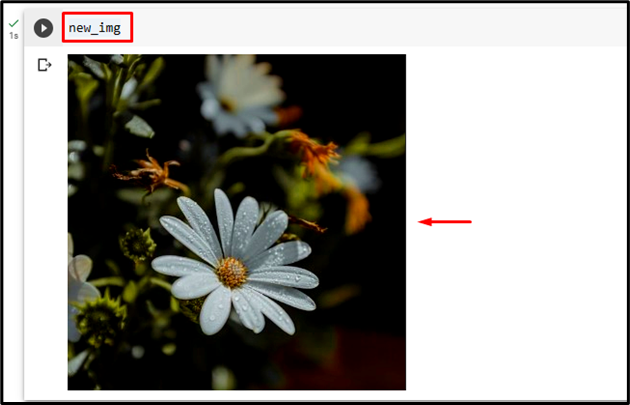
The above output shows that the brightness, contrast, saturation, and hue of the input image have been successfully adjusted with the specified factors.
Comparison
The comparison between original image and adjusted image can be seen below:
|
Original Image
|
Adjusted Image
|

Note: You can access our Google Colab Notebook at this link.
Moreover, you can also check out the provided articles about adjusting the brightness, contrast, saturation, and hue of an image:
We have efficiently explained the method of randomly adjusting the image’s brightness, contrast, saturation, and hue in PyTorch.
Conclusion
To randomly adjust the image’s brightness, contrast, saturation, and hue in PyTorch, first, upload the desired image to Google Colab. Then, import the required libraries and read the input image. After that, use the “ColorJitter()” method to apply random transformations to the brightness, saturation, contrast, and hue of an image. Lastly, view the adjusted image by displaying it. This blog has illustrated the method to adjust the image’s brightness, contrast, saturation, and hue in PyTorch.