Although the data is stored in the system’s memory, you can add persistence by dumping the stored data to disk and loading it when needed.
In this guide, we will introduce you to key concepts in Redis and show you how to use Redis with the Python programming language.
Installing Redis
The first step is to set up the development tools. In this guide, we will be using a Debian 11 Linux system.
Open the terminal and add the official Redis repositories as:
sudo apt-get install curl gnupg -y
curl https://packages.redis.io/gpg | sudo apt-key add -
echo "deb https://packages.redis.io/deb $(lsb_release -cs) main" | sudo tee /etc/apt/sources.list.d/redis.list
sudo apt-get update
sudo apt-get install redis -y
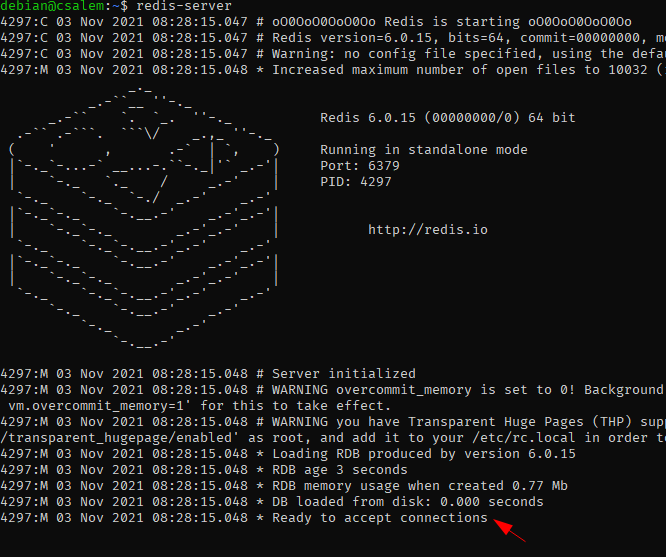
Once you have Redis installed, start the server using the command.
You can also use systemctl to start the Redis server using the command as shown below:
Redis Basics
Before diving into using Python to work with a Redis database, let us first recap how to use Redis using the command-line interface.
Connecting to the cluster.
Once the Redis server is running, open a new terminal session and enter the Redis command-line client as:
127.0.0.1:6379>
Once you run the redis-cli command, you should get a prompt showing an IP address and the port to the Redis server.
Switching “databases”
Redis does not work like a typical Relational database. However, it does contain a concept of databases which are isolated collections of key-value pairs. Unlike a database in relational databases, in Redis, a database does not have schemas, tables, or rows.
In Redis, we use index values such as 0 to access the first database. Redis does not provide custom naming such as sample_database as provided in traditional databases.
To select a specific database, use the SELECT command followed by the database’s index to access it.
For example, to select database 10.
OK
Note: Database indexes in Redis start from 0 to 15. If you try to access an index above 16, you will get out of range error.
(error) ERR DB index is out of range
Setting Values
As we mentioned, Redis uses key-value notation to store the data. You can add new data using the SET command and the key and values separated by a space.
For example:
OK
If the Redis command executes successfully, you should see an [OK].
It is good to ensure you provide both the key and value in the SET command. Otherwise, you will get a wrong number of arguments error as shown:
(error) ERR wrong number of arguments for 'set' command
Fetching Values
You can fetch values stored in the Redis server using the GET command and the key name. For example, to get the value of the key “name” we can do:
"John"
Ensure the specified key exists on the server. If you specify a non-existent key, you will get a nil result as:
(nil)
Removing Keys
In Redis, you can delete a key and its related data by using the DEL command and the key’s name.
For example:
(integer) 1
Using Python to Work with Redis
Although you can create your library to work with Redis, a common practice is to use already available tools to perform such tasks.
You can browse the Redis clients catalog to search for an appropriate library.
https://redis.io/clients#python
In this example, we will use redis-py as it is actively maintained and easy to install and use.
Installing Python 3
Before proceeding further, ensure you have Python installed on your system. Open the terminal and enter the command:
-bash: Python: command not found
If you get a “command not found” error, you need to install Python.
Use the commands:
sudo apt install python3.9
The above commands will update the software repositories and install Python version 3.9. Once completed, ensure you have the correct Python version.
Python 3.9.2
Install Pip
To install the redis-py package, we need to ensure we have pip installed. Open the terminal and enter the command:
Installing Redis-Py
Once you have pip3 installed, enter the command below to install the redis-py package.

Using Redis-Py package.
To illustrate how to work with Redis using the Python package, we will replicate the operations in the Redis basics section.
Let us start by connecting to Redis.
Create a Python file and add the code shown below to connect to the Redis cluster.
# create connection to the redis cluster
r = redis.Redis(host='localhost', port=6379)
Once we have a connection to the server, we can start performing operations.
NOTE: The file will connect to a database at index 0. You can specify your target index by setting the db parameter as:
The above example will connect to the database at index 10.
To create a key-value pair using the Python package, you can do:
The line above will take the first arguments as key and value, respectively.
To fetch the values, use the get function as:
print name
The above query will return the value in the specified key as an encoded value:
You can use the decode function to decode the value.
John Doe
To delete a key and its corresponding data, use the delete function as shown:
If you get the value stored in a deleted key, Python will return a None value.
Conclusion
In this article, we dive deep into working with the Redis database. Redis is powerful and can be essential in high-performance environments. Check the documentation to learn how to work with Redis and Redis-Py package.