The Domain Name Server is responsible for IP address mapping, and there are instances when you may want to query it to obtain an information. To query a DNS server in Linux, we will show you two options that you can use. First, we will focus on the “dig” command and give examples on how to use it. Next, we will introduce the “nslookup” command and the examples on how to use it. Let’s begin!
Two Methods to Query a DNS Server in Linux
You can quickly query a DNS server in Linux using two commands. We detailed each of them in this guide.
Method 1: Using the Dig Command
Domain Information Graper (dig) is a Linux utility that lets the users query a DNS server to obtain different information.
The utility is installed on Linux. You can check its version to confirm.

Here’s the syntax to use with the “dig” command:
For instance, to query the Linuxhint.com server, we run the following command:
Once you run the command, all the DNS information for that server will appear in the output.
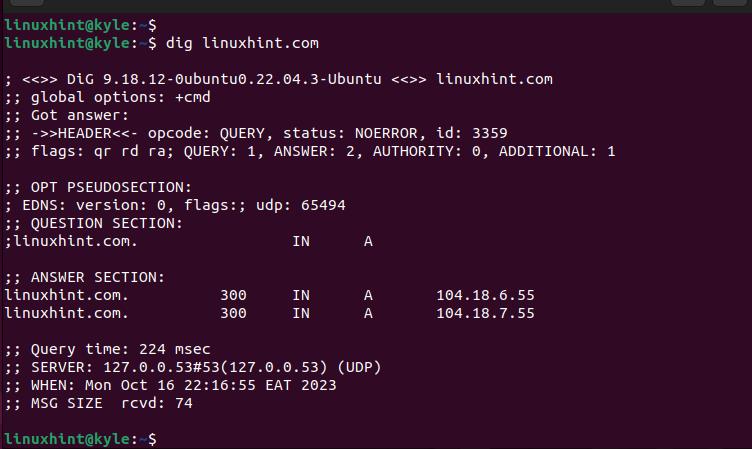
From the previous output, the primary focus is the “ANSWER SECTION”. It contains the server IP address, the query class, the server’s name, and the time to live.
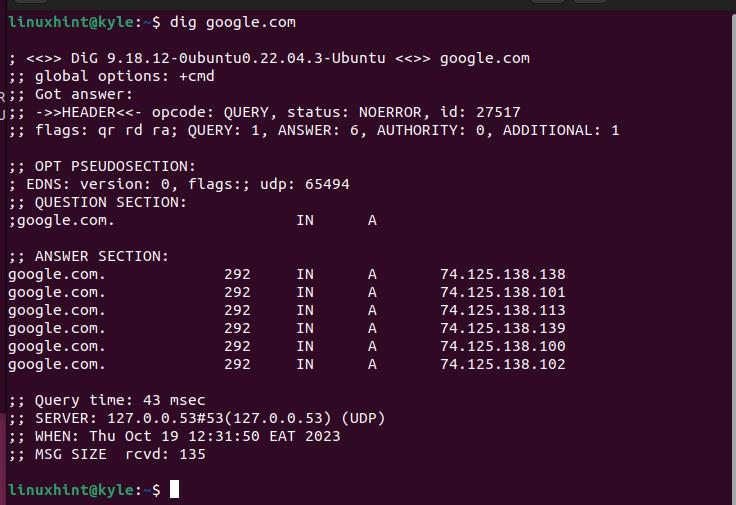
Suppose you were querying a different server such as google.com; you will notice that it will show more information. For instance, the following output shows that the same server’s name has numerous IP addresses:
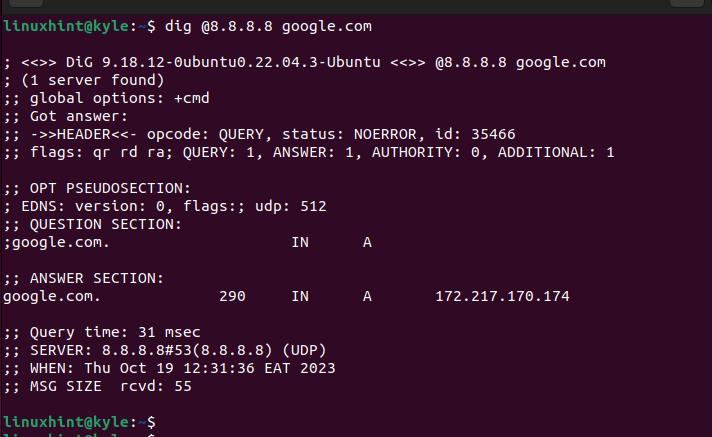
If you want to specify the DNS server, you must add the domain server. For instance, Google’s DNS server is 8.8.8.8. So, if we want to specify it, our new command is as follows:
Notice how the following output contains less information than the earlier one. That’s because we specified the DNS server that we want to query.
The “dig” command has different options that you can add to achieve your goal. The common ones include the following:
1. Any
It is added when you want your query to display all the results. Here’s how to add the “any” option to your query:
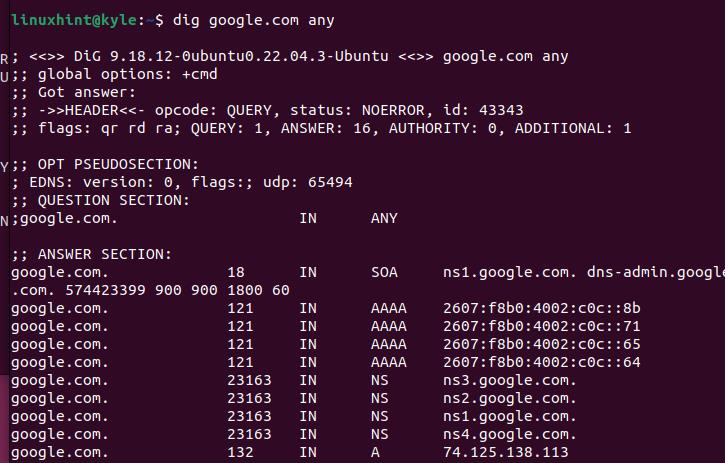
You will notice that you get more detailed results.
2. +Short
The option lets you narrow down the results to only give the IP address of the domain name that you are querying.
Here’s an example where we are only getting the associated IP addresses:

3. +Trace
The option is added to show what servers the query passes through before reaching its destination. Take a look at the following example:
The option is added to show what servers the query passes through before reaching its destination. Take a look at the following example:
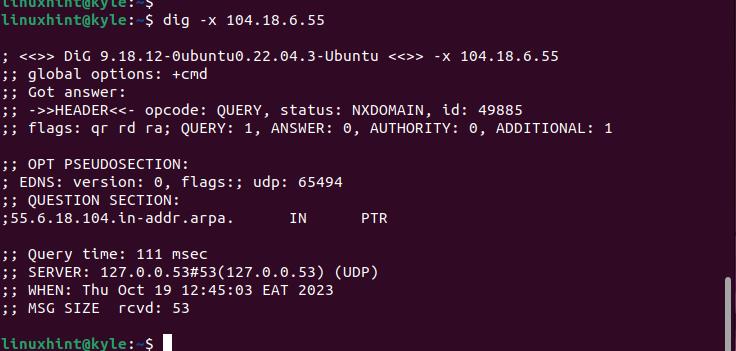
4. Reverse Lookup
Suppose you have the IP address of a given domain name. You can do a reverse DNS lookup by adding the “-x” option followed by the target IP address.
You will still get the same results with slight changes.
4. Reading a File
When you have numerous domain names that you want to query, you can add them to a file. Afterward, you can specify the file in your “dig” command.
Here’s a sample file containing two domain names:

To query the DNS by reading from the created file, we run our command as follows:
We add the “+short” option to get the IP address associated with the queried DNS servers.

Method 2: Using the Nslookup
Name Server Lookup(nslookup) is a Linux utility that lets the users extract an information from a DNS server. It works similarly to the “dig” command and is handy when troubleshooting the DNS issues.
Here’s the syntax for nslookup:
Let’s use linuxhint.com as an example and see what output we get.

If you have the server IP address, you can use it instead of the domain name. You can still manage to query the DNS server but you will get a slightly different output since this method does a reverse DNS lookup.
Check the following example:

To access all the DNS records when querying, add the “-type=any” in your command.
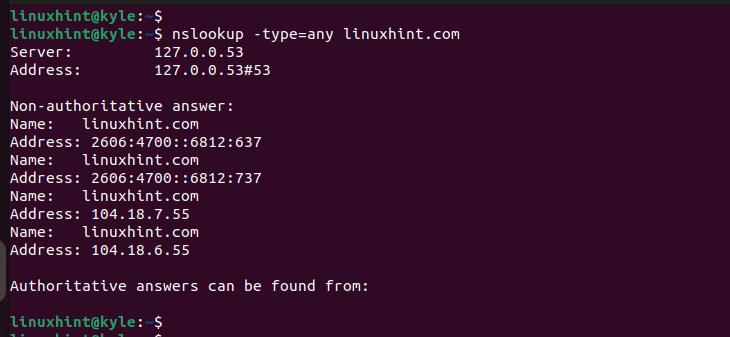
If you want to check the MX record when querying, use the “-type=mx”.

The provided examples are a few demonstration of using the “nslookup” command to query the DNS.
Conclusion
This post detailed how to query the DNS servers in Linux. We presented the two methods that you can use with given examples on how to apply them. Practice using the presented examples and you will quickly master how to query your DNS server in Linux.