This manual will explain the method to push the tags from the local repository to the remote repository.
How to Push Git Tags to Remote Repository?
To push the tags to the remote repository, first, we will create a new tag using the “$ git tag <tag-name>“ command and then list the tags for verification. Lastly, use the “$ git push <remote> <tag-name>” command to push the tag to the remote repo. We will also push all existing tags of the local directory to the Git remote repository.
Now, let’s implement the above-provided scenario!
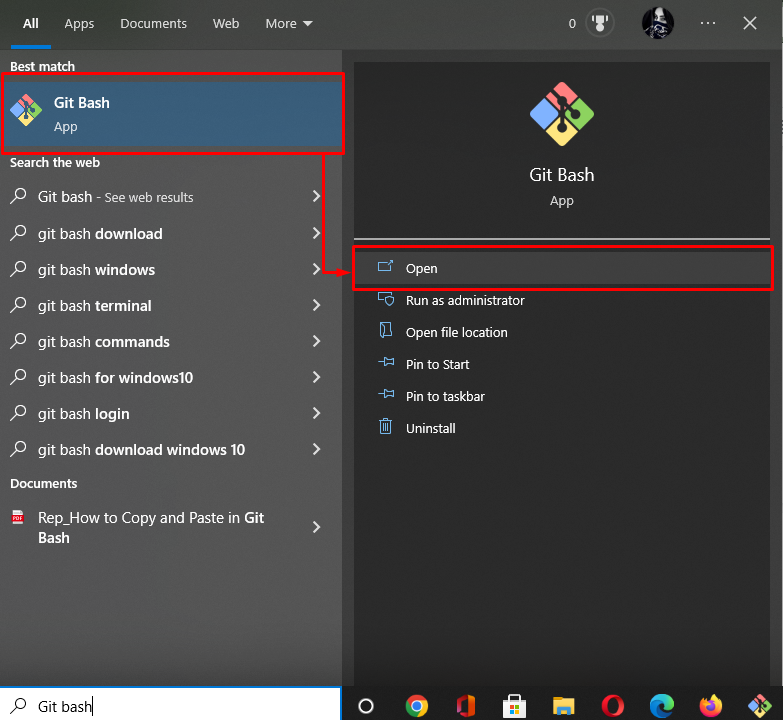
Step 1: Launch Git Bash
Open the Git terminal utilizing the “Startup” menu:

Step 2: Create Tag
Now, we will create a tag using the “git tag” command:
Here, we have specified the tag name as “v1.0” that we want to push to the remote repo:
Step 3: List Tags
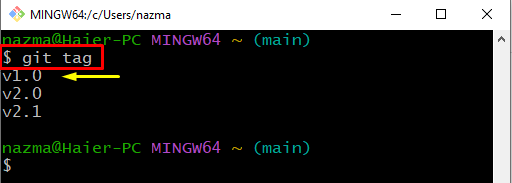
Next, execute the “git tag” command to view the list of existing tags:
As you can see, our tag is successfully created in Git local repository:
Step 4: Push Git Tag
Finally, push the tag to the Git remote repository from Git local repository by executing the provided command:
As you can see, we have successfully pushed the “v1.0” tag to the remote repository:
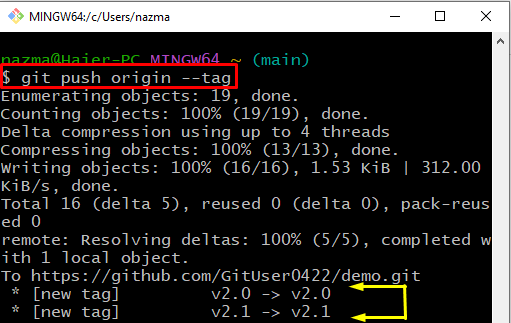
If you want to push all tags at once to the remote repository, then execute the provided command:
Below output indicates that all existing local repository tags are pushed to the remote repository:
That’s it! We have explained the procedure to push Git tags to the remote repository.
Conclusion
To push Git tags to the remote repository, first, open the Git terminal on your system. Next, execute the “$ git tag <tag-name>” command to create a new tag, and then view the list for verification. After that, push the tag to the remote repository using the “$ git push <remote> <tag-name>” command. To push all tags to the remote repository, run the “$ git push origin –tag” command. This manual provided the method to push the tags from the local repository to the remote repository.


