Sometimes, Git users may want to make experimental changes or try out something temporarily without triggering the checks imposed by pre-commit hooks. By using the “–no-verify” option users are allowed to commit their changes quickly without going through the usual validation process.
In this guide, we will explain:
- What is the Purpose of the “–no-verify” Option in Git Commit?
- How to Use the “–no-verify” Option in Git?
What is the Purpose of the “–no-verify” Option in Git Commit?
In Git, the “–no-verify” option is used to bypass pre-commit and commit-msg hooks during the Git commit process. Hooks are scripts that may be configured to execute automatically before or after particular Git commands. They are used to enforce certain guidelines or perform custom actions.
When developers use the “git commit” command with the “–no-verify” option, Git skips the execution of pre-commit and commit-msg hooks. It can be useful in scenarios where users want to temporarily bypass or override the checks imposed by those hooks.
How to Use the “–no-verify” Option in Git?
To use the “–no-verify” option, check out the mentioned steps:
- Move to the desired Git directory.
- Initiate a new file using the “touch” command.
- Track file in the staging area.
- Commit changes using the “git commit” command along with the “–no-verify” option.
Step 1: Move to Git Directory
First, specify the path of your desired Git directory along with the “cd” command:
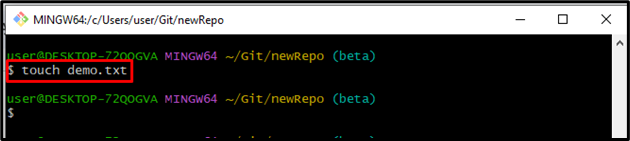
Step 2: Make a New File
Next, generate a new file in the current working Git repository with the help of the “touch” command:
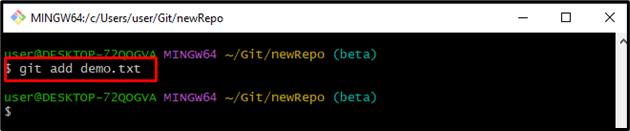
Step 3: Track Changes
Run the “git add” command along with the file name that needs to be tracked in the staging area:
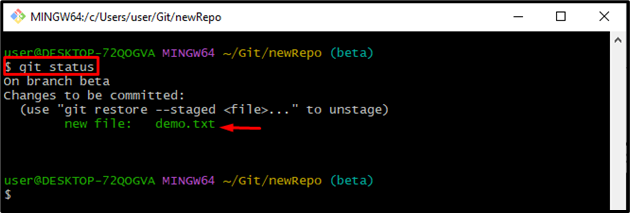
Step 4: View Git Status
View the current state of the working Git directory using the “git status” command:
The resultant image shows that the file has been tracked successfully:
Step 5: Skip Commit Hooks Use the “–no-verify” Option While Committing
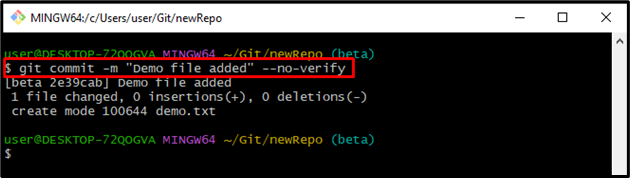
To commit all the changes, execute the “git commit” command and add a commit message using the “-m” option. Furthermore, use the “–no-verify” option to skip all commit hooks:
The below-stated output determines that all the changes have been committed successfully and commit hooks have been skipped:
Note: You can also use the “-n” option, which is a short form of –no-verify.
Step 6: View Git Log History
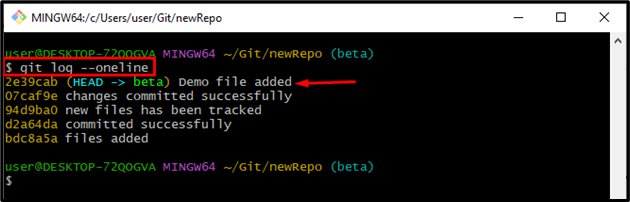
View Git log history by running the “git log” command along with the “–oneline” option for each commit on a single line:
It can be noticed that all the commits have been listed successfully:
You have learned about the basic purpose of the “–no-verify” option in Git commit and how to use this option.
Conclusion
In Git, the “–no-verify” option is used to bypass pre-commit and commit-msg hooks during the Git commit process. To use the “–no-verify” option, first, move to the desired Git directory. Then, develop a new file utilizing the “touch” command and track it in the staging area. After that, commit changes by running the “git commit” command along with the “–no-verify” option. That’s all about the “–no-verify” option in Git commit.