In this guide, we will provide the methods to pull a master into a branch in Git.
How to Pull Master Into Branch in Git using git pull?
On Git, you may need to pull the changes made in the “master” to a different branch. These changes cannot be transferred automatically. Therefore, users need to make them manually using the Git “$ git pull origin master” command. To do so, follow the below-provided steps.
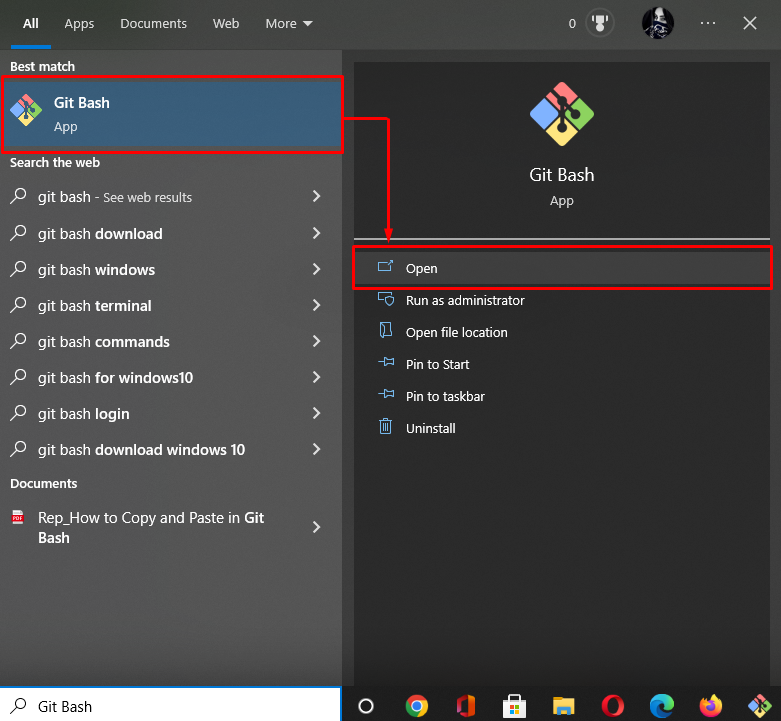
Step 1: Open Git Bash
To open the “Git Bash” terminal on your system, search it using “Startup” menu:
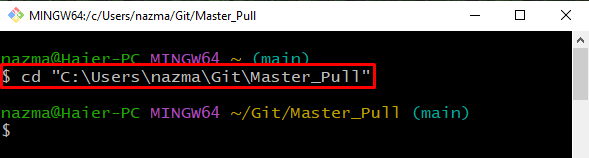
Step 2: Move to Git Local Repository
Navigate to the Git local repository with the help of the “cd” command:
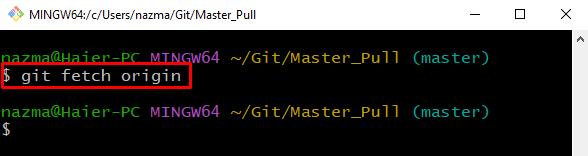
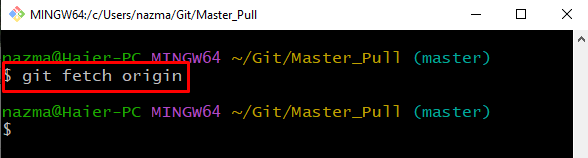
Step 3: Fetch Remote Repo Data
Next, execute the “git fetch” command with the remote name “origin”:
The above-provided command will fetch the objects and references of the Git remote repository:
Step 4: Pull Master
Lastly, pull the master into branch using “git pull origin” command with branch “master”:
In the below output, the “master” branch is merged with another branch. Here, the “–allow-unrelated-histories” option is utilized to merge the history which does not share a common ancestor when merging the projects:

Now, move to the next section to pull the master into another branch using the “git rebase” command.
How to Pull Master Into Branch in Git Using git rebase?
You can also utilize the “git rebase” command to pull the master into the branch in Git. To do so, check out the given section.
Step 1: Fetch Remote Repo Data
First, fetch the metadata of the Git remote repository with the help of provided command:
Step 2: Pull Master
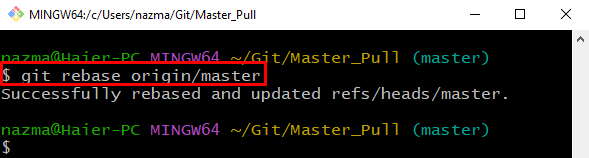
Next, execute the “git rebase” command that will reapply commits on the top of the remote branch:
As you can see, we have successfully rebased and updated the remote branch with local branch “master”:
We have compiled different methods to pull master into a branch in Git.
Conclusion
To pull the master into the branch in Git, first, move to the Git local repository and fetch all data and references of the remote repository into the local repository. Then, pull the master into the remote branch using the “$ git pull origin master” command. To pull into the master branch, the “$ git rebase origin/master” command can be utilized. In this guide, we have learned the procedure to pull a master into a branch in Git.