This tutorial will explain the usage of the “Rename-ItemProperty” cmdlet in PowerShell.
How to Use the Rename-ItemProperty Cmdlet to Rename an Item’s Property in PowerShell?
Renaming an item’s property can be done using the “Rename-ItemProperty” cmdlet. To do so, first, use the stated cmdlet and assign it a path via the “-Path” parameter. After that, use the “-Name” parameter to assign the item’s existing name. Next, add the “-NewName” parameter and specify the new name.
Let’s have a look at the given example for a better understanding!
Example: Use the “Rename-ItemProperty” Cmdlet to Rename a Registry Entry
To rename an item’s property, simply, execute the given command in PowerShell:
According to the above code:
- First, use the “Rename-ItemProperty” cmdlet and provide it a path using the “-Path” parameter.
- Then, write the parameter “-Name” and specify the old item’s property name.
- Next, type the “-NewName” parameter and specify the new desired name:
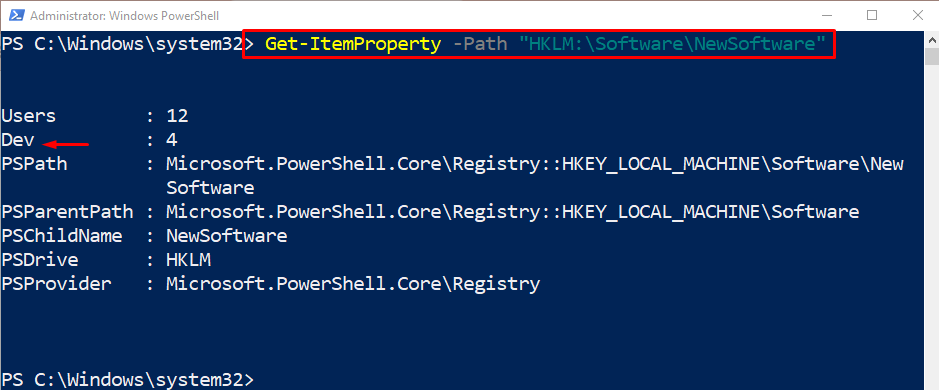
Run the below-mentioned command to verify whether the item’s property was removed or not:
That’s it! You have learned about PowerShell’s “Rename-ItemProperty” cmdlet.
Conclusion
The “Rename-ItemProperty” cmdlet is used to rename the property of an item in PowerShell. Its standard alias is the “rnp”. This tutorial demonstrated the usage of the “Rename-ItemProperty” cmdlet with the help of practical examples.


