This tutorial will elaborate on the usage of PowerShell’s “Remove-Alias” cmdlet.
How to Use/Utilize the Remove-Alias (Microsoft.PowerShell.Utility) Cmdlet in PowerShell?
To remove an alias and its information in PowerShell, first, use the “Remove-Alias” cmdlet. Then, write the “-Name” parameter and provide it with an alias name. To understand furthermore usage of the stated cmdlet, head over to the below given practical examples section.
Example 1: Use the Cmdlet “Remove-Alias” to Remove an Alias
Before deleting or removing an alias, let’s verify if an alias exists or not. For that purpose, simply run the alias name in PowerShell:
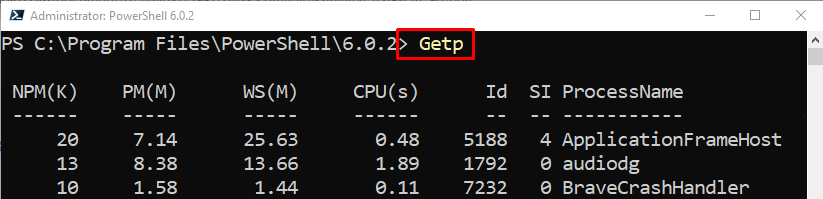
As it can be observed that the alias name exists. Now, let’s delete it.
To remove an alias, first, use the “Remove-Alias” cmdlet. Then, add the “-Name” parameter and assign it the alias name:

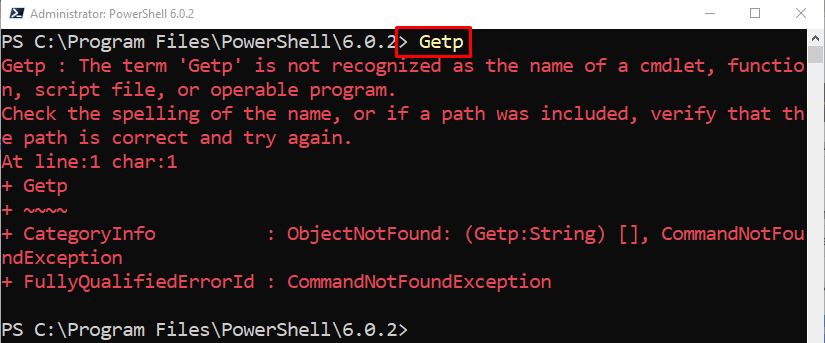
To check whether the alias has been removed or not, run the provided example:
As it can be observed that the specified alias has been deleted successfully:
Example 2: Use the “Remove-Alias” Cmdlet to Remove ReadOnly Alias
To remove the “ReadOnly” alias, use the “-Force” parameter alongside the “Remove-Alias” cmdlet:

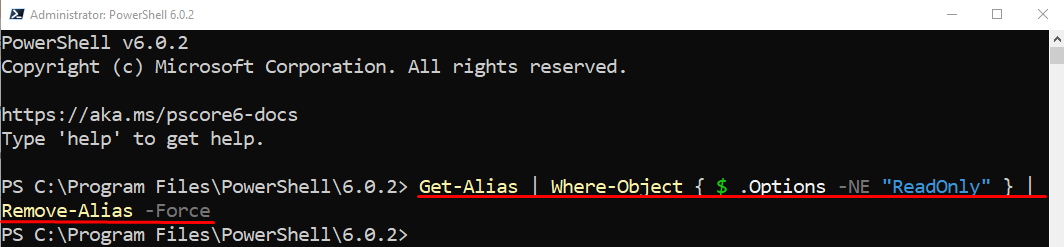
Example 3: Use the “Remove-Alias” Cmdlet to Remove all Non-ReadOnly Aliases
To delete aliases except “ReadOnly”, execute the provided command:
According to the above-specified command:
- First, use the “Get-Alias” cmdlet and pipe it to the “Where-Object” cmdlet.
- Next, create a condition to select an alias except “ReadOnly” and pipe it to the “Remove-Alias” cmdlet.
- Lastly, use the “-Force” parameter to delete the “ReadOnly” aliases:
That’s it! You have learned the usage of the PowerShell “Remove-Alias” cmdlet.
Conclusion
PowerShell’s “Remove-Alias” cmdlet removes the aliases for the cmdlets in the current session. It can also remove the aliases for all the sessions by specifying them in the PowerShell profile. Aliases with the read-only option can also be removed utilizing the parameter “-Force”. This guide explained the usage of the “Remove-Alias” cmdlet with the help of various practical examples.