Arduino is a very versatile board that has different sources of power. Thanks to Arduino multiple power mode supports it can run on minimal power without getting dead. Arduino can be simply powered up using the 5V coming from any USB port.
Arduino less power consumptions make it best buy for remote projects. Arduino can also be powered using phone chargers or external power banks. This lesson will cover how Arduino can be powered using a smartphone charger.
Arduino UNO Power Options
Arduino UNO has multiple power options like other microcontroller boards. This not only increases its compatibility in multiple projects but also makes it a more power efficient board. Following are the power source Arduino UNO uses:
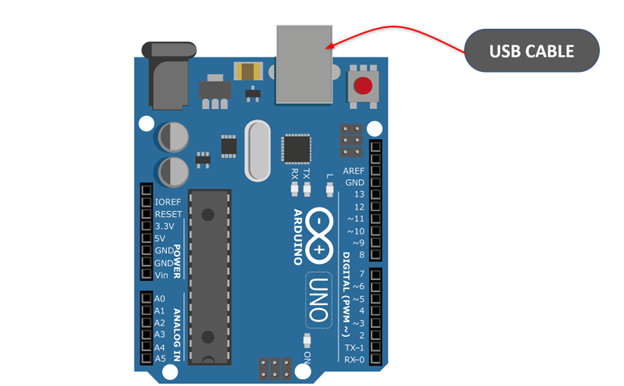
1: USB Cable
USB cable is the safest and most reliable power source for Arduino as most USB ports can provide devices with regulated 5V which is equal to the working voltage of Arduino board.
Here are some main highlights of powering Arduino using USB:
- Constant 5V supply
- Safe current limits
- No voltage or current fluctuation
- Can provide power for long term without heating
- Best power source for Arduino
- Protect On board voltage regulator
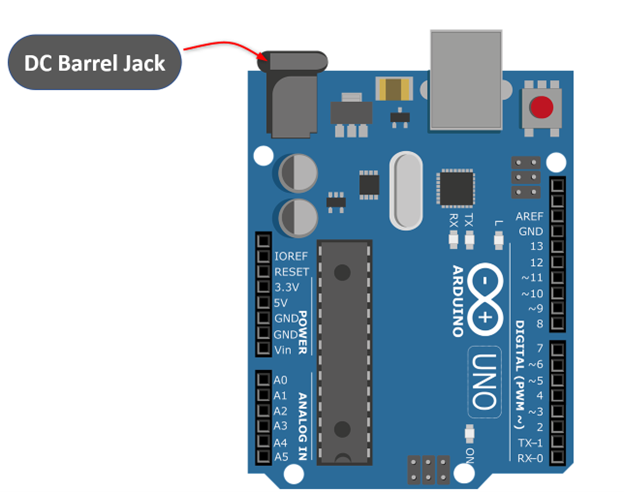
2: DC Barrel Jack
On the list of power sources DC barrel jack comes second as it allows users to power Arduino with any external source in case USB supply is not available. Using an external DC barrel jack Arduino can be powered up from voltage range 6V to 16V.
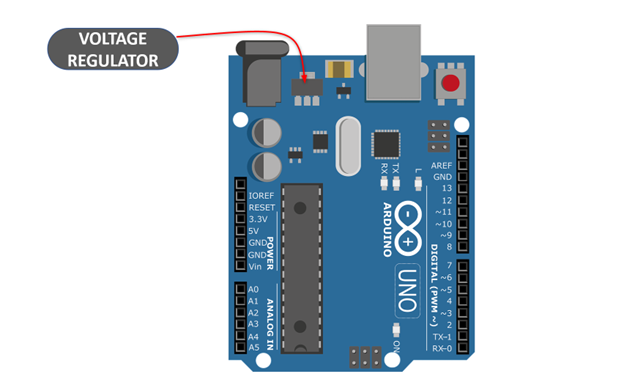
However, the safe working voltage limit is 12V. It’s not recommended to power more than that as the extra voltages will be reduced by an on-board voltage regulator to working (5V) voltage.
Here are some sources through which we can power Arduino using DC barrel jack
- 9V battery
- Power supply
- Portable power banks
- Solar panels
- Mobile chargers
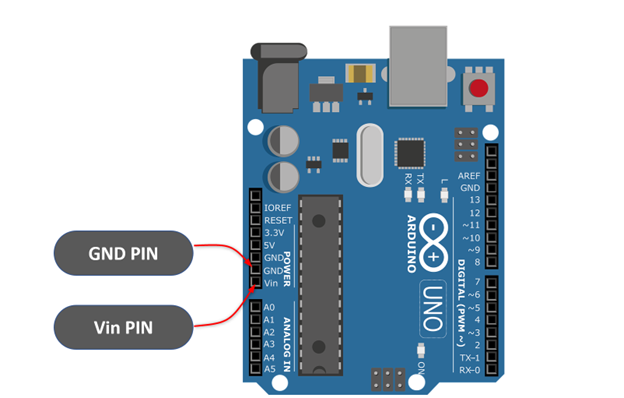
3: VIN Pin
VIN pin is the third way of powering Arduino using an external source. This pin can take voltage up to 16V and is connected to an onboard voltage regulator that converts input into regulated working voltage of Arduino that is 5V.
It’s recommended to not use more than 12V at this pin as most of the voltage will be lost during conversion in the form of heat.
Here are some main highlights of using Vin pin for powering Arduino:
- Unregulated voltage can be connected
- Provide great range of voltage for connecting with Arduino
- Arduino can be power up using multiple ways through this Vin pin
- Constant supply can be given for longer period
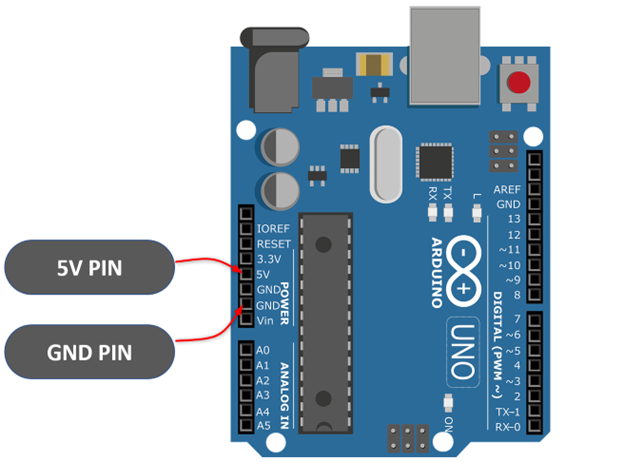
4: External regulated 5V
Last source on the list is using the external 5V regulated power supply. It’s by far the most complicated way of powering Arduino. One of the reasons include the bypassing of LDO regulator circuitry by this pin.
This pin is not connected to the on-board regulator which means any slight change in voltage greater than 5V will permanently damage Arduino. This happens because of reverse flow current. Output current becomes greater than input.
Some main highlights of using 5V pin is:
- 5V supply can be easily designed
- Reduced the loss of excess voltage
- Maintain safe current limit
- Constant supply for long term
- Portable power supply such as dry cell can be used
As we have discussed all the power sources for Arduino. So, to power Arduino using a smartphone charger we will be using the USB B port of Arduino.
How to Power Arduino Using a Smartphone Charger
To connect the Arduino with the charger we will be using the USB B cable. The USB B port of Arduino can provide constant 5V regulated supply coming from a smartphone charger. This 5V supply can also power external components and sensors connected to Arduino.
Most people are concerned about the current limit of Arduino as most smartphone chargers come in rating of 1A-1.5A. Arduino can support up to 500mA of current. However, the current limit of smartphone chargers does not affect Arduino performance. As Arduino will only draw current, which is required, and the maximum Arduino GPIO pins can draw is no more than 40mA.
Note: Avoid connecting DC motors with Arduino as they require large current which may overheat Arduino and result in permanent damage of voltage regulator.
Demonstration
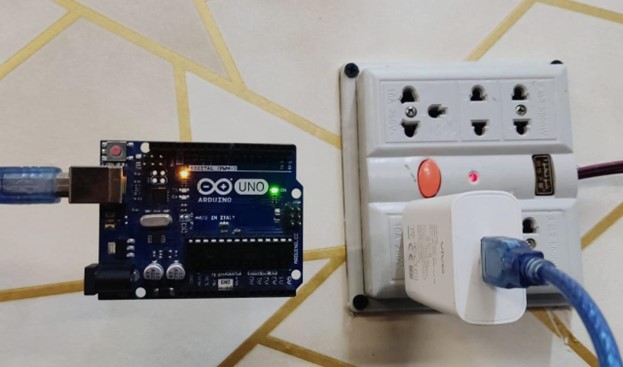
To power Arduino connect micro-USB cable with Arduino and other end to 5V output port of charger. Plug the charger into the AC 220V-240V socket. We can see that the power LED of the Arduino is turned ON.
We have successfully powered Arduino with smartphone charger.
Conclusion
Arduino is a portable board and its low power consumptions make it a perfect choice for remote projects. For remote projects Arduino can be easily powered using the external 5V charger. This solves the main problem of power distribution inside the projects and most of the time AC supply is widely available hence Arduino can be powered anywhere using the 5V smartphone charger.

