Update and Upgrade the System Repositories
Let’s get started with the update of a system before the installation of Postgres on the Ubuntu system. This is required to refresh the system repositories via the “update” instruction and the “apt” package with the sudo rights.
After successfully updating the Ubuntu system, it’s necessary to upgrade the system repositories and modules to avoid any inconvenience in the future. In the very same way, the apt repository is used in the “upgrade” command as follows:
Install the Prerequisites
Now that we will install PostgreSQL from its official repository, we need to ensure that the prerequisites are already installed. These prerequisites include the “wget” utility to add the Postgres key in Ubuntu and “ca-certificates” to enable the installation by enabling the certificates for secure installation through the official repositories. As depicted in the following image, the “apt-get” installation instruction is used for this purpose.
Add the PostgreSQL GPG Key to Ubuntu
After installing the “wget” Ubuntu utility and the ca-certificates package, we move towards adding the Postgres GPG key to the Ubuntu system. As mentioned, we will utilize the “wget” utility with the “–quiet” and “-O” options followed by the URL of the official Postgres repository site to add its GPG key to the Ubuntu system. The main part of this instruction is using the “apt-key” keyword followed by the “add” keyword. The output of this command displays “OK” in return. The Postgres GPG key is successfully added to the system, and you can finally install it.
After adding the Postgres GPG key to the Ubuntu system, it’s necessary to update the system packages and repositories once again so that the system can take the effect of the GPG key perfectly. Therefore, we execute the “update” instruction again.
Install PostgreSQL on Ubuntu
After perfectly meeting the pre-requirements of Ubuntu for the installation of Postgres, our system is now ready to install PostgreSQL. To install PostgreSQL on the Ubuntu system, we will utilize the everlasting “apt-get” package within the “install” command. The command uses the “postgresql” package name followed by the additional package which is “postgresql-contrib” which contributes an extra functionality to the PostgreSQL database.
The installation process continues until it prompts for the affirmation. To proceed with the remaining installation process without interruption, tap on “y” when prompted at the command shell. To top the execution right at the moment, tap on “y”.
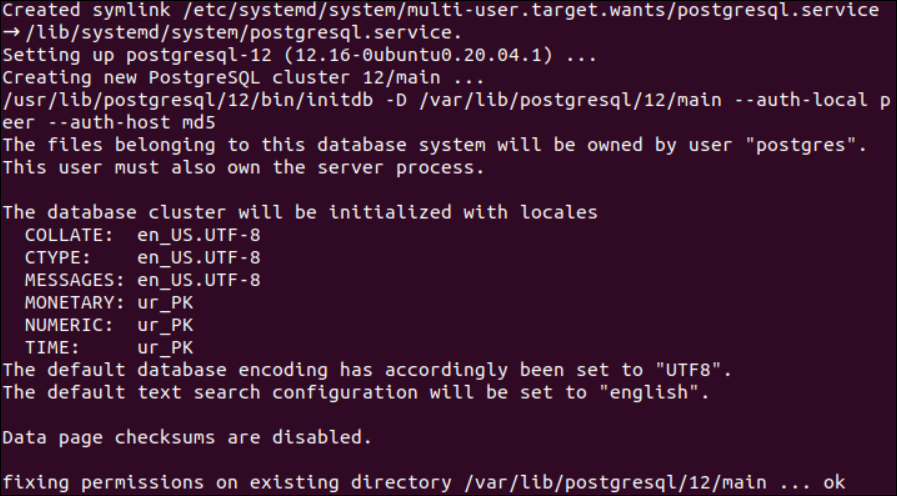
The process of PostgreSQL installation creates a system link between PostgreSQL and system files. It also displays the username for a new database user that is generated automatically right after the installation of PostgreSQL. After displaying a certain information regarding PostgreSQL, it displays “OK” and quits. The process displays that Postgres version 12 is successfully installed through the developer site.
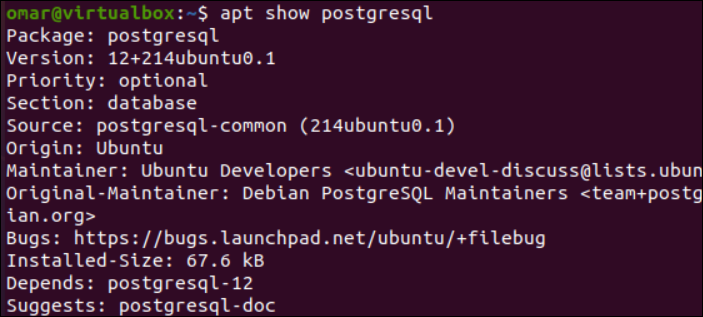
If you don’t want to use the version of Postgres that is available at the developer site and you want to go with the available local version, you can also look for that. The “apt show” instruction displays the latest version of Postgres, i.e. “Version 12”. You can install it via the previous installation command that you utilized to get it from the official site.
Now that PostgreSQL is successfully installed in the Ubuntu system, we start its service via the “systemctl” utility and look for its current status, i.e. running or not. The output of the status instruction displays that the PostgreSQL has been active.
$ sudo systemctl status postgresql
Connect to PostgreSQL
Now, it’s time to use PostgreSQL and connect with its databases. The “su” instruction is used with the “postgres” keyword to open PostgreSQL. After successfully launching PostgreSQL, we need to launch the PostgreSQL command utility. For this, use the “psql” instruction, and the command prompt will be launched.
$ psql
We are currently logged in with the “postgres” database using the “postgres” user as per the “\conninfo” command that is used in the Postgres command prompt.
Create a Database
Let’s make a new database in the PostgreSQL database. For this, make sure to open Postgres via the “su” instruction and utilize the “createdb” instruction with the database name to be created.
You can log in from a specific database and quit it via the “\q” command. After returning to the PostgreSQL main menu, you can exit it via the “exit” instruction.
$ exit
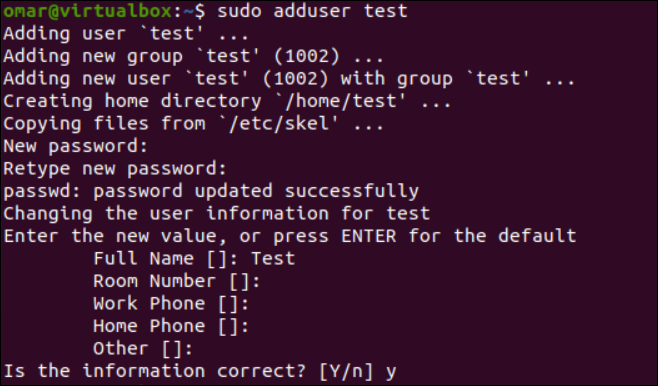
Let’s say we added a new user, “test”, in our Ubuntu system via the “adduser” instruction and didn’t assign it with any sudo or administrative rights.
Switch the Database
Now, to open Postgres with the newly created “test” user, we need to switch the user in our command shell first using the “-I” and “-u” option. Upon opening PostgreSQL with the “test” user, it doesn’t allow us because the “test” user is not a sudo user.
$ sudo su – postgres
On the other hand, you can successfully login from PostgreSQL via any other user with the “sudo” rights, i.e. xyz. Now, you can switch the database as well. Thus, we utilize the “psql” instruction to switch to the newly created “test” database.
$ sudo su – postgres
$ psql -d test
The following instruction displays the connection information:
The SQL command is the same as any conventional database, i.e. create table.
To display the list of tables in a PostgreSQL database, run the “\d” instruction as follows:
Conclusion
This guide demonstrates the importance and compatibility issues of Postgres during installation on Ubuntu. After this, we discussed a simple and brief way to install Postgres on Ubuntu like installing the tools from the PostgreSQL Apt Repository. Ultimately, we elaborated the simplest method to use PostgreSQL and the switch databases.


