Plex is a media player with a server that client applications can connect to when they want to manage media files. You can access your Plex media files on your server using mobile devices, smart TV, and laptops. With Plex, you can comfortably organize your media files from anywhere by connecting to the Plex media server.
This guide details the installation and use of the Plex media server on Arch Linux.
How To Install Plex Media Server on Arch Linux
Before you install the Plex media server, we must ensure we have SSH installed on Arch Linux, as we must create an SSH tunnel to help configure Plex remotely.
So, start by updating the repository using pacman.
Next, install OpenSSH.
Confirm the installation by pressing y when prompted whether to proceed with installing the required packages.
With SSH installed, start and check its status to ensure it’s active and running.
$ sudo systemctl status sshd
To install the Plex media server, we must source it from AUR using an AUR installer. In this case, let’s install yay as our AUR helper.
Start by updating the repository.
Next, install other packages, such as Git, to help clone the yay repository from GitHub.
Now, use the installed Git to clone the yay repository.
Ensure the cloning process completes to 100%.
Navigate into the cloned yay-bin directory and use the makepkg to make the package using the following commands:
$ makepkg -si
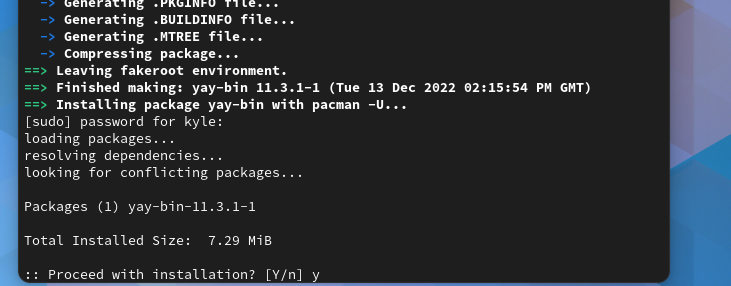
The required packages and dependencies will get downloaded and packaged using the yay installer.
During the packaging, you will get prompted to confirm proceeding with the installation; press y to authorize.
Once that is done, run the following command to install the Plex media server:
Proceed with the installation confirming your action where necessary.
The yay installer will find all dependencies and install them. The installation progress for different dependencies will get displayed, as shown below.
Once all the installation completes, we can start the Plex service or set it to start at boot time using the enable option automatically.
$ sudo systemctl enable plexmediaserver.service
How To Configure and Use Plex Media Server
So far, we’ve installed the Plex media server on Arch. The next step is to configure it to run and be accessed remotely.
Start by ensuring SSH is running, then check the server’s IP address to use during SSH tunneling via localhost.
Run the following syntax to create the SSH tunnel using the IP address of your server and Plex runs on port 32400:
Suppose SSH is not started. You will get an error that the “connection refused”, like in the following case and ensure you start the sshd service:
Once you start SSH and rerun the command, SSH will work, and you will get prompted to confirm the authenticity of the added IP address.
With the ssh tunnel created, open a browser on Arch Linux and access the following URL:
The URL will open up the Plex web page. If you have a Plex account, use your credentials to sign in or create a new account by clicking the option to use email. Alternatively, you can also sign in using your Facebook or Google accounts.
Plex will display a welcome page explaining how it works.
Scroll down and click the Got It button at the bottom to continue with the configuration.
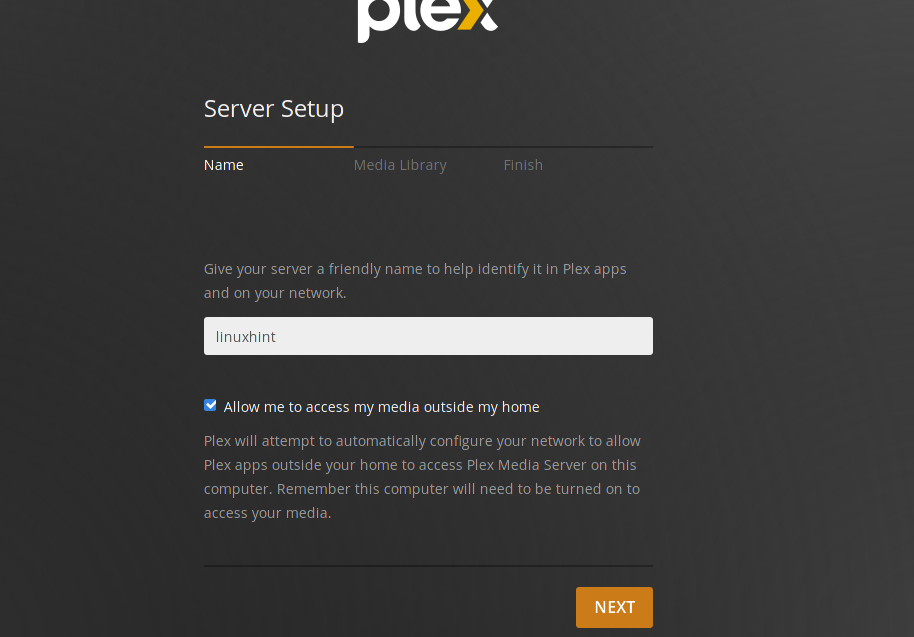
The next item is to add a name for the Plex media server. For our case, we’ve named it linuxhint. Click Next to continue with the setup process.
On the next window, click the Add Library button and proceed to create a library for your media files:
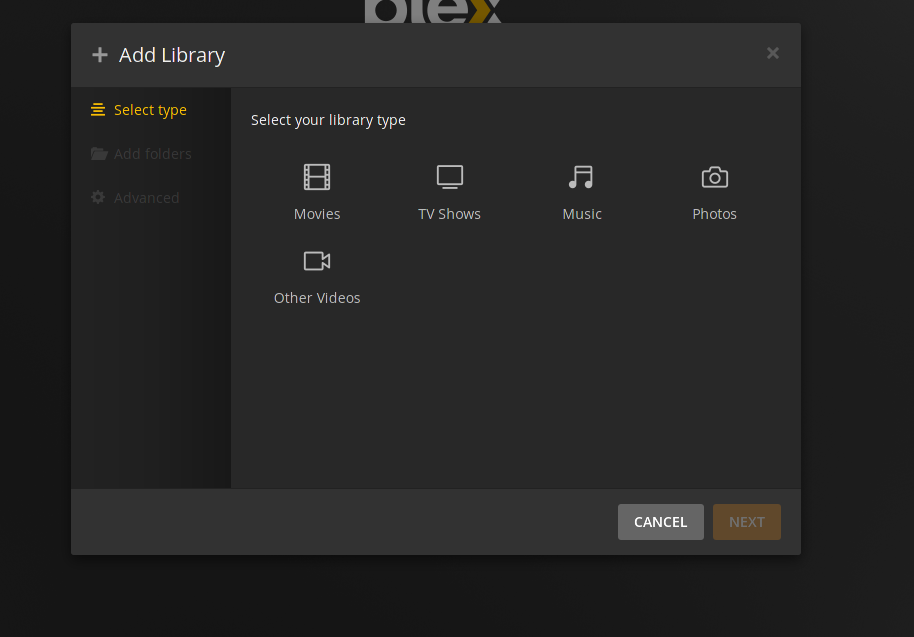
A window displaying the various media types for creating a library will appear. Make your selection and click Next.
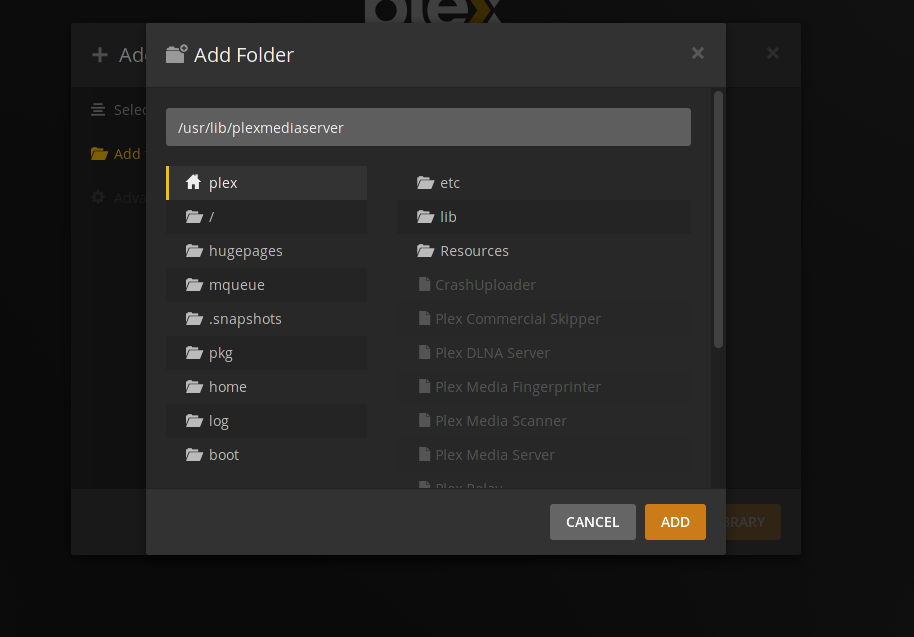
Lastly, add a folder for your Plex media server library on the client machine.
That’s it. You now have a Plex media server created on Arch Linux that you can connect to using your remote devices to enjoy your media files.
Conclusion
Plex is a media player that has a server and client applications. To install it, you must have an AUR helper, such as yay. This guide has presented the steps for installing, configuring, and using the Plex media server on Arch Linux. Follow along and implement the same on your end.


