Developed by Mojang Studios, Minecraft features an innovative and immersive gaming experience, allowing players to create environments to play and explore.
Although Minecraft Pocket Edition requires a purchase, it is not as costly as purchasing the PC version that is also hardware-heavy.
This guide will walk you through the process of running Minecraft on the Bluestacks emulator.
What is Bluestacks?
Bluestacks is a popular android emulator that brings the latest android features to PC users. It uses physical computing peripherals such as a keyboard and mouse to navigate through the installed Android apps and games.
Bluestacks is customizable to fit various screen sizes, including full-screen applications such as games.
Although Bluestacks does not offer compatibility for all Android applications, it supports popular apps and games, including Minecraft.
Step 1 – Install Bluestacks
Before we install Minecraft, we need to ensure we have Bluestacks installed on our system. Launch your browser and navigate to:
Download and install the latest Bluestacks version.
If you are looking for a complete tutorial on installing and setting up Bluestacks on Windows, check our tutorial on the topic.
You will also get tips and ways to resolve various errors you may face during Bluestacks installation.
Step 2 – Purchase & Install Minecraft
Once you have Bluestacks installed, launch the Google Playstore.
If this is the first time you’re using Bluestacks, you will need to log in using your Google account.
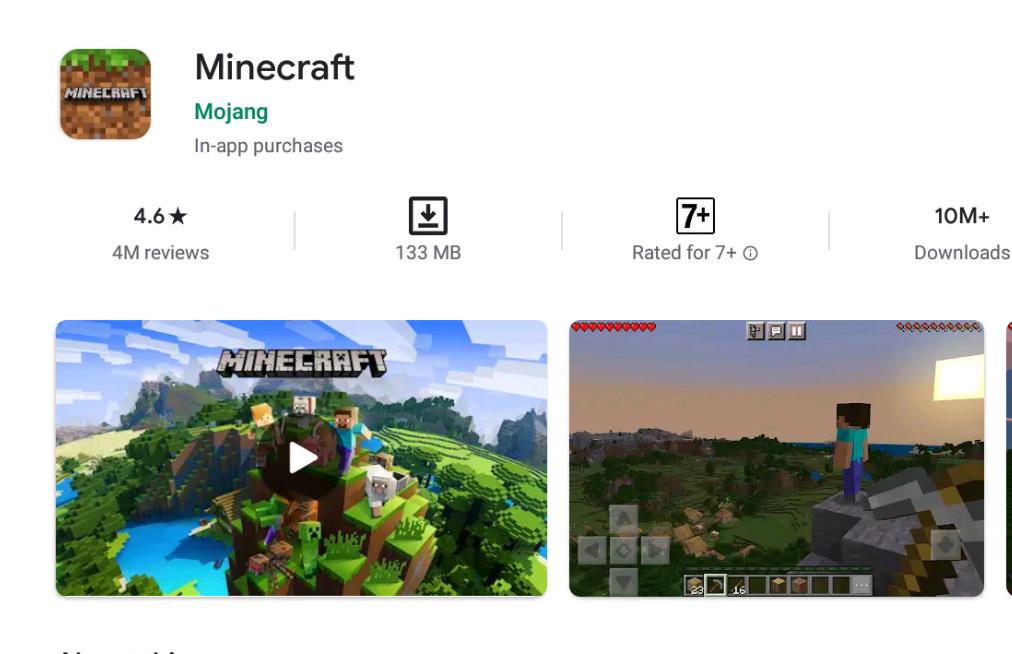
In the search bar, search for Minecraft and select the one published by Mojang Studio. Purchase the application and select install.
Once you have Minecraft installed, you will find it under the list of installed applications. Click the icon to launch the game.
Upon launching the game, it may prompt you to sign in with your Microsoft account to join servers and play with other players. This step is optional, and you may skip it altogether.
Step 3 – Keyboard Configuration
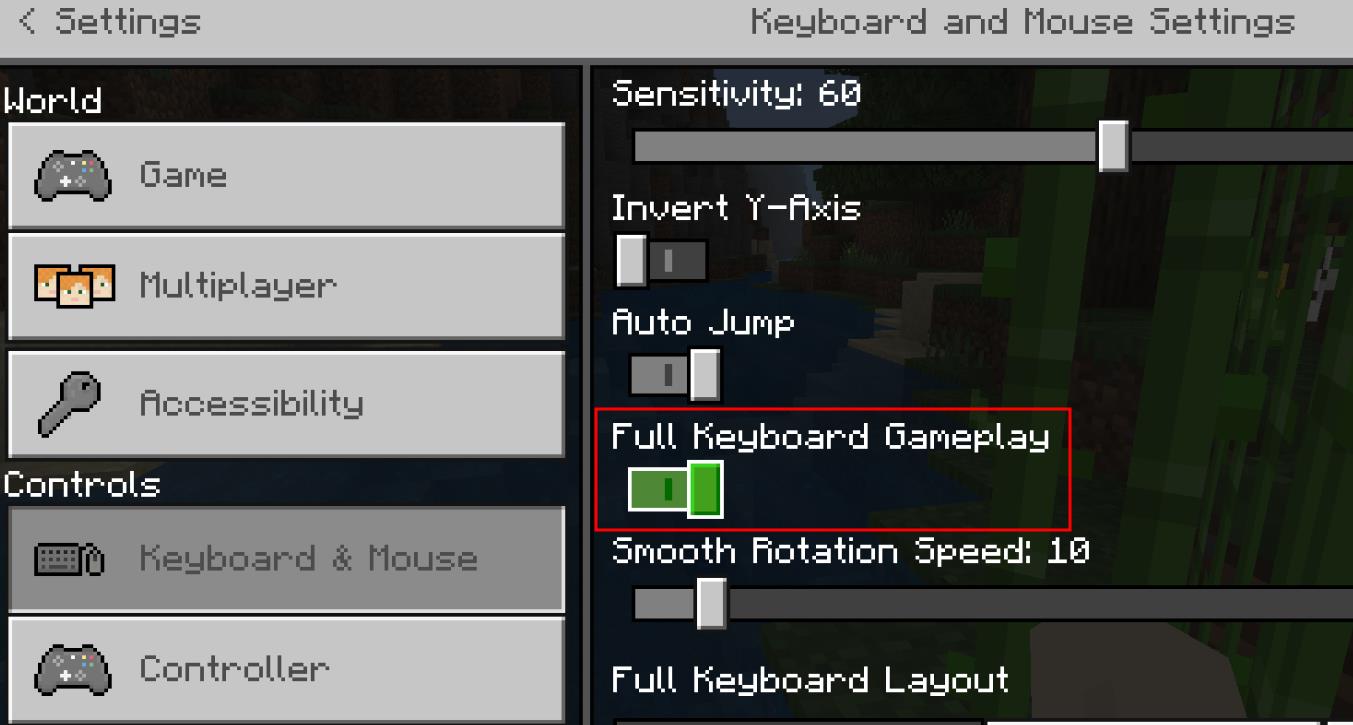
Minecraft will use touch as the default controller. This will require you to click the controls with your mouse to navigate through the game. To change the controller to your keyboard, open the game settings and navigate to the controls section. Under keyboard and mouse, select “Full Keyboard Gameplay” and toggle on.
Step 4 – Keyboard Controls
The following are the default keys for navigating Minecraft using your keyboard. However, you may configure as you see fit in the game settings.
| KEY BINDING | FUNCTIONALITY |
|---|---|
| W | Walk Forwards |
| S | Walk Backwards |
| UP | Look Up Smooth |
| DOWN | Look Down Smooth |
| LEFT | Look Left Smooth |
| RIGHT | Look Right Smooth |
| CONTROL | Sprint |
| Q | Attack/Destroy |
| X | Pick Block |
| C | Inventory |
| SPACE | Jump/Fly Up |
| Z | Drop Item |
| E | Use Item/Place Block |
| NUMPAD 2 | Look Down |
| NUMPAD 4 | Look Left |
| NUMPAD 8 | Look Up |
| SUBTRACT | Look Up Slight |
Feel free to reference the keyboard controls to figure out the keys to use when playing the game.
Conclusion
This guide walked you through installing and setting up the Minecraft pocket edition on the Bluestacks emulator.
Thank you for reading!


