pacat has different aliases for most of its options, and you will be in a better position to achieve that by the end of this guide if you want to record and playback audio streams. We will discuss starting with pacat, listing available monitors, and recording audio streams and playbacks.
How To Use pacat
PulseAudio is a sound server for WIN32 and POSIX systems and offers better latency than its previous version, Polypaudio. You should have PulseAudio installed by default. If you don’t, use the following command to install it:
pacat gets installed with PulseAudio, and you can confirm its installation by checking its version using the following command:
Furthermore, pacat offers different options. You can view the help page to see the list of various things you can do.
Most of the standard options you will be using include:
1. pacat View Sinks and Shorts
Before using pacat, you should list the available sinks to play and the available source to record. To view the available sinks, use the following command:
For the sources, you can list them using the following command:
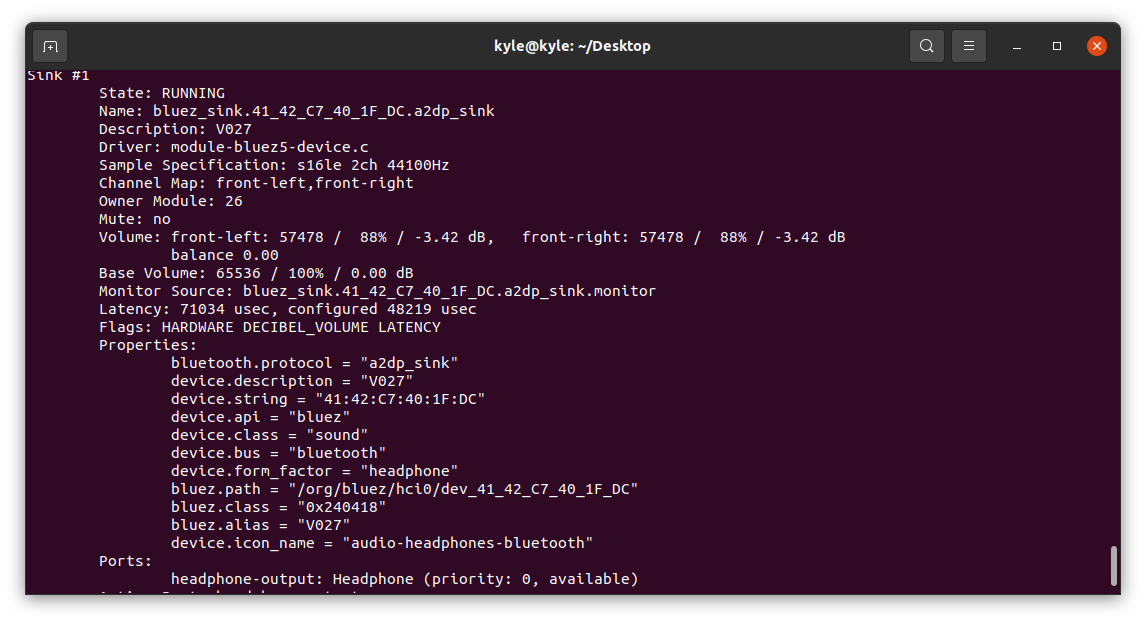
We’ve listed a short description of the sinks and sources. However, you can display the detailed output by removing the short. For instance, a clear output of the sources will be:
The output shows more details, including the connected sound devices, volume, state, etc. The output below shows that Sink #1 is running.
Also, you can display the monitor device you should use for the recording and playback using the “-d” option.
From the output above, we have two monitors. One is for the Audio Analog stereo, and the other is connected to an external Bluetooth device. You can choose which to use for your recording and playback with the monitors known.
2. pacat Record
You can use the “-r” or “–record” option to record audio data. Here, you can specify the file to write it to. If not, it will write to stdout. The alias for this is parec. We will try both options for our example. We are playing audio from the Chrome browser, and the audio gets connected to a Bluetooth device.
To start the recording and write to a wav file, the command will be:
With the previous command, pacat will record any sound from the surrounding until you kill the process using “ctrl + c”. To record from a specific monitor instead surrounding sounds, specify the source using the “-d”. You can set its ID or name. For instance, if we have one active sink, we can choose to record its audio. The command will be:
To write the data to stdout, omit the output file. However, the output will be unreadable.
Our file containing the recording becomes stored in the current directory if no path is specified.
3. pacat Playback
To play the recorded output, use the “-p | –playback” option, an alias for pacat. You also need to specify the sink to play the file. List the available sinks, then choose one using its name or ID.
In our case, let’s choose Sink 0, which is currently suspended.
The audio will play until you terminate the process or it completes.
4. pacat Set Audio Volume
You can set the volume for the played audio. Use the “–volume=volume” flag. The volume ranges from 0 (silent) to 65536 (the maximum volume).
To set a volume of 65000, the command will be:
5. Playback an Audio Input
It’s possible to play audio on one sink and directly play it on another monitor. For instance, to record audio on monitor 0 and play it on monitor 1, the command will be:
In the previous command, the audio is not recorded. However, you can record it as shown in the following example:
Here, we’ve recorded the sound and written it to the file, sim.wav. Moreover, the recorded audio gets played directly to Sink 1.
6. Other pacat Options
We’ve covered the common options. However, there are other excellent options that you can use.
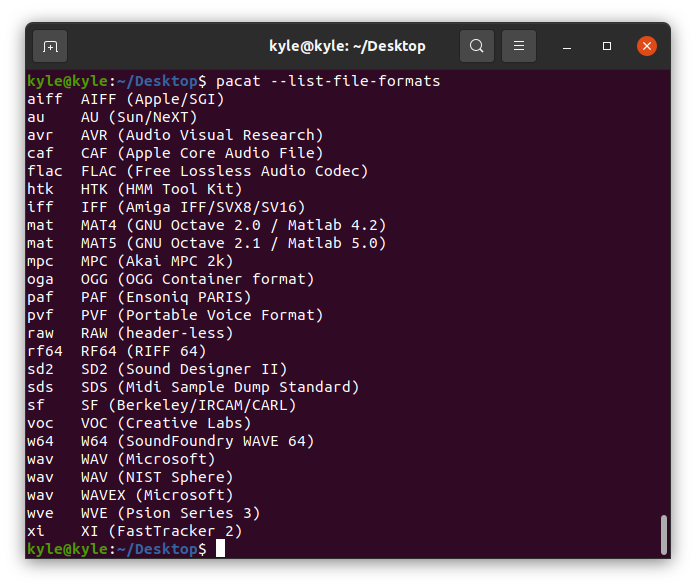
To view the pacat supported file formats, run the “–list-file-formats”.
To specify a format for playing or recording an audio stream, use “–file-format=format”.
Let’s set to record using wav. The command will be:
Conclusion
pacat is an excellent tool for recording, playing audio files, and supporting most file formats. This article covered how to get started with pacat, and we’ve discussed how you can use pacat with different monitors using examples. Feel free to try other options on the man page.


