For example, a user would want his WordPress website to publish on Linkedin automatically. He wouldn’t mind sharing his own Linkedin credentials with his own website. But if he needs to install a WordPress plugin that will automatically publish on Linkedin, he would need to share with that third-party plugin his Linkedin password, which is inconceivable.
With Oauth, the user can grant the limited plugin access through token authorization instead of credentials. The plugin will act on behalf of the user for the specifically assigned and allowed task.
OAuth doesn’t store credentials but limited access to the defined action.
The framework also allows revoking individual access to resources without changing the resource password.
OAuth Roles and how they interact
Oauth roles are Resource Owner, Client, Resource Server, and Authorization Server.
Resource Owner: This is the owner of the resource whose limited access will be granted.
Client: The application requests the authorization to do an action (read, write) on behalf of the Resource Owner. In the previous example (WordPress+Linkedin), the client would be a plugin configured with the token.
Resource Server: This is the API you want to grant access to. It may be Google maps, Tweets, etc.
Authorization Server: This component can be hosted on its own server or part of the Resource Server. The Authorization server generates and shares the token after authenticating the owner’s identity. OAuth can grant access to the resource owner or the client.
The Resource Owner authorizes an application to access the Resource Server. Then the application requests a token from the Authorization Server using the Resource Owner approval or authorization.
When the Authorization Server validates the approval, it issues an access token to the application. Using that token, the application can access the Resource Server.
The following section of this tutorial describes some OAuth concepts to understand before installing it on Linux.
OAuth Claims:
Tokens contain information called claims. A claim may be a username, e-mail, author, the client used by the Resource Owner, or some information on an object provided in the token.
OAuth Scopes:
Scopes limit the client access to Resource Server or API features. When the Resource Owner approves the authorization, he needs to define the scopes granted to the client.
Client ID / Client secret:
The client ID is a public string to identify an application and build the authorization URL. Client Secret authenticates the application before the Authorization Server upon application access request.
Installing OAuth PHP extension on Debian Linux:
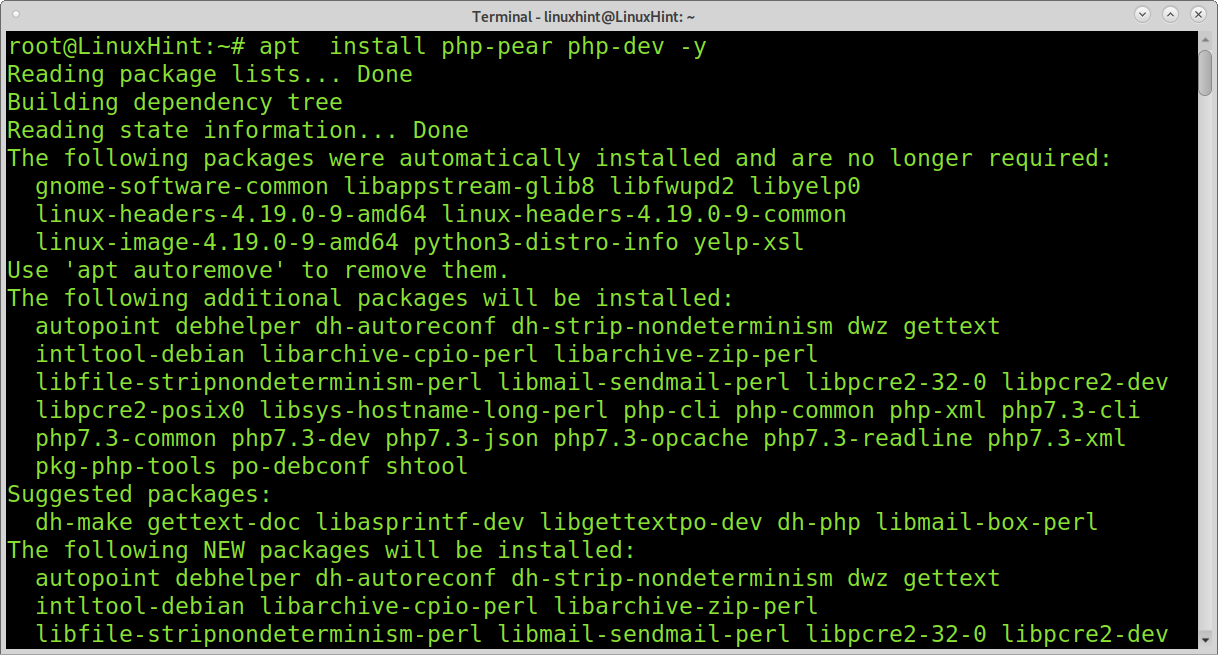
I have not installed PHP; if you want to test OAuth, you need to install PHP first. You can install PHP on Debian and based Linux distributions running the following command:
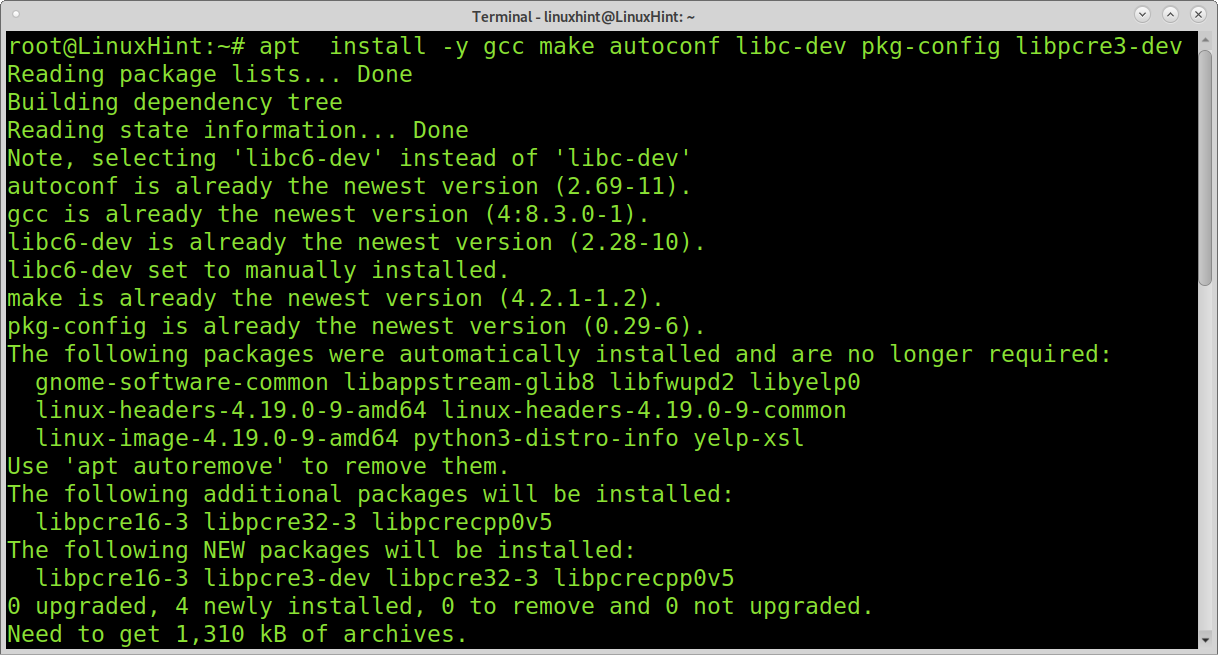
After installing PHP install the following packets:
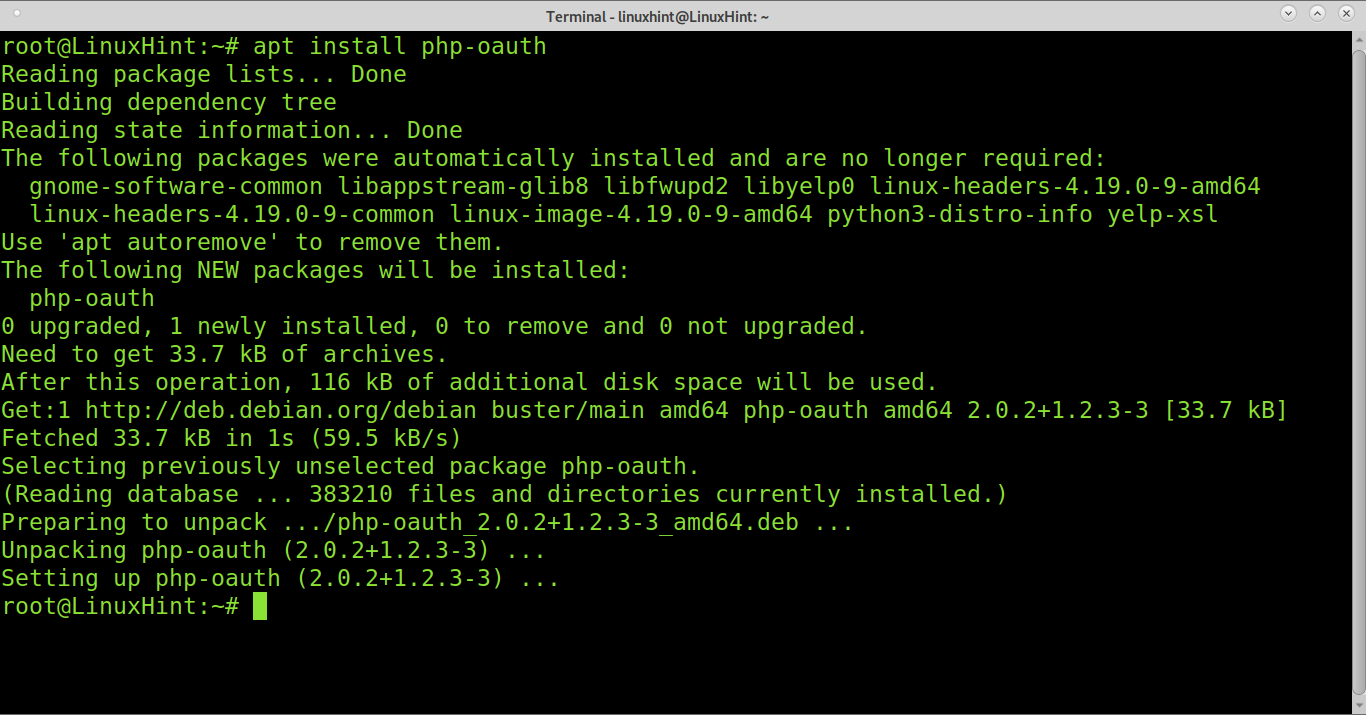
Now you can install PHP by executing the command shown below:
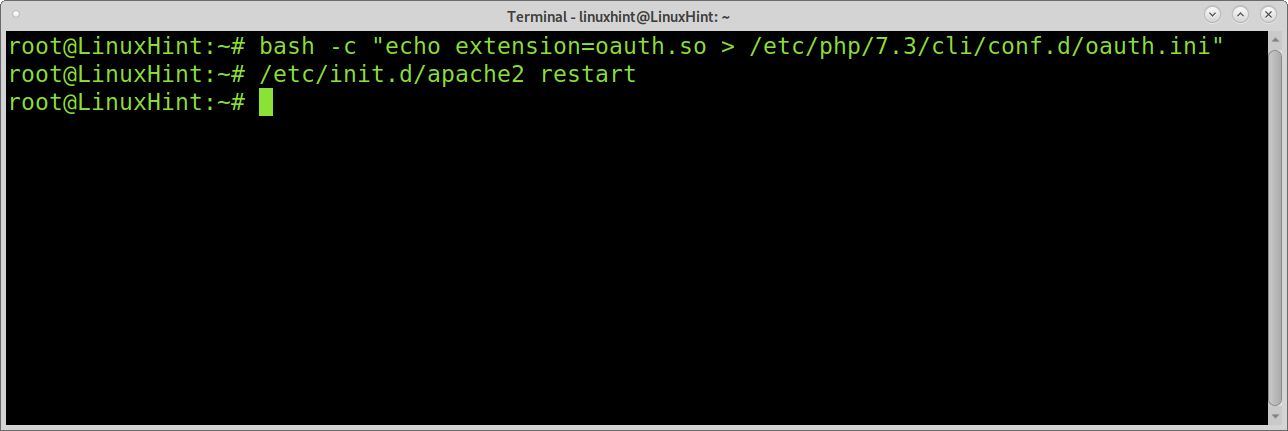
On Debian and based Linux distributions, create a configuration file by running the following command.
Note: replace /etc/php/7.3/cli/conf.d/oauth.ini with your PHP conf.d path. You can check your php version by running the php –version.
/etc/init.d/apache2 restart
Or
NOTE: If you use Nginx, restart it by running: service nginx restart
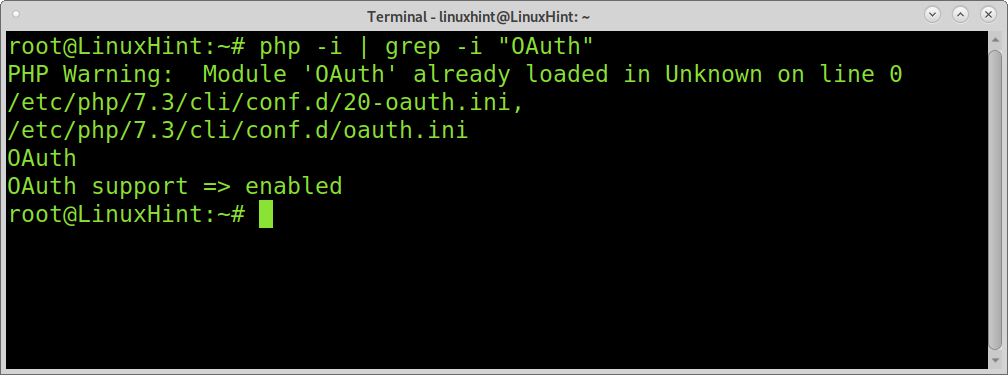
Finally, you can check if OAuth was installed properly by executing:
You can configure your web application using authorization solutions like https://openid.net/connect/ or https://goteleport.com.
Installing OAuth for Ruby on Debian Linux:
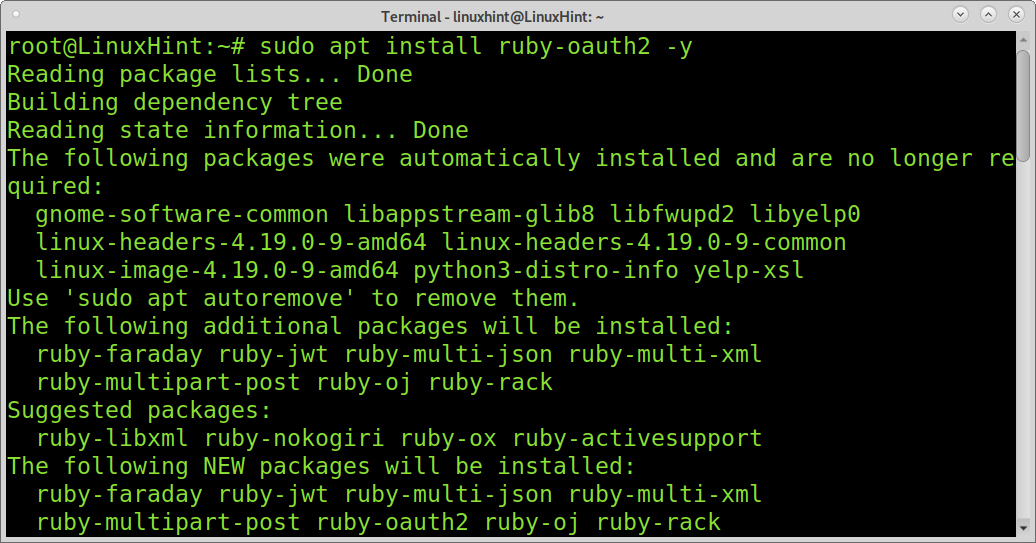
You can also install OAuth for Ruby con Linux. The following example shows how to install OAuth for Ruby and Debian and its based Linux distributions.
To install OAuth for ruby on Debian or Ubuntu, run:
Conclusion:
OAuth is a great solution to manage accesses and permissions and to integrate different applications.
It provides an authorization framework for web and desktop applications and mobile devices.
By implementing OAuth, users can avoid sharing user credentials and can share limited access to resources. They can also revoke access for specific users easily.
Avoiding credentials exchange represents a substantial security improvement.
Users can also OAuth to manage and secure their database, docker, ssh access, and more by implementing solutions like Teleport.
I hope you found this OAuth helpful tutorial. Keep following Linux Hint for more Linux tips and tutorials.

