This article will show what normalization is and how to normalize a tensor in PyTorch.
What is Meant by Normalizing a Tensor?
Normalization in PyTorch is analogous to that in mathematics where values of a matrix are normalized to bring them within a range of [0,1]. This creates a reduced matrix that is easier to process in computational software such as MATLAB. In PyTorch, the data values stored in matrices employ the use of normalization in a similar manner. The need for normalization is the same in both PyTorch and mathematics and that is the significant improvement in processing.
What Benefits are there of Normalizing a PyTorch Tensor?
As stated previously, normalization can enhance processing speeds. Other benefits in PyTorch result from this standardization of raw input data. Some major advantages of normalizing data before training are listed below:
- The “training loop” is stabilized because the gradients do not explode when the data is confined in a small interval between 0 and 1.
- A stable training loop can also mean that the “convergence” of gradients occurs more swiftly and the model is not stagnated at some local minima.
- The reduced difference between the extremes of data points is also beneficial in the “optimization” of the deep learning model.
- Normalization makes the hyperparameter of the “learning rate” better equipped to modify the performance of the model because it is easier to tune it to an optimal value.
How to Normalize a Tensor in PyTorch?
Normalization simply involves scaling the input data values where their mean value is zero. This means that the data values are equally distributed on either side. Furthermore, the standard deviation is equated to one.
The steps below contain the instructions on how to normalize a tensor in PyTorch:
Step 1: Set up a Colab Notebook
This tutorial will be started by setting up the Colaboratory IDE. Go to their website and open a “New Notebook” to start working:

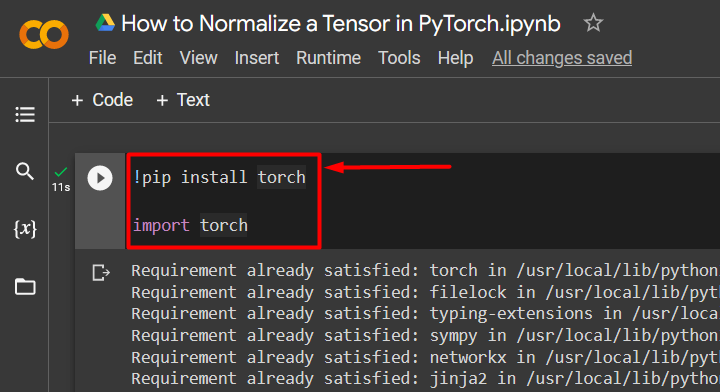
Step 2: Install and Import the Torch Library
Any PyTorch project is incomplete without the “torch” library. It contains all the necessary functionality needed for the development of machine learning models.
import torch
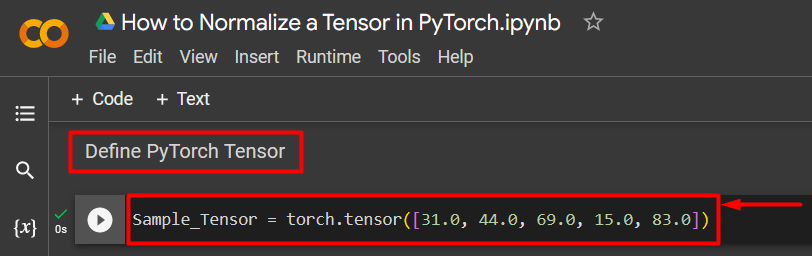
Step 3: Input a Sample Tensor
Input a sample tensor for normalization using the “torch.tensor()” method:
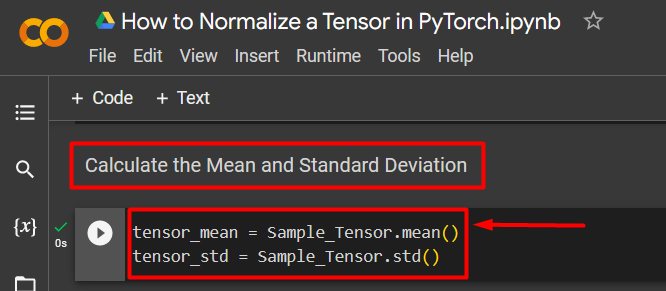
Step 4: Calculate the Mean and Standard Deviation
Use the “mean()” and “std()” methods to calculate the mean and standard deviation for the previously defined tensor:
tensor_std = Sample_Tensor.std()
The above code works as follows:
- The mean for the sample tensor is calculated using the “mean()” method.
- Then, the calculation is assigned to the “tensor_mean” variable.
- The standard deviation for the sample tensor is calculated using the “std()” method.
- Then, the calculation is assigned to the “tensor_std” variable.
Mean and Standard Deviation calculation:
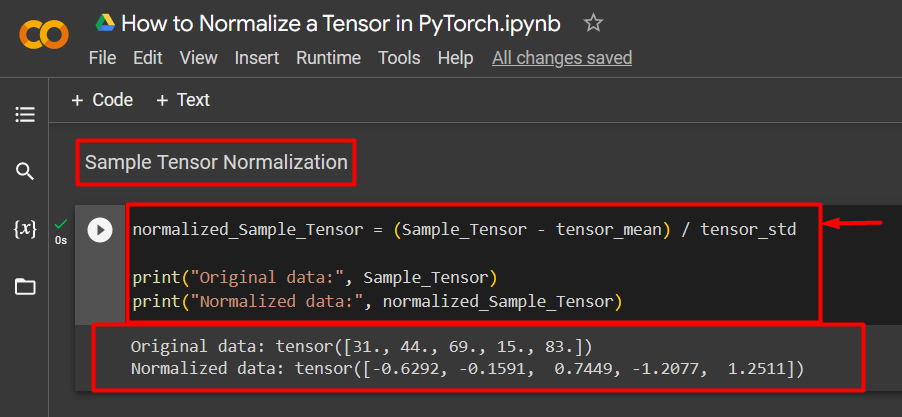
Step 5: Normalize the Sample Tensor
In the last step, “normalize” the sample tensor using the below snippet:
print("Original data:", Sample_Tensor)
print("Normalized data:", normalized_Sample_Tensor)
The above code works as follows:
- The normalization of a tensor is calculated by the arithmetic equation involving the mean and standard deviation as shown above.
- This normalization value for each data entry in the sample tensor is assigned to the “normalized_Sample_Tensor” variable.
- Lastly, use the “print()” method to showcase the original and normalized tensors in the output.
Original and Normalized Tensor output:
Note: You can access our Colab Notebook at this link.
Pro-Tip
The normalization of Tensors in PyTorch offers the benefits of faster processing and better data convergence but it must be noted that the output data must be re-evaluated to remove the standardization by relating with the original values. This means that the change in input data during preprocessing is reversed to regain the original data values.
Success! We have displayed how a Tensor is normalized in PyTorch.
Conclusion
Normalize a Tensor in PyTorch by first calculating its mean and standard deviation and using these outputs compute the normalized value for each tensor element. Normalization improves the overall processing of the training loop for the deep learning models and provides better convergence of gradients that do not explode and ruin the results. In this blog, we have showcased the code to normalize a PyTorch Tensor.