PyTorch is an ideal choice of framework for the development of machine learning models that are focused on image analysis with large datasets. The thousands of images in such datasets have vastly different settings such as brightness and color saturation. The “Normalization” of an Image Dataset converts the values assigned to the image pixels to fall within a narrow range for faster processing.
In this blog, the spotlight will be on normalizing an image dataset in PyTorch.
What is the Normalization of an Image in PyTorch?
The “Normalization” of images used in PyTorch is an essential step in the optimization of the runtime for the image analysis models. Normalization is usually done before starting work on a project so that the data is cleaned and ready for training. The normalized image data is easier for the model to be trained upon and learn from to make credible inferences. The concept behind normalization is to linearly transform the numerical values of each image pixel to lie within a close range of “[0, 1]”. Mathematically, the mean is subtracted from each individual pixel value and the result is divided by the standard deviation of the dataset.
What is the Importance of Image Normalization?
The importance of normalization lies in model processing. The varied data can make the model focus on outliers and make grossly invalid assumptions and inferences. Moreover, the model may give more attention to an exceptionally accentuated aspect of the data such as the brightness of the images. The color profile of the images would not be efficiently trained if the images are too bright and have larger brightness values. Normalization ensures that each detail of the image is given equal weight.
How to Normalize an Image Dataset in PyTorch?
The normalization function in PyTorch, “transforms.Normalize()”, can accommodate two arguments which are “mean” and “standard deviation” of the image dataset.
Follow the steps below to learn how to normalize an image dataset in PyTorch:
Step 1: Launch Google Colab
Open the Google “Colaboratory” website and click on the “New Notebook” option to start the project as shown:

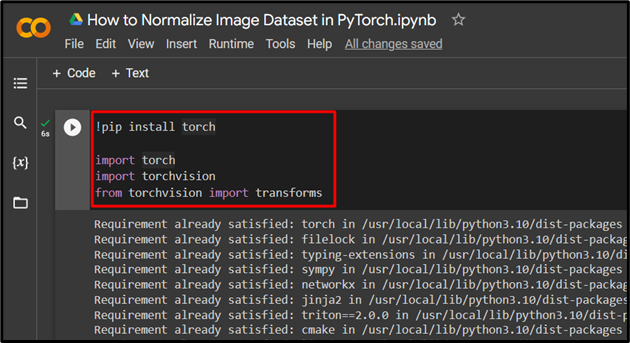
Step 2: Install and Import the Required Libraries
import torch
import torchvision
from torchvision import transforms
To start working on PyTorch project, first install and import the “Torch” library into the IDE:
Step 3: Download the CIFAR-10 Dataset
In this tutorial, an image from the “CIFAR-10” image dataset will be used to demonstrate the normalization process. Go to the Kaggle website and download the CIFAR-10 dataset to use its images as shown:

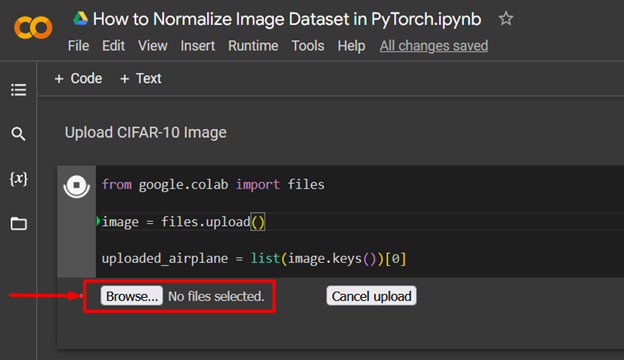
Step 4: Upload an Image to PyTorch
Import the “files” library from google colab to upload an image from the system to PyTorch:
image = files.upload()
uploaded_airplane = list(image.keys())[0]
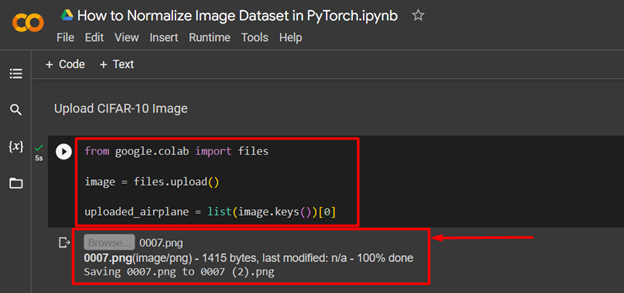
Click on the “Browse” option to select an image to upload from the system:
Next, the output of the uploaded and saved image is shown below:
Step 5: Load the Image into PyTorch
Use the “Image.open()” method to load the selected image into PyTorch as shown:
uploaded_airplane_image = Image.open(path_of_image)
Step 6: Image to Tensor
Use the “transforms.Compose()” function to convert the uploaded image to a tensor for further calculations and put the “transforms.ToTensor()” function as its argument:
airplane_image_tensor = image_transformation(uploaded_airplane_image)
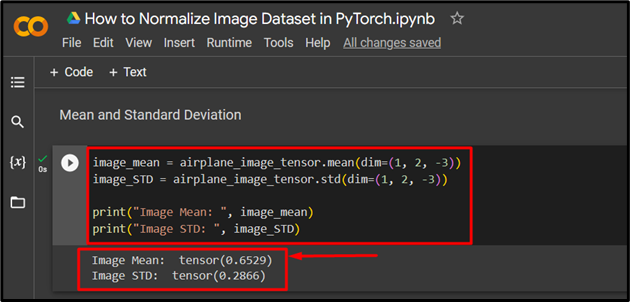
Step 7: Calculate the Mean and Standard Deviation
Next, calculate the “Mean” and “Standard Deviation” for normalization. Moreover, use the “print()” method to show the output of the calculation:
image_STD = airplane_image_tensor.std(dim=(1, 2, -3))
print("Image Mean: ", image_mean)
print("Image STD: ", image_STD)
The below output shows the “Image Mean” and “Image STD”:
Step 8: Normalization
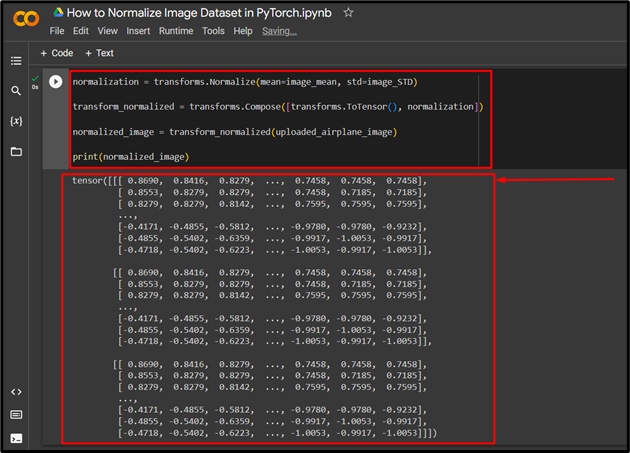
Lastly, normalize the uploaded image using the “transforms.Normalize()” function and place the previously calculated “mean” and “standard deviation” as the arguments of this function. Then, use the “print()” method to show the normalized image tensor in the output:
transform_normalized = transforms.Compose([transforms.ToTensor(), normalization])
normalized_image = transform_normalized(uploaded_airplane_image)
print(normalized_image)
The output shows the normalize image tensor:
Note: To use complete code for image normalization, access our Google Colab Notebook at this link.
Pro-Tip
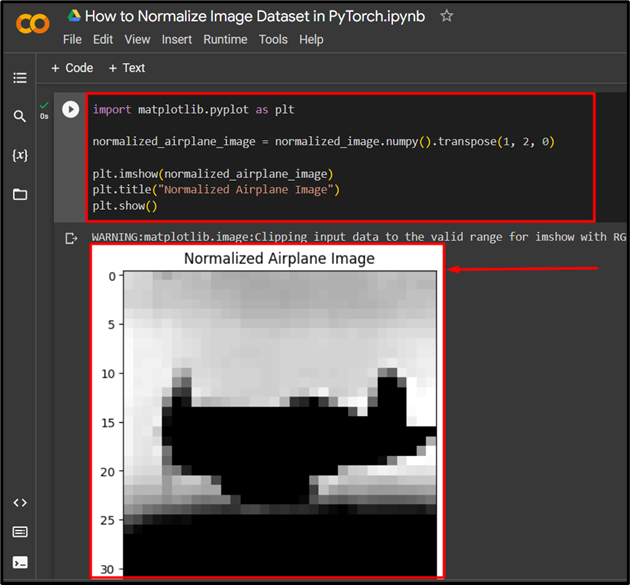
You can showcase the normalized image in the output by using the “matplotlib.pyplot” library as shown:
normalized_airplane_image = normalized_image.numpy().transpose(1, 2, 0)
plt.imshow(normalized_airplane_image)
plt.title("Normalized Airplane Image")
plt.show()
Success! We have just demonstrated how to normalize an image in PyTorch and what are the benefits associated with normalized image datasets.
Conclusion
Normalize an image in PyTorch by first converting it into a Tensor then, calculating its mean and standard deviation, followed by its normalization. Additionally, you can show the normalized image in the output. This normalization can significantly reduce the runtime for image analysis models and improve the quality of inferences drawn from the available data. In this article, we have showcased what normalization is and how to implement it.