
In recent years, Node.js has evolved as an incredible development platform, particularly for browser-based apps. Node.js can be used to create scalable network applications such as chatting as well as streaming platforms.
For data-intensive real-time applications, a compact but effective event-driven, non-blocking I/O model is used. Because of these features, it is a preferred platform for developing APIs and microservices.
Three methods to install Node.js on an Ubuntu 22.04 server are demonstrated in this guide:
- Using apt with the default repository: This is the simplest method and is sufficient for most users.
- Using apt with a PPA repository: This method allows you to install specific versions of Node.js, including the newer versions than those available in the default repository.
- Using NVM: You can manage numerous Node.js versions on your system by installing them using this method.
Prerequisites:
The prerequisites to install Node.js on Ubuntu are:
- Ubuntu 22.04 or newer system
- A sudo-enabled non-root user account
- A terminal window
Method 1: Using Apt to Install Node.js
Node.js is included in Ubuntu 22.04’s default repositories and can provide a consistent user experience on several platforms. Version 12.22.9 is currently available in the repository. Although it won’t be the most recent version, it is likely to be reliable and suitable for fast language experimentation.
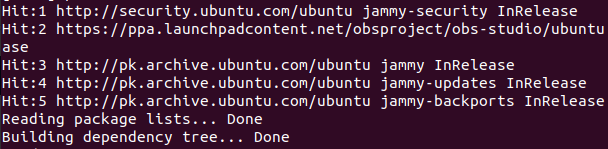
This version can be obtained via the “apt” package manager. To begin, update the local packages on your system by typing the following:
Output:
After that, Node.js can be installed using the following command:
Output:

The installer confirmation is then requested; press “Y” to accept it. If restarting any service is necessary, press the “Enter” button to approve the default configuration and proceed. To determine whether the installation is successful, look for the node’s version number:
Output:
![]()
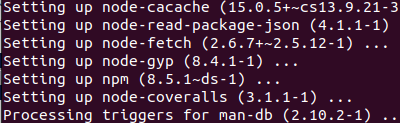
If the available package in the Ubuntu repositories meets your needs, you can install Node.js by installing the “nodejs” package with apt. Npm is a useful tool to manage the Node.js packages. Installing it if you are using Node.js is recommended. The “npm” package can be installed by utilizing “apt” to achieve this:
Output:
This enables the installation of Node.js modules and packages.
Now, Node.js and “npm” are installed using “apt” and the standard Ubuntu repositories; you can also get different Node.js versions using a different repository.
Method 2: Installing Node.js Using NodeSource
Using a PPA that is a personal package archive offered by NodeSource, you can install the alternate releases of Node.js. These PPAs contain more versions of Node.js than the official Ubuntu repositories. There are now three versions of Node.js available: 14, 16, and 18.
Installing the PPA is necessary so we can access its packages. Curl can be used to obtain the installation script for the desired version from your home directory. Make sure to change 18.x with your preferred release string (if different) before using curl.
Once you downloaded the script, you can examine its contents using nano (or any text editor of your choice).
Output:
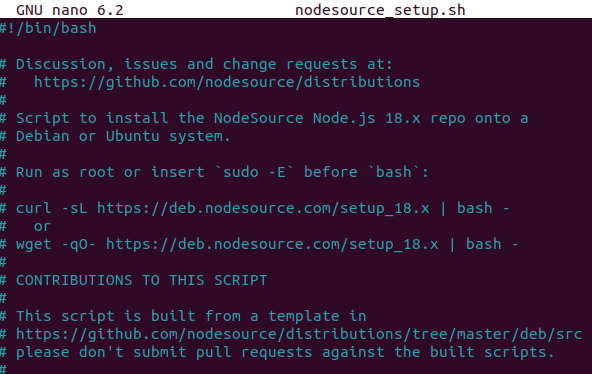
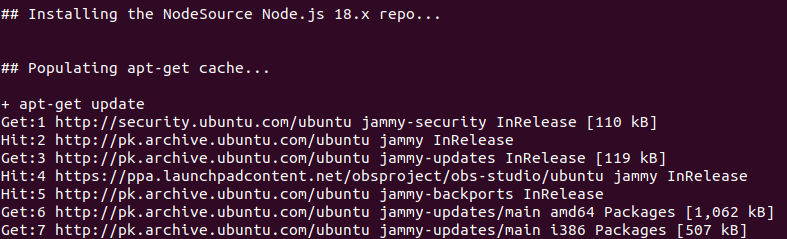
Running the shell scripts from third parties isn’t usually a good idea, but NodeSource uses its own logic to make sure that, depending on the distribution and version needs, appropriate commands are provided to your package management. Once you’re sure that the script can be executed without risk, close your editor and use sudo to execute it.
Output:
Adding the PPA updates your configuration and local package cache. You can then install Node.js as we did previously. It is recommended to first use the “sudo apt remove nodejs npm” to remove your outdated “Node.js” packages (if any). This won’t affect your configurations; just the installed versions are removed. Third-party PPAs may not package their software in a way that is compatible with direct upgrades. So, if you experience problems, you can always uninstall everything and start fresh.
Run the node with the “-v” version flag to make sure that you have the most recent version available.
Output:
![]()
The NodeSource Node.js package includes npm. Therefore, it doesn’t need to be installed individually.
The NodeSource PPA and apt are used to install Node.js and npm successfully.
Method 3: Using NVM to Install Node.js
NVM is a powerful tool to install Node.js and npm. You can manage the numerous Node.js versions on your machine using NVM. This method is useful if you require a switch between multiple Node.js versions for particular projects.
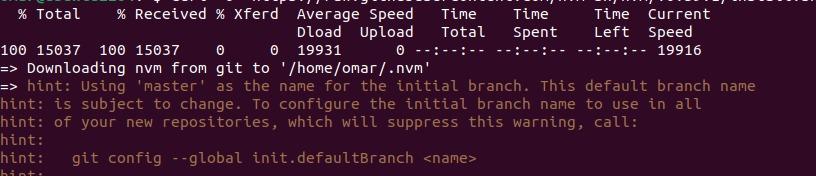
Step 1: Run this command in the Ubuntu terminal to install the Node Version Manager or NVM:
This command causes curl to download the NVM installation script from the provided URL. Bash then runs the script that configures NVM on your machine.
When the installation is complete, an output like the following is displayed:
Next, activate NVM using the following command:
NVM can now be queried for the available Node releases:
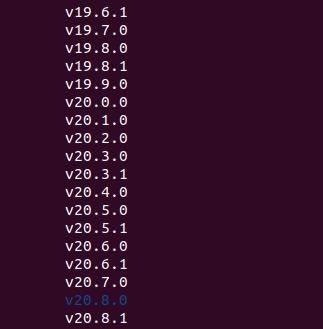
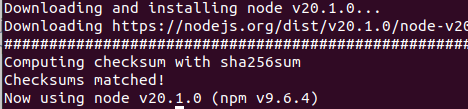
A lengthy list is displayed. To install a specific Node version, simply input one of the released versions that you may see. For instance, you can enter the following to get the version v20.10.0:
Output:
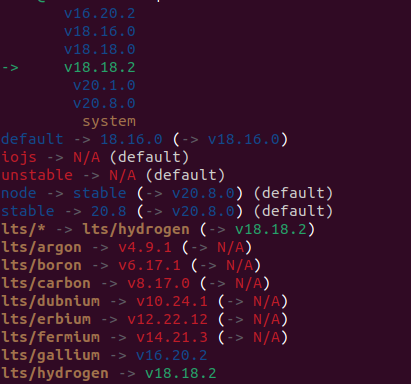
You can see every version that you installed on your system by typing the following:
Output:
Uninstalling a Node.js File in Ubuntu
To uninstall Node.js, one of the following methods can be used:
- If Node.js was installed using apt, use “apt” remove it:
- If you used NVM to install Node.js, use NVM uninstall and remove it:
- Use “apt purge” to remove Node.js including the configuration files entirely.
- If the version that you intend to delete is the active release, you must first disable NVM before you can make the alterations:
Replace the Node.js version with the release number that you want to remove.
The “uninstall” command that you previously employed can be used to remove the current version. This removes every file that is associated with the selected Node version.
Conclusion
Node.js is a popular development environment for web apps, microservices, and various types of software. This article discussed three ways to install Node.js on an Ubuntu 22.04 server. The simplest method is to use “apt” with the default repository. This is sufficient for most users. If you need to install or manage multiple versions of Node.js on your machine, you may utilize “apt” with a PPA repository or NVM.